This site runs ads and generates income from affiliate links. Read my disclosure policy.
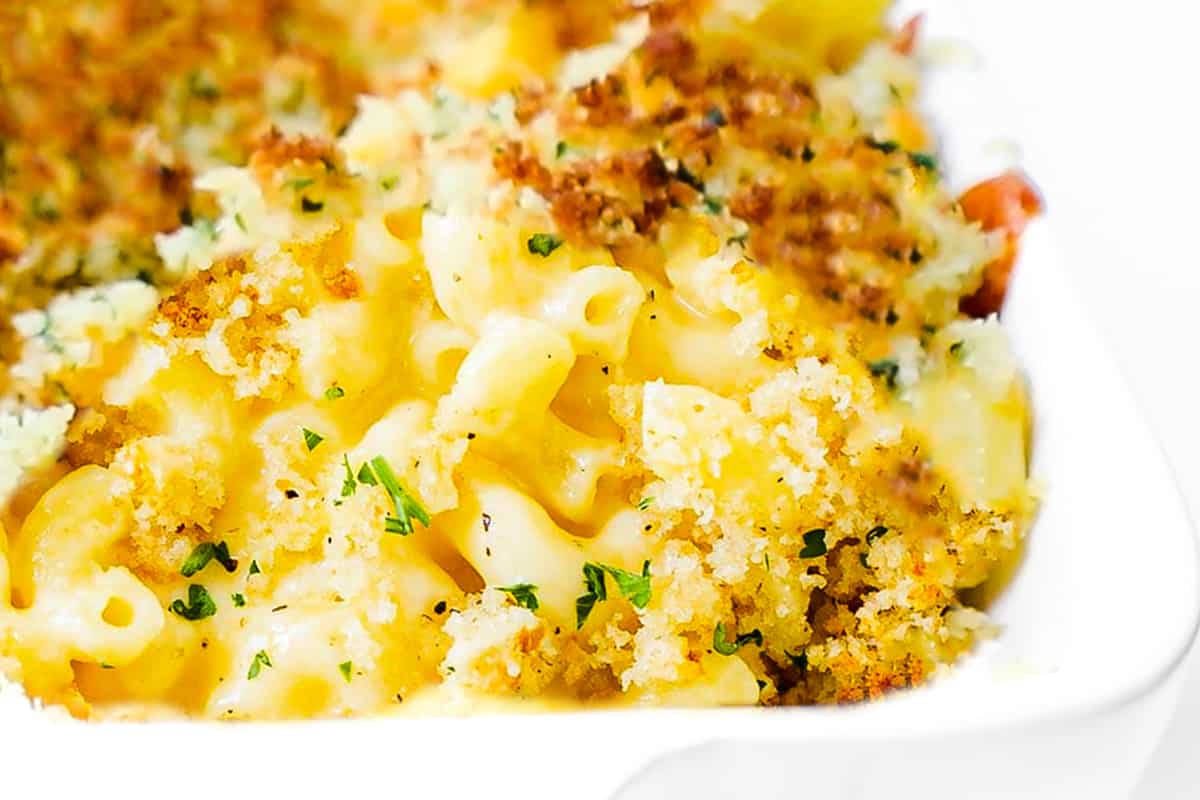
Creamy Baked Mac and cheese is a timeless favorite. This recipe couldn’t be easier to make, but everyone will love its delicious comfort!
I love stovetop mac and cheese, but If you’re hosting a holiday meal and need a side to feed a crowd, this decadent dish is perfect for entertaining.
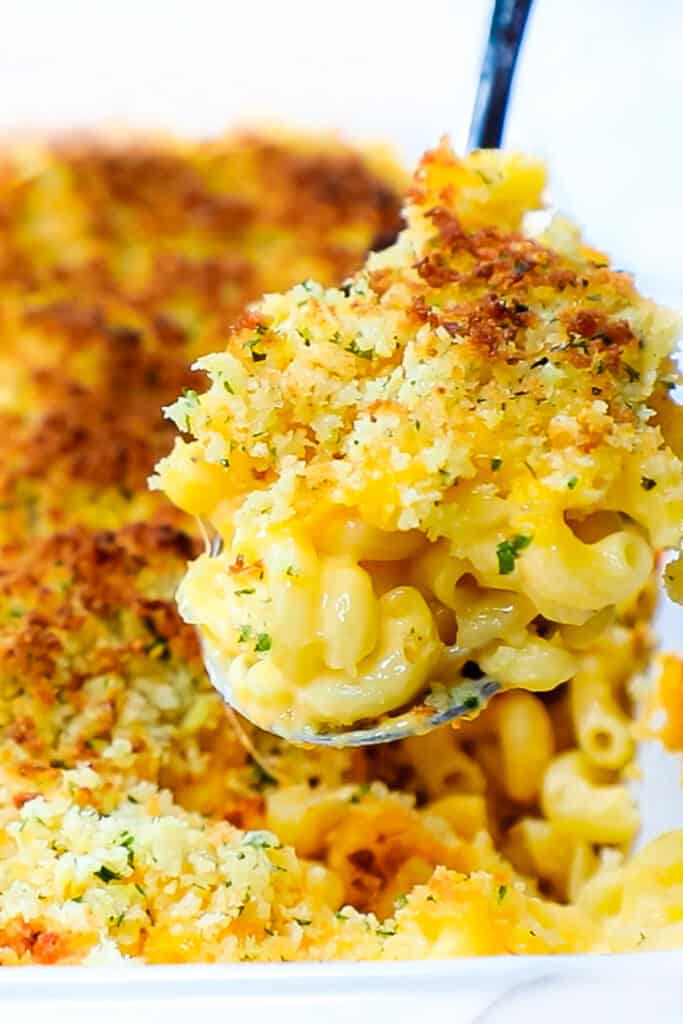
Creamy Baked Mac and Cheese is a classic comfort food, but it can seem daunting if you’ve never made it homemade before. There’s no need to worry, we’ll walk you through it one step at a time.
I suggest reading this post in its entirety or to skip to the section you’re interested in, you can use the table of contents below.
Why This Recipe Works
- Undercooking the pasta ensures the dish is cooked perfectly.
- The mixture of Parmesan and sharp and mild cheddar cheese makes the sauce creamy and flavorful.
- The breadcrumbs in the topping add a crispy texture, while the garlic and cheese add extra flavor.
Looking for more comfort food? Try my Sour Cream Mashed Potatoes, Salisbury Steak, Chicken Stroganoff, or Potato Leek Soup.
The Best Pasta For Homemade Mac & Cheese
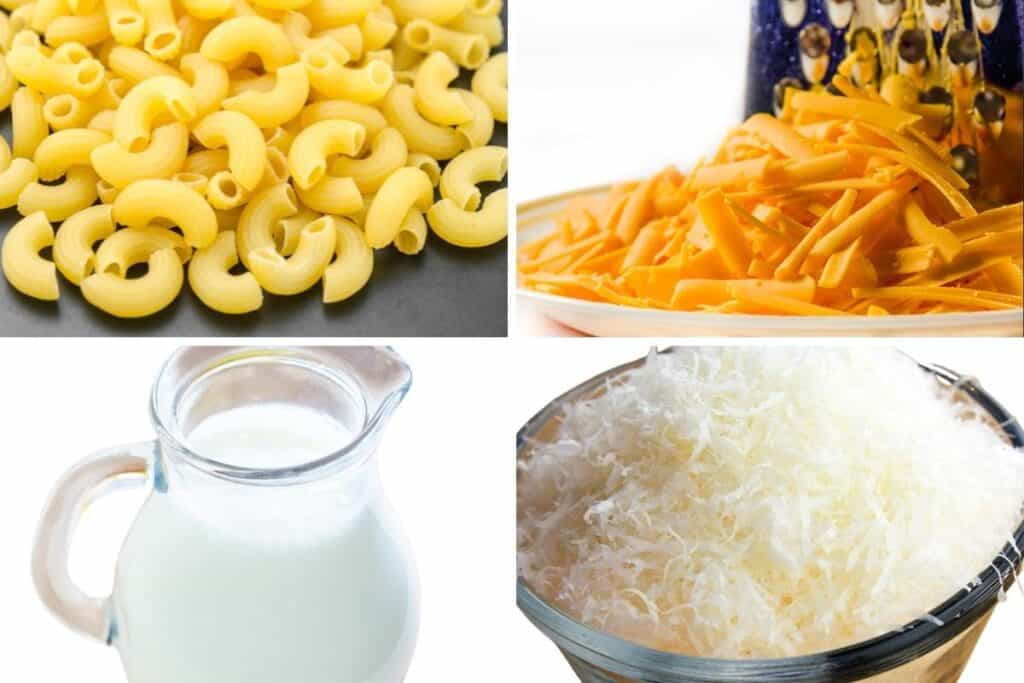
There are all sorts of pasta shapes that can be used for mac and cheese, but some work better than others. Cheese sauce will adhere better to pasta with ridges or curves, such as elbow macaroni, elbow rigate, pipette pasta, tubes, or spirals. For a larger choice, cavatappi (a corkscrew-shaped pasta) is popular for macaroni and cheese.
Traditional elbow macaroni should be cooked for one to two minutes less than the package instructions. This is because the pasta will continue to cook in the oven. You do not want it to get mushy as it bakes. A minute shorter than the package instructions should be fine if you use pasta instead of macaroni. Just be sure not to use quick-cook pasta.
Ingredient Notes
Topping
Breadcrumbs: Panko breadcrumbs are used in this recipe, but you can also use regular breadcrumbs. For a gluten-free option, use gluten-free breadcrumbs.
Oil: I use olive oil because it has a mild flavor that goes great with the garlic in the breading and the flavors in the sauce. If you need to substitute it, I recommend using melted butter instead of another type of oil.
Garlic: The garlic is added to the topping for extra flavor. My family says it’s the best part of the dish, but if you’re not a fan of garlic, you can omit it.
Parsely: The parsley is added to the topping to add freshness. You can also use chives or dried Italian seasoning.
Mac & Cheese
Butter: Salted butter can be used, but it will add extra salt to the recipe. If you’re concerned about salt levels, stick to unsalted butter.
Flour: Use all-purpose or plain flour.
Milk: Whole milk or evaporated milk will produce the creamiest sauce, but you can also use 2% or skim milk.
Cheese: A mixture of sharp and mild cheddar cheese is used in this recipe. Yellow or white cheddar are both suitable choices. You could also use more of one or the other. If cheddar cheese isn’t your thing, you can substitute it with cheese that melts easily, such as Swiss, Monterey jack, Mozzarella, or Gouda.
Parmesan cheese: Parmesan cheese is in the topping and the sauce. If you don’t have any, you can use Pecorino Romano. Grana Padano or Asiago cheese can also be used.
Mustard Powder: This adds a subtle depth of flavor to the sauce. If you don’t have mustard powder, you can use dijon mustard. If mustard isn’t your thing, try adding a little horseradish powder or a splash of vinegar.
Step By Step Instructions
Preheat oven to 350°F/180°C. Lightly grease a large 9 x 13? / 23 x 33cm dish baking dish and set aside.
For The Topping
Shred the sharp and mild cheddar cheeses.
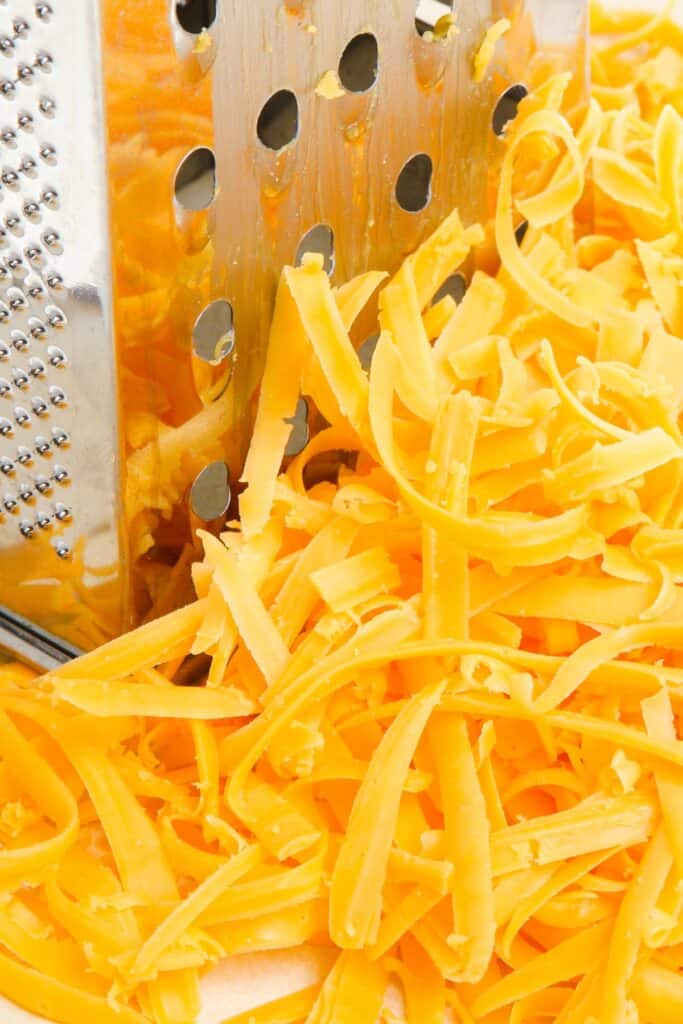
Then combine them in a bowl, separate 1 cup of the mixture into another bowl, and set aside.
Add the breadcrumbs and parmesan cheese to a small mixing bowl and stir to combine. Then add the olive oil, garlic, and parsley.
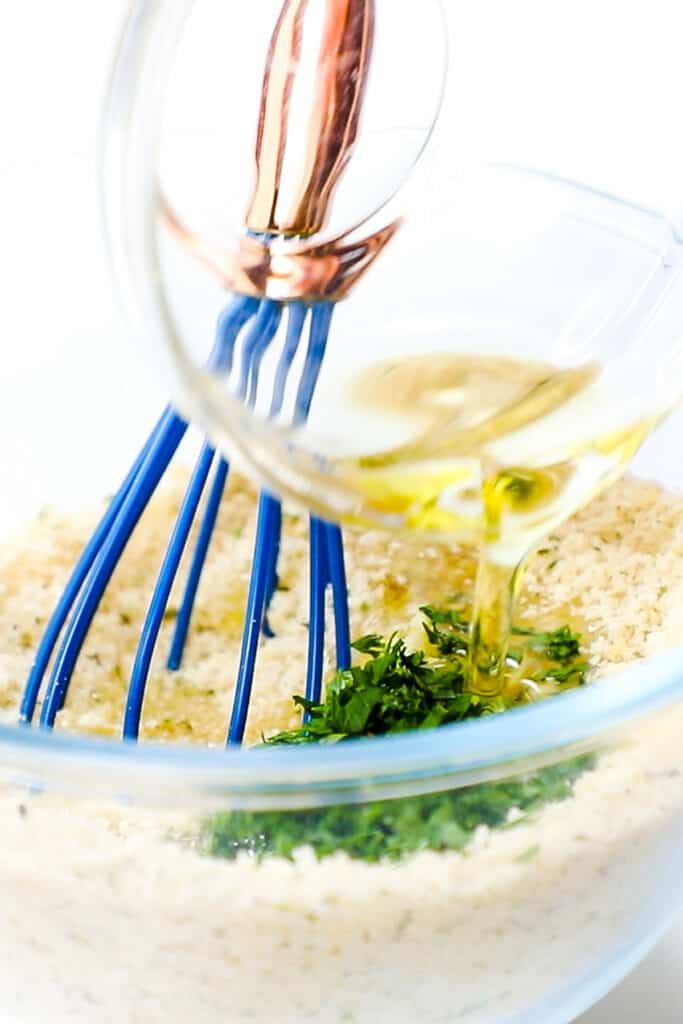
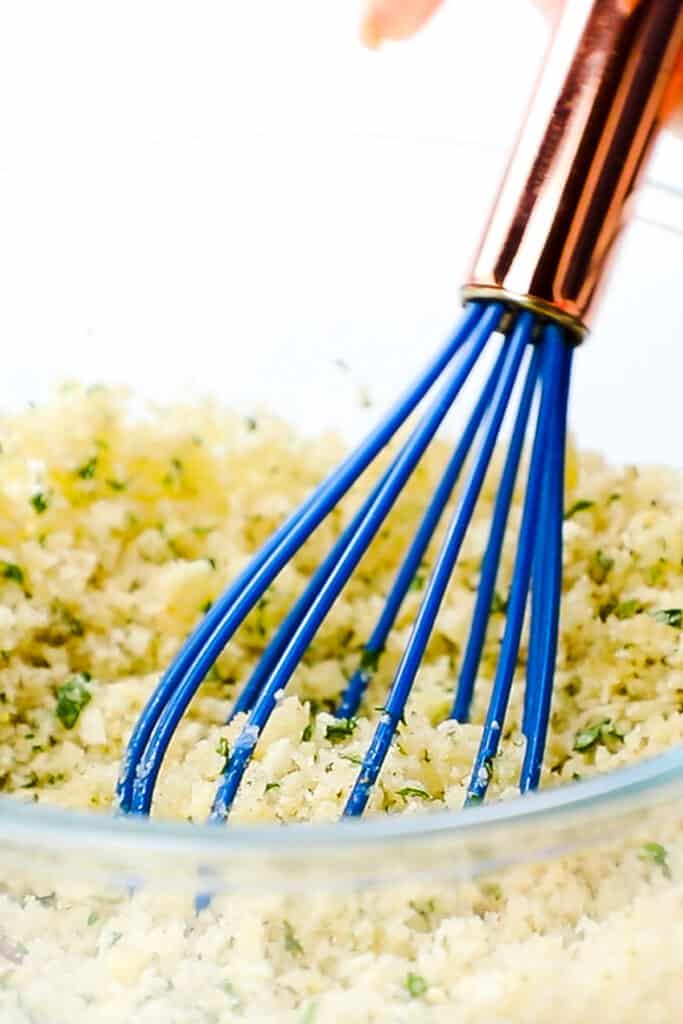
Mix until the breadcrumbs are well-coated.
You want the breadcrumbs to be moistened, if they look a little dry, add a little more oil until the breadcrumbs are fully coated.
For The Mac & Cheese
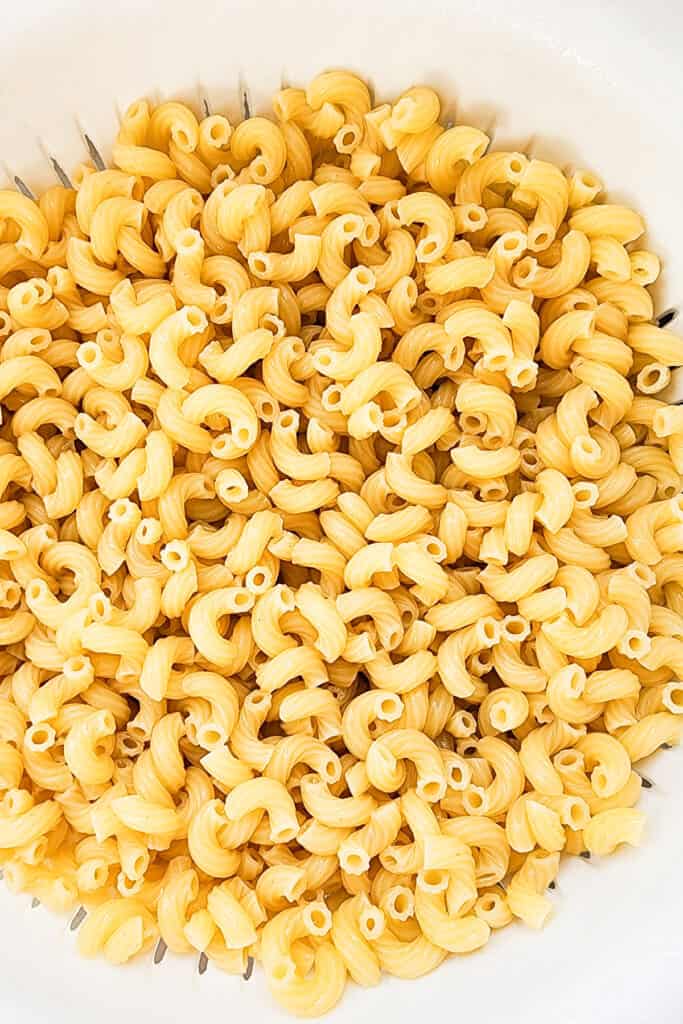
Cook the pasta for 1 to 2 minutes less than the package instructions. You want it underdone at this stage as it will finish cooking in the oven. Drain and set it aside.
I cook elbow macaroni closer to two minutes less than the package says because I like my pasta al dente. If you like your mac and cheese softer, go with a minute less than the package recommends.
While the pasta cooks, melt the butter in a medium saucepan. Add the flour and mustard powder to form a paste (also known as a roux).
Whisk the roux together until you have no lumps. Continue to stir constantly and allow to cook for 2 minutes to remove any starchy flavor.
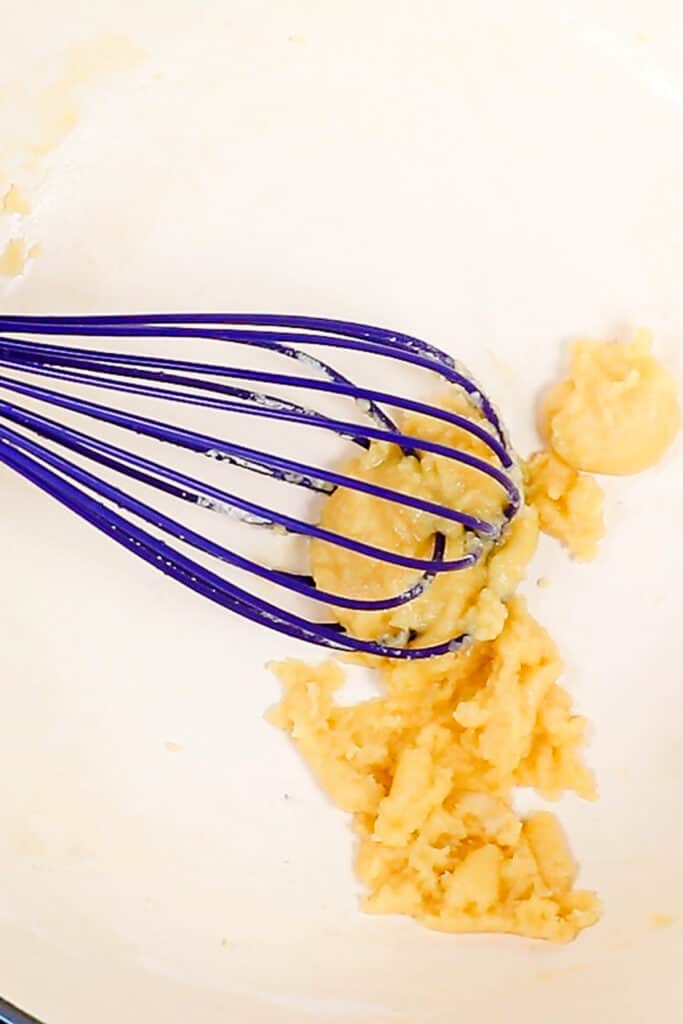
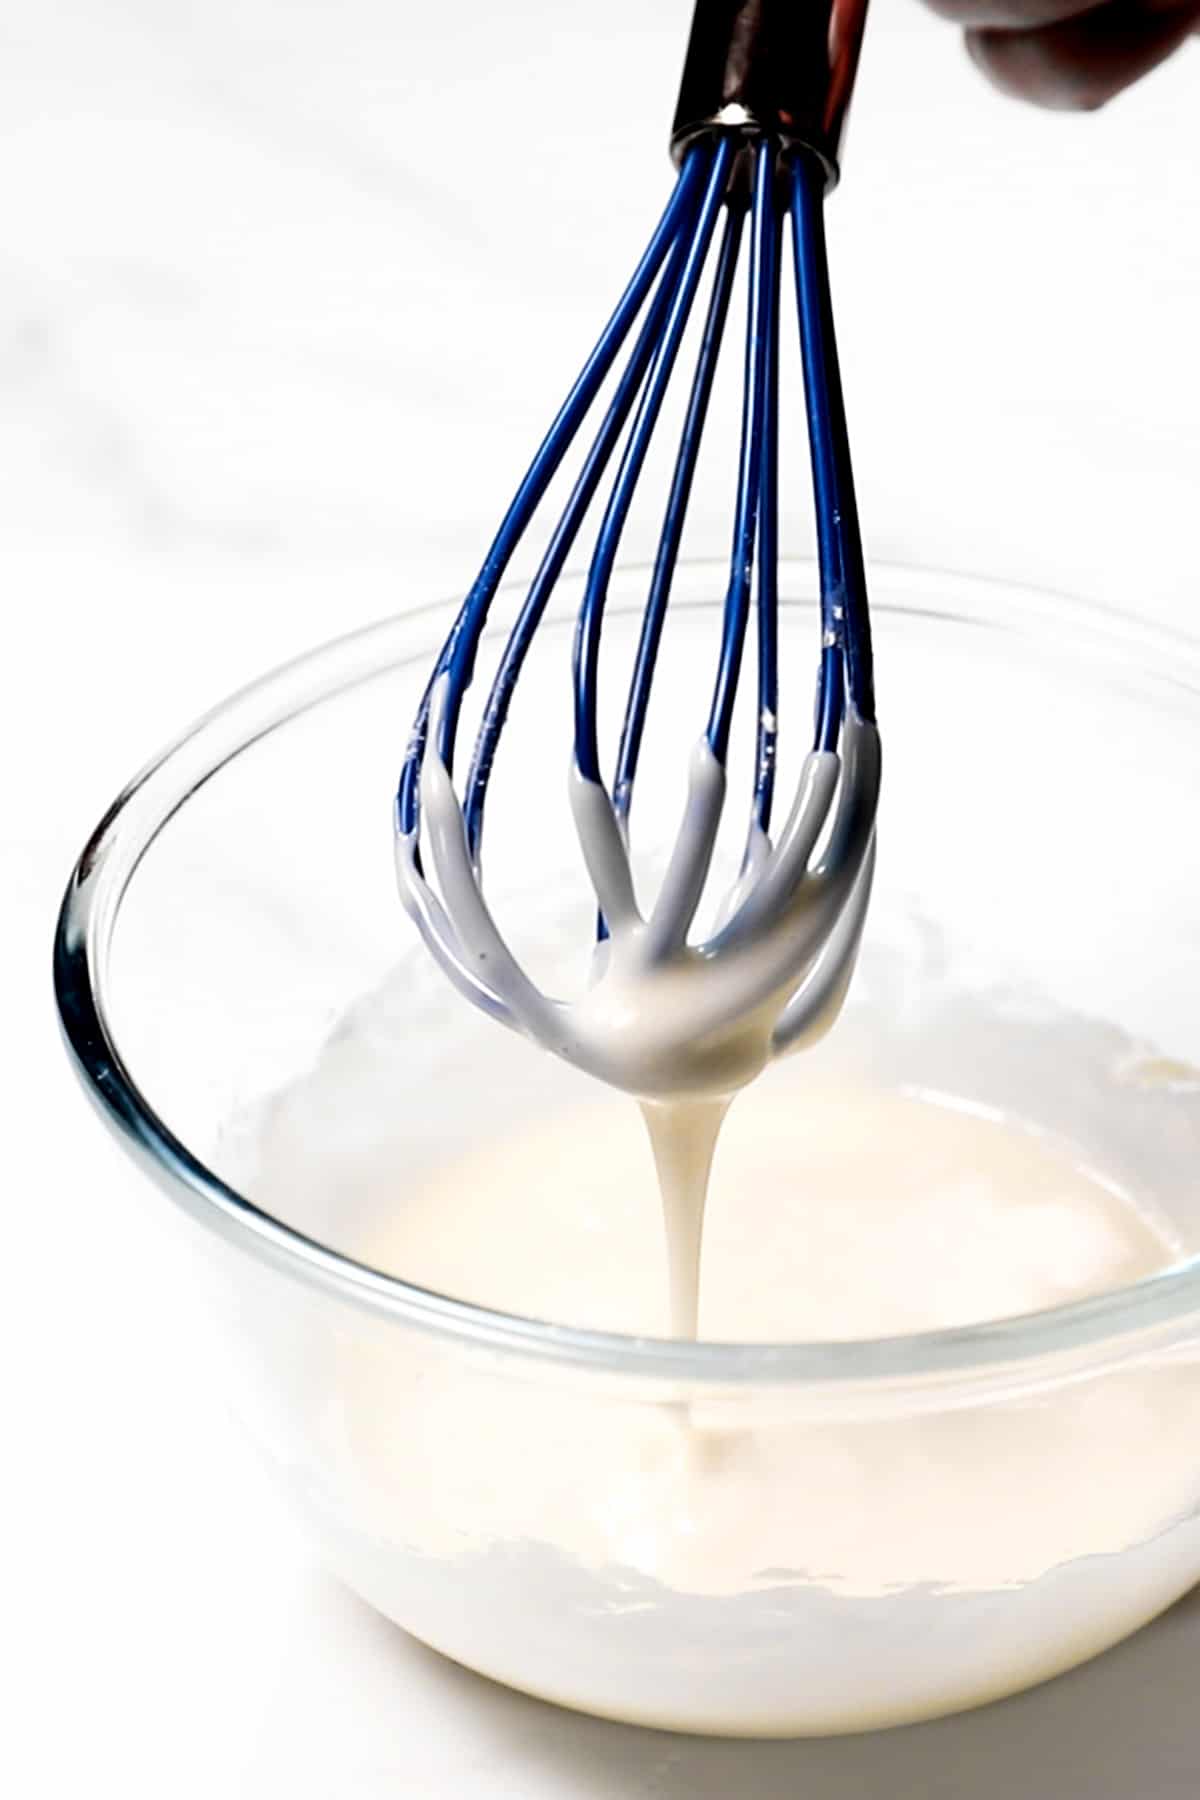
Slowly pour in the milk, a little at a time, while constantly mixing until it’s all added is smooth and starts to thicken. You are looking for a little thicker than heavy cream.
After the mixture has thickened, add the cheese, starting with the Parmesan cheese and finishing with the cheddar. If you want to prevent graininess, reduce the heat to low and add the cheese in small batches, whisking or stirring to combine after each addition.
Don’t use pre-shredded, store-bought cheese, as it has a coating to keep it from clumping in the package, which can interfere with how well it melts into the sauce.
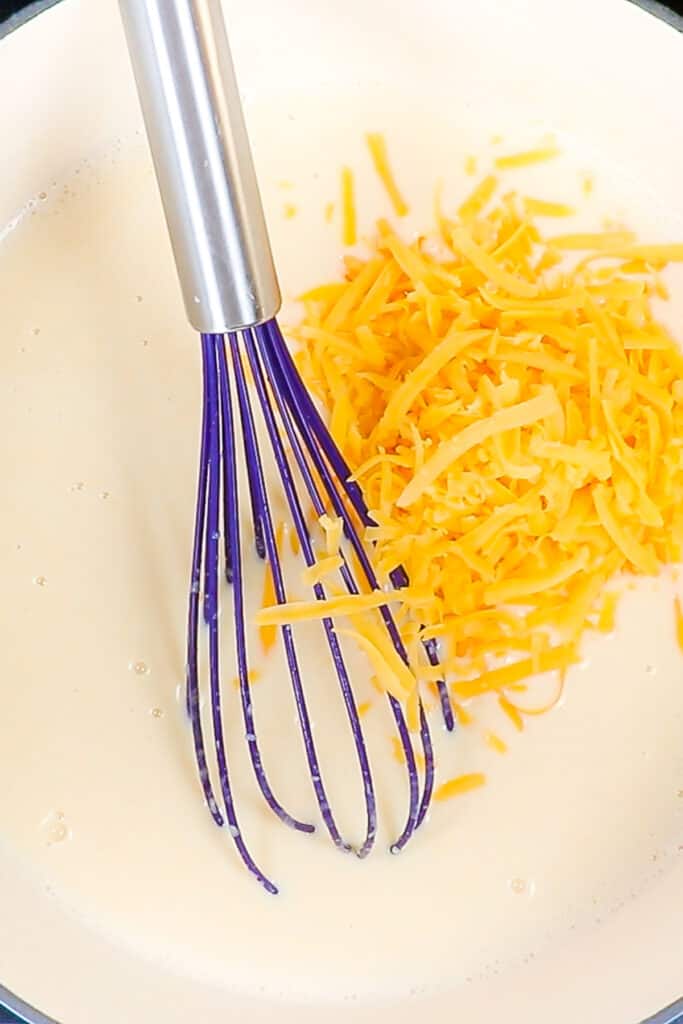
Mix until the cheese is melted and the sauce is smooth.
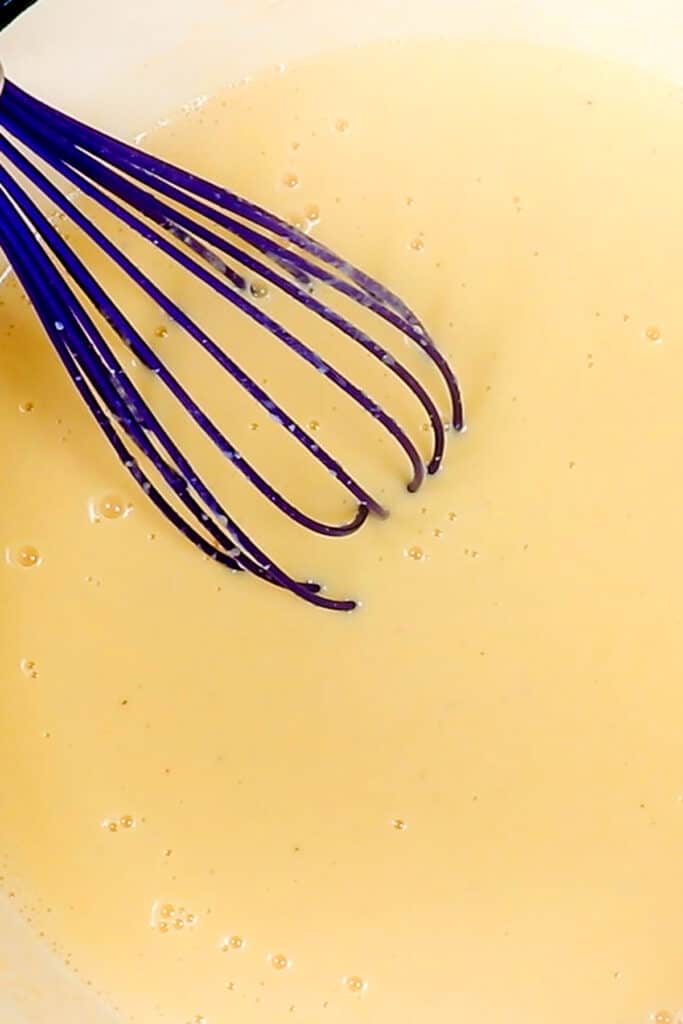
Cook the sauce until it thickens to your desired constancy.
How much the sauce thickens is up to you. If you like a saucy mac and cheese, only let it thicken slightly. If you like less sauce, cook until it thickens into a consistency similar to a thick cream soup.
Add the pasta and mix to coat.
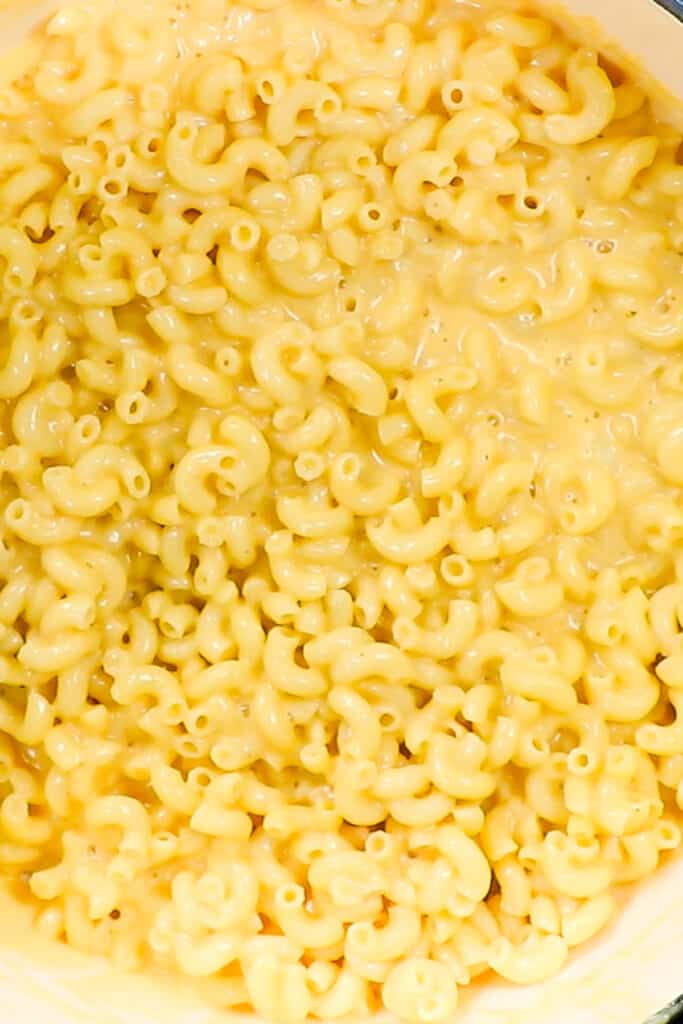
To Assemble
Transfer to the prepared pan.
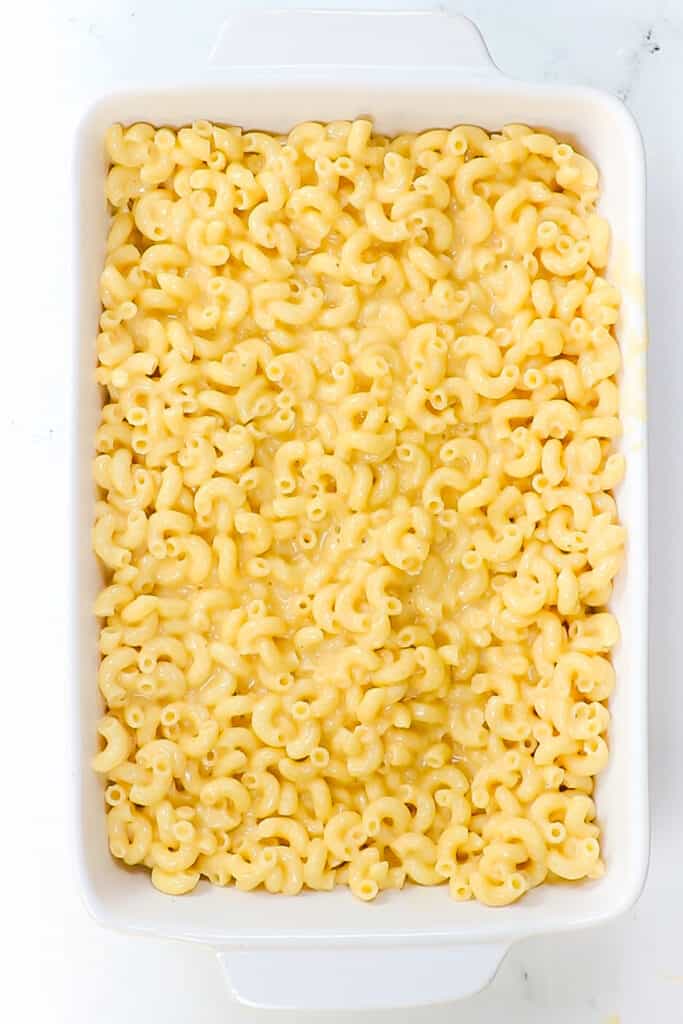
Sprinkle with the remaining cheese.
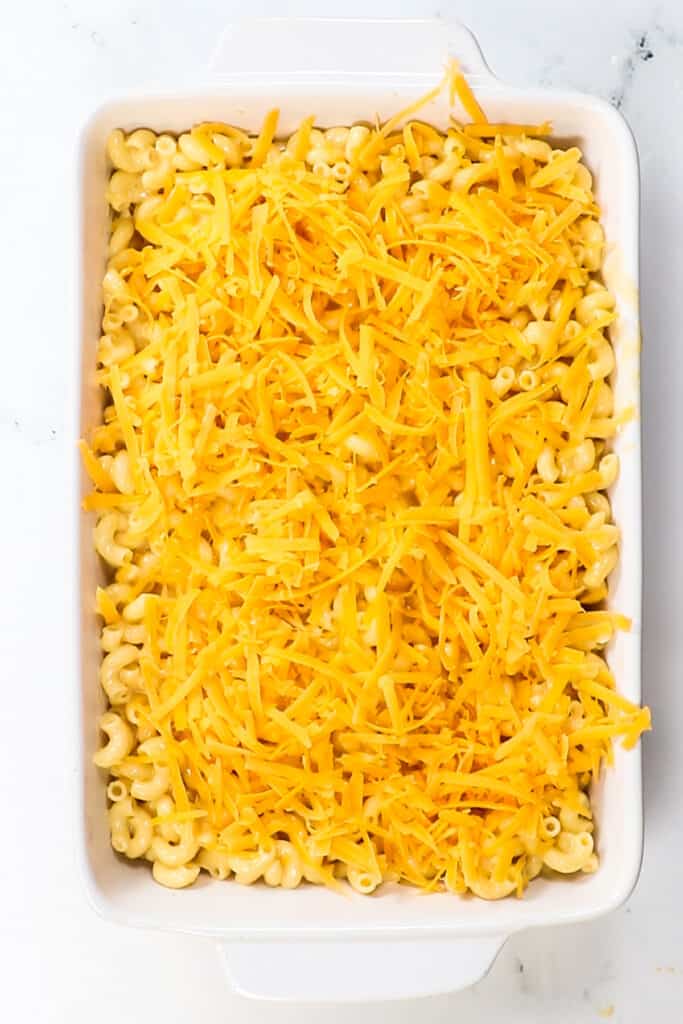
Then top evenly with the breadcrumb mixture.
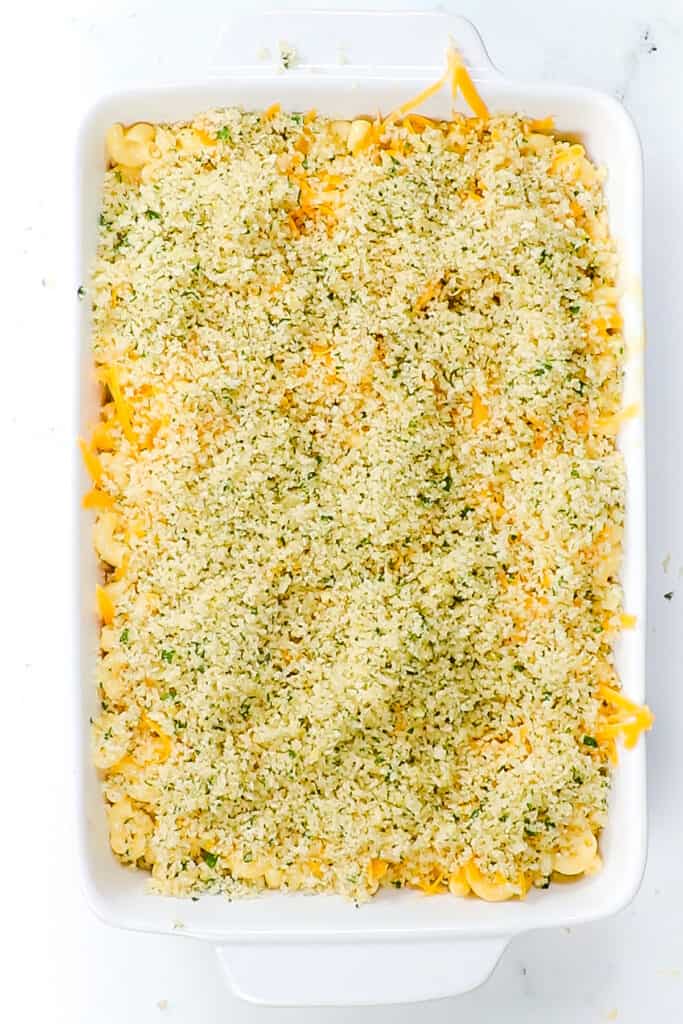
Bake for 15 minutes or until the sauce is bubbly.
Bake for 15 minutes or until the sauce is bubbly. At this point, check the pasta for doneness. If it can cook a little longer without overcooking or drying out, bake another 5 minutes to finish browning the breadcrumbs.
If the pasta is cooked to your liking, place it under the broiler to crisp the topping to avoid overcooking your pasta.
Serve immediately for best results.
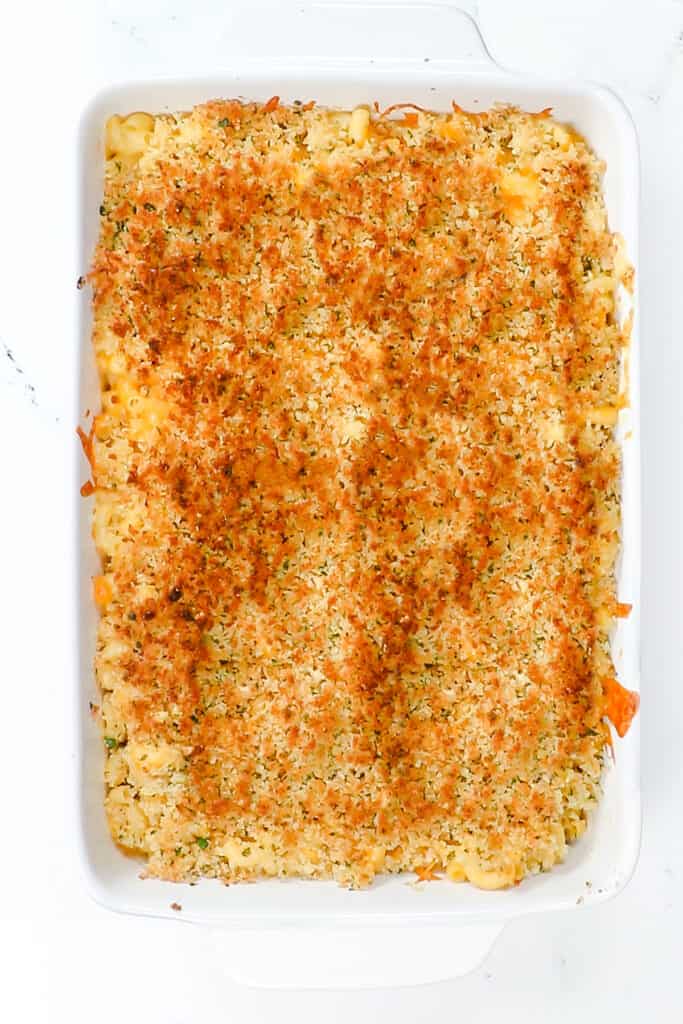
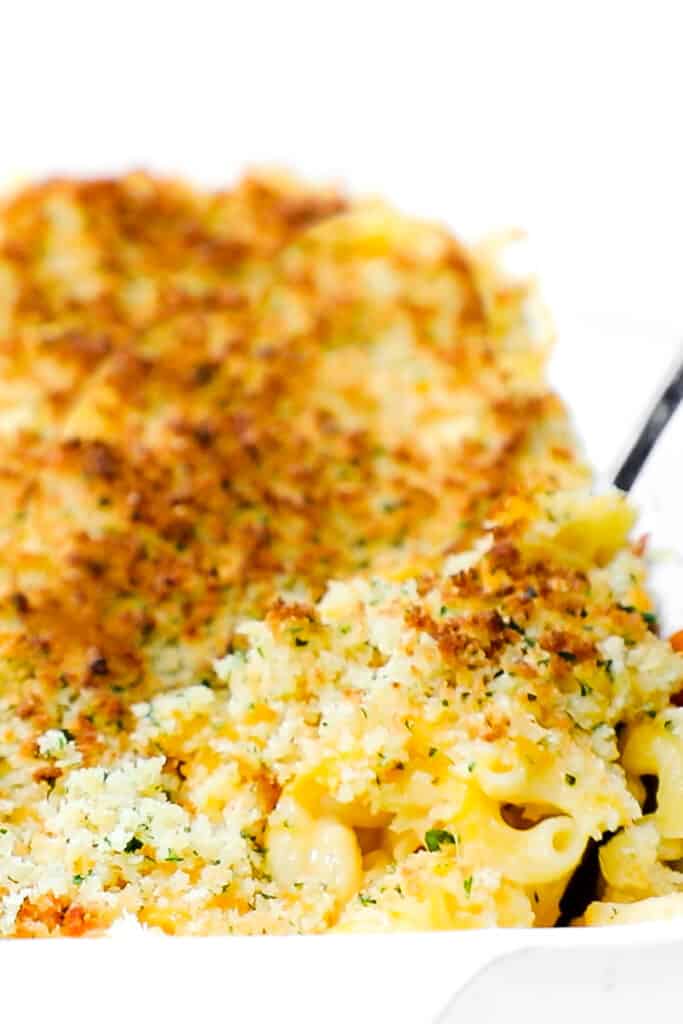
As the mac and cheese sits in the pan, the pasta will continue to absorb the sauce.
As an example, when I shot the video, I thickened my sauce to a consistency of a thick cream soup, and it sat for about 15 minutes before I was able to cut into it.
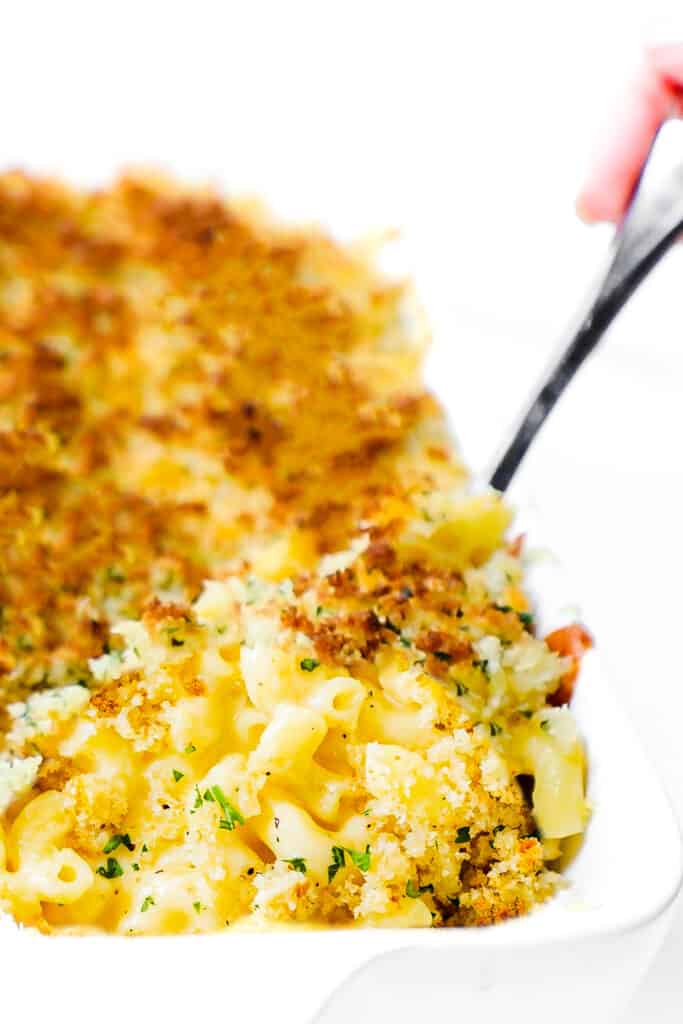
My family would have preferred more sauce. So the next time I made it for the photo shoot, I made the sauce less thick and serve it immediately (as pictured above). I hope you find this helpful.
Storage & Freezing Instructions
This Mac and Cheese is best served fresh from the oven. It will not be as creamy when made ahead, and the pasta may bloat. If you plan to make it ahead, make a little more sauce and cook the pasta for 2 minutes less than what the package instructions say.
The best way to store baked mac and cheese is in an airtight container in the fridge. It will keep for up to 3 days.
To Freeze: If you want to freeze your baked mac and cheese, wait until it has cooled completely before putting it in an airtight, freezer-safe container or freezer bag. It will keep for up to three months. Thaw overnight in the fridge.
To Reheat: Bake in a 350°F/180°C oven until warmed through. You may need to add a little milk or water to the dish if it seems dry.
Erren’s Top Tips
- Using block cheese and shredding it yourself will give you the best result. The pre-shredded varieties are good for many things, but not macaroni & cheese! It has to be freshly grated so that melts properly.
- Salt the water for your pasta well to ensure the pasta has the best possible flavor.
- Undercook your pasta – boil it a minute less than the time it would normally take to be al dente. This is because the pasta will continue to cook in the homemade cheese sauce in the oven. You don’t want your pasta to be too soft.
- Use pasta that has a tube or crevice to hold the creamy, cheesy sauce.
- Before draining the pasta, reserve a cup or two of the pasta water to loosen the cheese sauce if it gets too thick. This will add both flavor and creaminess to the sauce.
- When making the sauce, gradually add milk while whisking the sauce to make sure the flour is smoothly mixed in.
- If you get lumps in your sauce, all is not lost. Just strain it through a fine sieve before moving on to the next step.
- Melt the cheese in batches
- This dish is best served fresh from the oven. As the mac and cheese sits in the pan, the pasta will continue to absorb the sauce and dry it out.
Rate This Recipe
Recipe
Creamy Baked Mac and Cheese
Ingredients
For The Topping
- ½ cup panko breadcrumbs
- 2 tablespoons parmesan cheese (grated)
- 2 tablespoons olive oil
- 2 cloves garlic (minced)
- flat-leaf parsley (chopped)
For The Mac & Cheese
- 1 lb pasta
- 3 tablespoons butter
- 3 tablespoons flour
- 1 teaspoon mustard powder
- 4 cups milk
- ¾ cup parmesan cheese (grated)
- 8 oz sharp cheddar cheese (Shredded)
- 8 oz mild cheddar cheese (Shredded)
- salt and pepper (to taste)
Instructions
- Preheat oven to 350°F/180°C. Lightly grease a large 9 x 13″ / 23 x 33cm dish baking dish and set aside.
For The Topping
- Add the breadcrumbs and parmesan cheese to a small mixing bowl and stir to combine.
- Add the olive oil, garlic, and parsley and mix until the breadcrumbs are well coated. Set aside.
For The Mac & Cheese
- Combine the sharp and mild cheddar cheese in a small bow and separate 1 cup of the mixture into another bowl and set it aside for the topping.
- Cook the pasta for 1 to 2 minutes less than the package instructions (you want it underdone at this stage see the recipe notes for more info). Drain well and set aside.
- While the pasta cooks, melt the butter in a large saucepan over medium heat. Mix in the flour and mustard powder to form a paste.
- Slowly pour in the milk while constantly mixing until it is smooth and starts to thicken.
- Reduce the heat to low, and mix in the Parmesan cheese until combined.
- Mix in the cheddar cheese mixture in batches until melted and smooth. Cook to thicken until it reaches your desired consistency. *See the recipe notes for more information.
- Then mix in the drained pasta until well coated.
- Season with salt and Pepper to taste, and transfer the mixture to the prepared baking dish.
- Sprinkle with the remaining 1 cup of the cheddar cheese mixture, then top with the breadcrumb mixture.
- Bake for 15 minutes. Carefully check the pasta for doneness. If it needs more time, return it to the oven for 5 more minutes, check again and repeat until the pasta is done cooking. If more browning is needed, place under the broiler until golden.
- Serve immediately for best results.
Tips
Tips:
- Using block cheese and shredding it yourself will give you the best result. The pre-shredded varieties are good for many things, but not macaroni & cheese! It has to be freshly grated so that melts properly.
- Salt the water for your pasta well to ensure the pasta has the best possible flavor.
- When making the sauce, gradually add milk while whisking the sauce to make sure the flour is smoothly mixed in.
- If you get lumps in your sauce, all is not lost. Just strain it through a fine sieve before moving on to the next step.
- This dish is best served fresh from the oven. As the mac and cheese sits in the pan, the pasta will continue to absorb the sauce and dry it out.

Leave a Reply