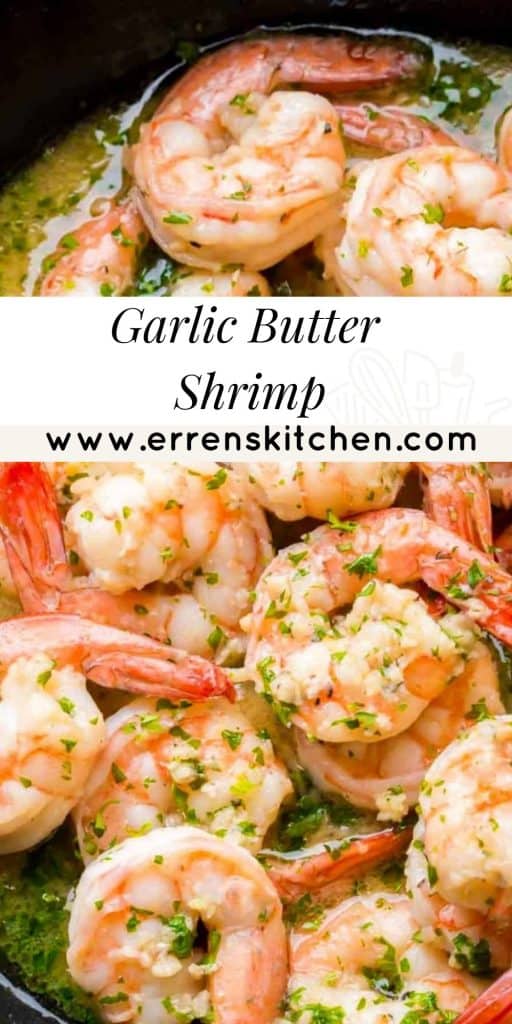
This succulent garlic butter shrimp recipe is ready in just 10 minutes! It makes an easy starter or midweek dinner everyone will enjoy!
Serve with roasted asparagus and rice pilaf, for an easy dinner that’s sure to impress.
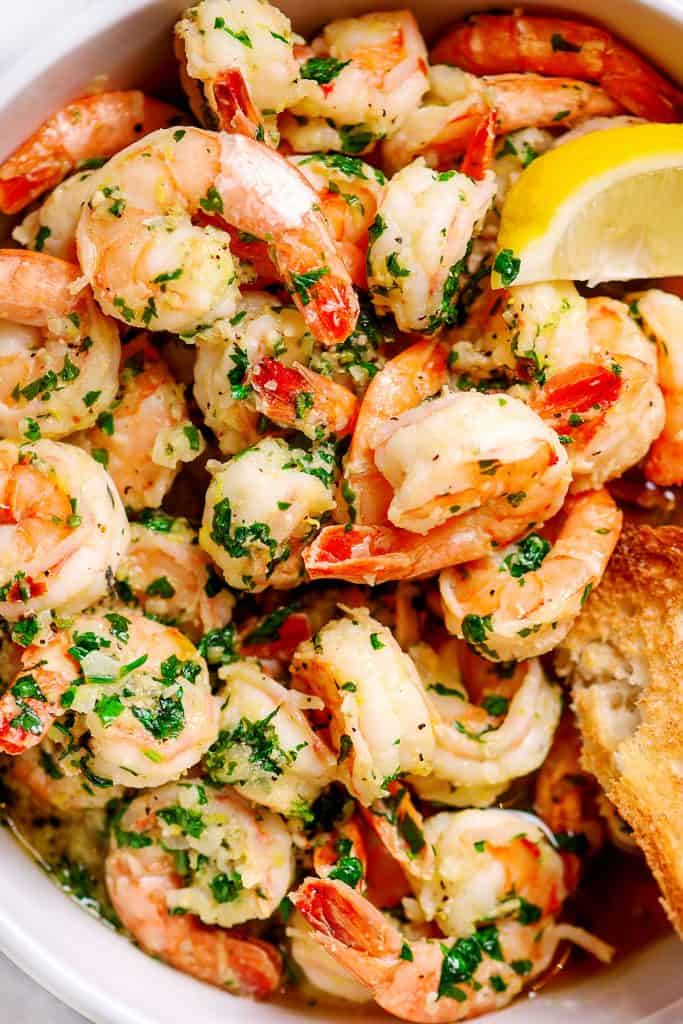
If you love garlic, you’ll devour this garlicky lemon and butter shrimp dish! Best of all – it’s on the table in just minutes. What more could you ask for on a busy weeknight?
Why This Recipe Works
- Quickly Cooking the shrimp and then removing them from the pan flavors the sauce without overcooking the shrimp.
- Adding the lemon at the end keeps the flavor bright with no bitter taste.
- Finishing with butter gives the sauce a silky consistency.
Ingredients Notes

- Shrimp: Use raw shrimp that’s been cleaned and shelled.
- Butter: I use salted butter, but unsalted will work just as well.
- Garlic: Use fresh garlic for the best possible flavor.
Shrimp Buying Guide
With so many choices when purchasing shrimp here are some tips for making the best purchase.
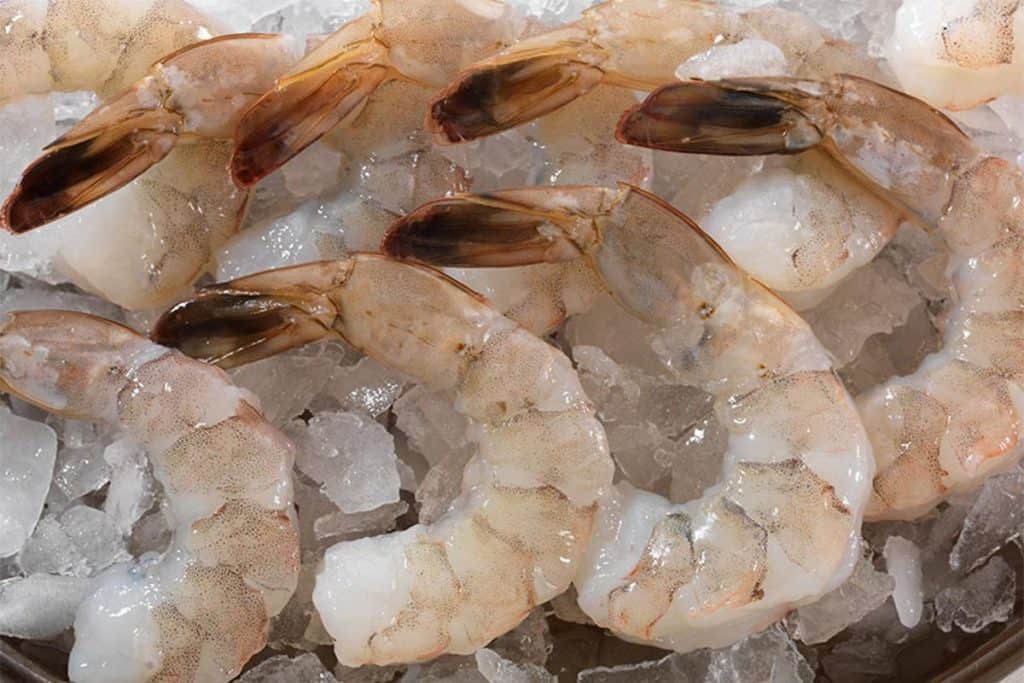
- Is fresh really fresh?: Shrimp may be displayed raw but this doesn’t mean it’s freshly caught. A small percentage (about 10%) of shrimp sold in the US comes from the US. The rest is imported and chances are it was frozen previous to display. If you want to be sure to ask at the counter and avoid buying defrosted produce.
- If buying frozen, try to choose individually quick-frozen shrimp, this way you can thaw exactly the amount you need. For detailed information on this topic, see my post on how to thaw frozen shrimp
- Untreated shrimp. Some manufacturers chemically treat frozen shrimp. Check the ingredients on the packed to make sure “Shrimp” is the only thing on the ingredient list.
How to achieve crispy Shrimp
If you have ever wondered how chefs make perfectly cooked crunchy shrimp? Here are a few tips on how to do it at home:
- Place frozen or raw shrimp in a large bowl. Pour cold water over the shrimp then add 1 tablespoon of baking soda. Cover with plastic wrap and leave them to soak overnight.
- One hour before cooking, take the shrimp from the baking soda solution and brine in a solution of 1 quart (4 cups) of water, 2 tablespoons sugar, and 1 tablespoon salt. Leave for 15 minutes to an hour. Dry well before using.
How to make Garlic Butter Shrimp
- Saute the garlic and the shrimp in a pan. Remove shrimp.
- Add butter and lemon juice. Mix until melted.
- Bring to the boil and let simmer until a silky sauce is achieved.
- Serve and enjoy!
Step By Step Instructions
Prepare the shrimp by patting it dry with paper towels
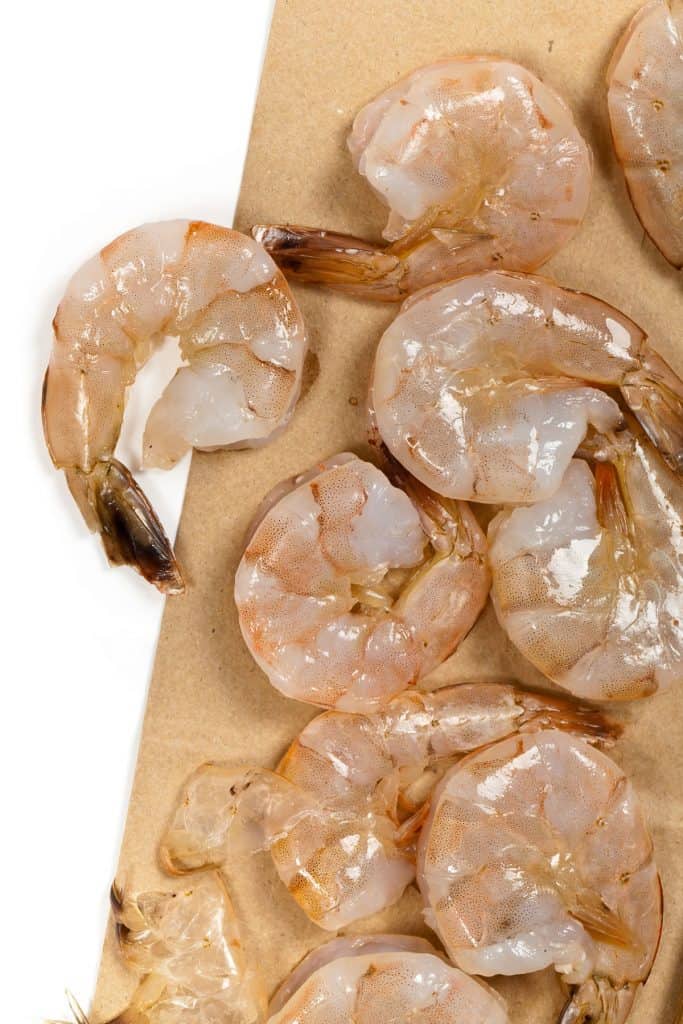
Then season the shrimp with salt and pepper.
Heat the olive oil over high heat. Add the shrimp to the pan in a single layer.
Add the shrimp going clockwise around the pan so you know the order to flip them in for even cooking.
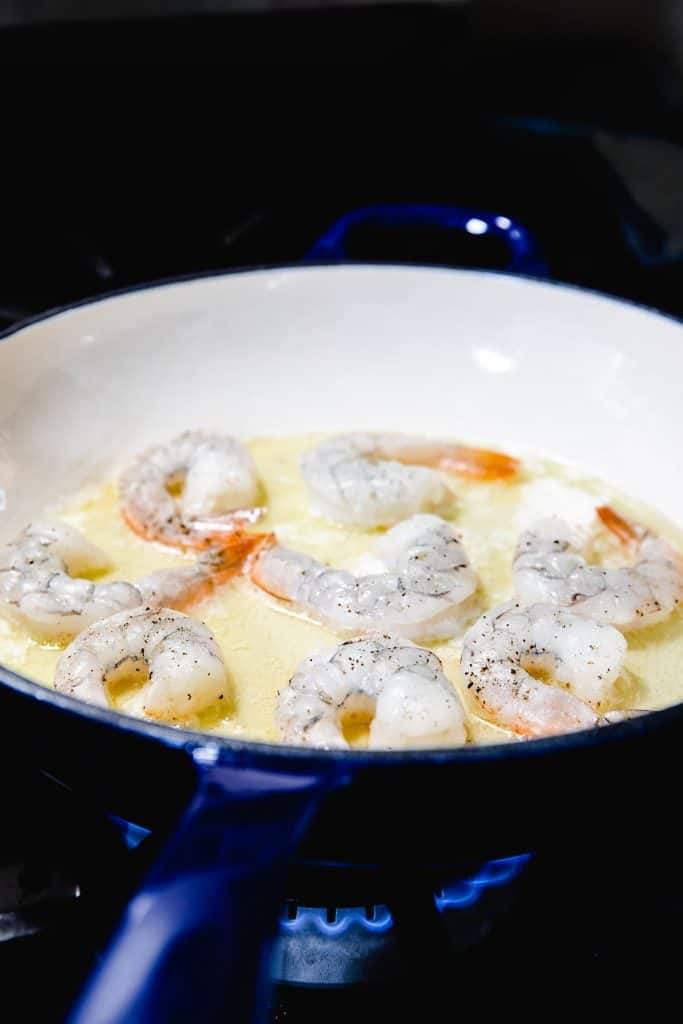
Cook the shrimp undisturbed for about a minute on each side.
Lower the heat to medium. Then add the butter and allow it to melt before adding the garlic. Cook until fragrant.
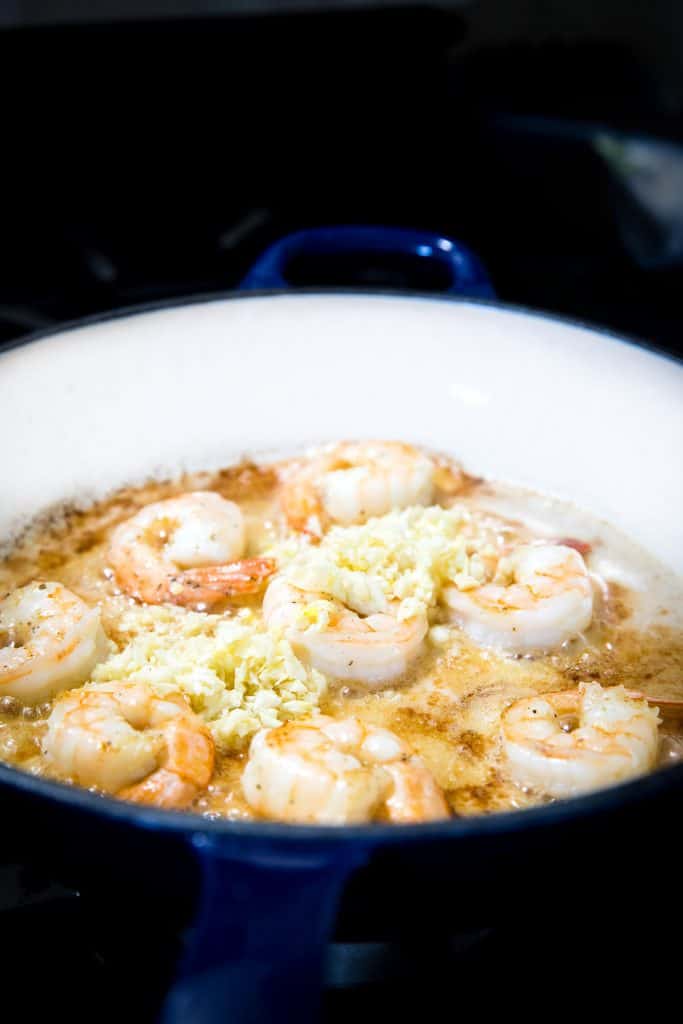
Add the lemon zest, juice, parsley, and toss to coat.
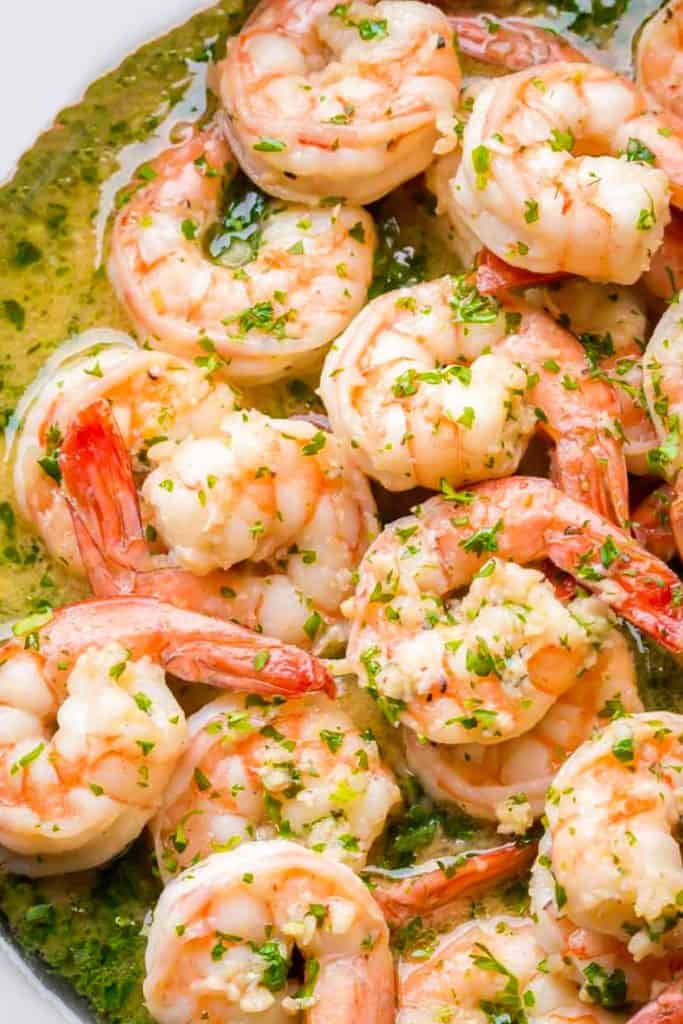
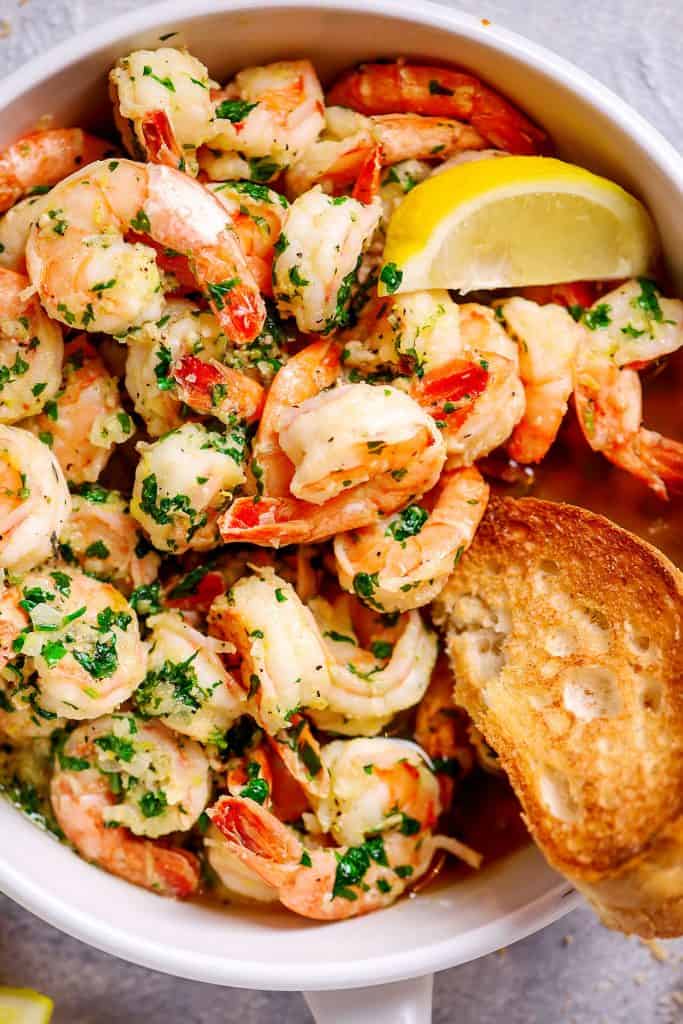
Serve and enjoy!
Tips for best results
- If you like your shrimp extra crunchy and don’t want to overcook, brine before cooking (see the instructions under how to achieve crunchy shrimp).
- To avoid the sauce becoming greasy, the butter is best mixed in at the end to emulsify the mixture.
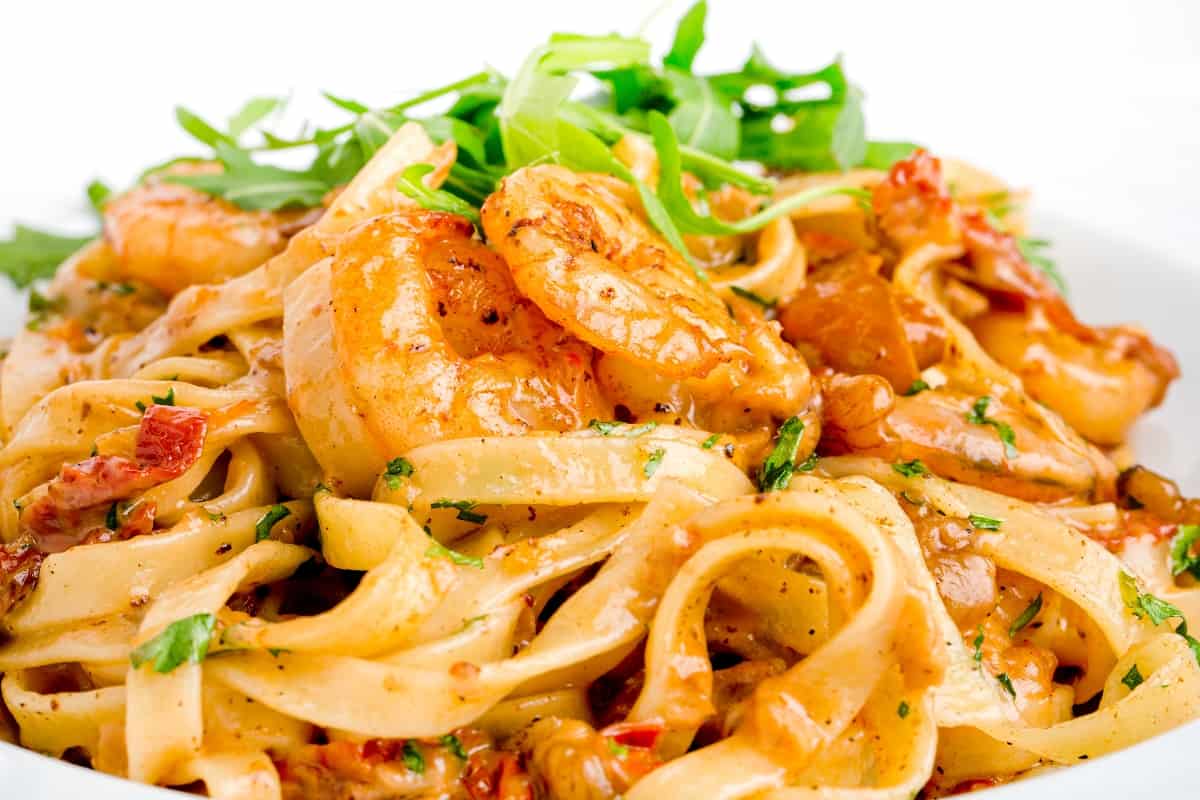
- This dish can also be served with pasta. I also like to serve it on a bed of rice or simply alone as an appetizer.
Other Seafood Dishes You’ll Love
FAQs
Some good choices are to serve it with rice, pasta, couscous, or with a side of asparagus.
Garlic shrimp can be kept in an airtight container for up to three days.
Did you make this?
Stay Updated
Receive new recipes & dinner ideas straight to your inbox!
Let’s Make Garlic Butter Shrimp
Ingredients
- 1 lb shrimp peeled, deveined large or jumbo shrimp
- 2 tablespoons olive oil
- 2 tablespoons butter
- 6 cloves garlic chopped/minced
- 1 tablespoon lemon zest
- 1 tablespoon lemon juice fresh-squeezed
- 2 tablespoons parsley chopped
- salt and pepper to taste
Instructions
- Prepare the cleaned, shelled shrimp by patting them dry with paper towels. Then season well with salt and pepper.
- Heat the olive oil over high heat in a shallow pan. Add the shrimp to the pan in a single layer and allow to cook undisturbed for 1 minute. Flip the shrimp, and cook until they are just cooked through (about 1 minute).
- Lower the heat to medium. Add the butter and allow it to melt. Add the garlic and cook until fragrant (about 30 seconds), being careful not to brown too much. Add the lemon zest, juice, and parsley. Toss to coat.
- Check for seasoning and add salt as needed before serving.
Tips + Notes
- If you like your shrimp extra crunchy and don’t want to overcook, brine before cooking (see the instructions under how to achieve crunchy shrimp).
- To avoid the sauce becoming greasy, the butter is best mixed in at the end to emulsify the mixture.
- This dish can also be served with pasta. I also like to serve it on a bed of rice or simply alone as an appetizer.
Nutrition Information:







Pamela Emmett says
I hate leaving a review without actually trying the recipe, however I have a question regarding thawing shrimp.
I have thawed shrimp in cold water (minus the baking soda) with less than tasty results. The only individual that would eat it was the dog. The texture of the shrimp was rubbery, and the shrimp tasted fishy.
After some research, I learned that frozen shrimp should not be soaked in water.
I have since been thawing my shrimp overnight in a colander, the icky fish taste has been eliminated, but I would like to improve on the texture.
If I were to soak my shrimp in the brine, can it be soaked for 12+ hours? (I want to start the process the night before).
My spouse and I are recent “empty nesters.” We suddenly have the option of eating food we enjoy at home. Shrimp is one of the foods I want to explore.
Erren Hart says
Thank you for your thoughtful question! You’re absolutely on the right track with wanting to improve the texture and flavor of your shrimp. Soaking shrimp in a brine with baking soda and salt is a great technique, but soaking for 12+ hours would be too long and could result in mushy shrimp due to over-brining. Instead, I recommend brining the shrimp for about 30 minutes to an hour before cooking. This short time is enough to enhance the texture and flavor without compromising the shrimp’s quality.
For best results, continue thawing your shrimp overnight in a colander in the fridge as you have been. Once thawed, rinse them briefly, then proceed with the brine. This combination should help you achieve deliciously tender, non-fishy shrimp. Enjoy exploring shrimp recipes as you and your spouse try new dishes at home! 😊
Erren Hart says
So happy to hear it! Thanks for stopping by and sharing!
KAREN R says
This recipe was great, fast and easy. I used linguini. In the saute, I added fresh, sliced mushrooms. Just great!
Erren Hart says
That’s so great! Thanks for taking the time to let me know! 🙂
Miranda Skye says
So tasty, and so simple. OMG wow!
Erren Hart says
Oh that’s wonderful to hear!!
Andrea G says
This was a really quick & easy recipe!! We had with salad. I like the fact you can adjust recipes to how many people you are feeding!
Erren Hart says
How wonderful!! So thrilled to hear that.
Jemma says
Quick easy and wonderfully tasty. This recipe is now in my rotation. Thank you!
Erren's Kitchen says
I’m so glad you liked it Jemma 🙂
Millie says
So tasty, and so simple. I mixed the sauce and shrimp with cooked angel hair pasta and topped with freshly grated Parmesan cheese! This is an excellent dish!
Erren Hart says
Yay! Love to hear that 🙂
Amanda Jones says
I made this for dinner tonight. It was superb! The kids devoured it! Thanks, Erren
Erren Hart says
I’m so glad you enjoyed the recipe! Thanks for taking the time to comment! 🥰
Helen says
Amazing recipe, I’m not great in the kitchen so all the information on this post was really useful!
Erren's Kitchen says
Thank you Helen, this is so good to hear 🙂