
This site runs ads and generates income from affiliate links. Read my disclosure policy.
Learn all you need to know about How to make graham cracker crust – a delicious, buttery crust that will make any pie recipe even better.
This Guide will walk you through everything you need to know about making the perfect graham cracker crust. I recommend reading the entire article, but you can also use the table of contents below to jump to the most interesting section.
Why This Recipe Works
- Crushed graham crackers give the crust a slightly sweet and nutty taste that goes well with many different fillings.
- Brown sugar adds a rich caramel flavor that can’t be beat.
- Salted Butter seasons the crust will add a buttery decadence.
What Is Graham Cracker Crust
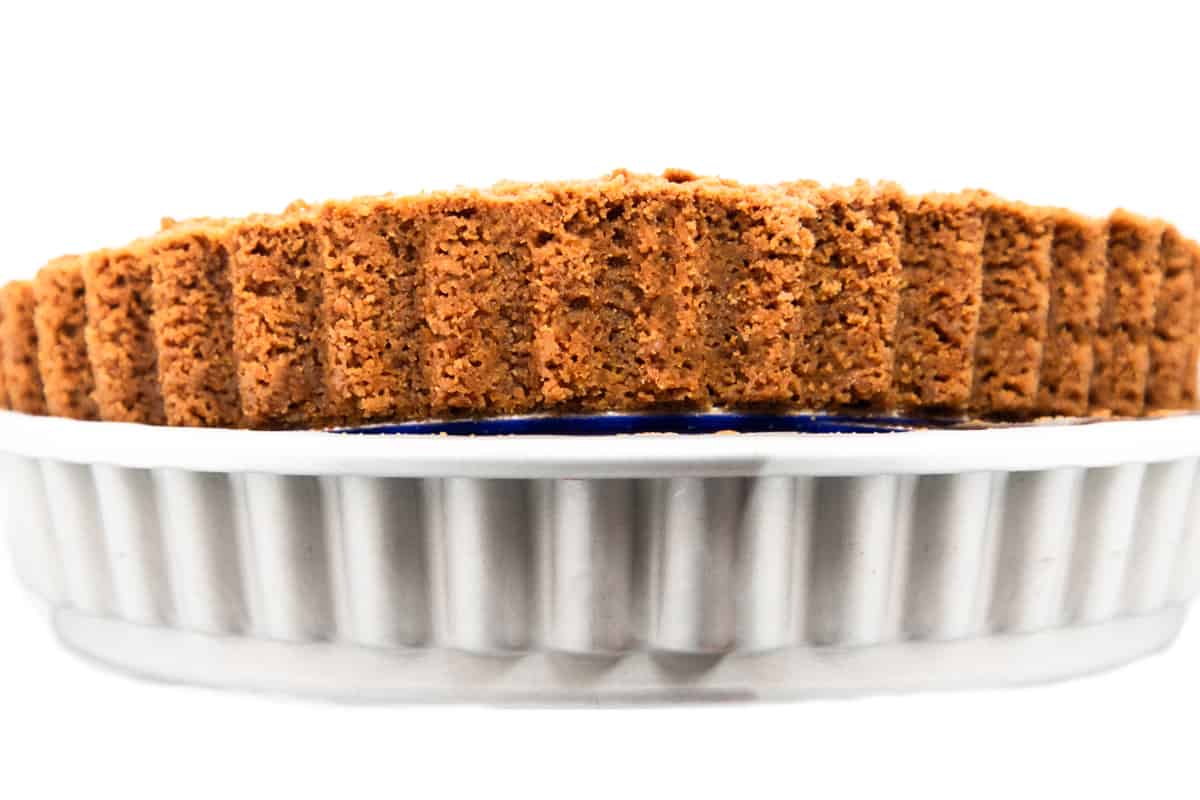
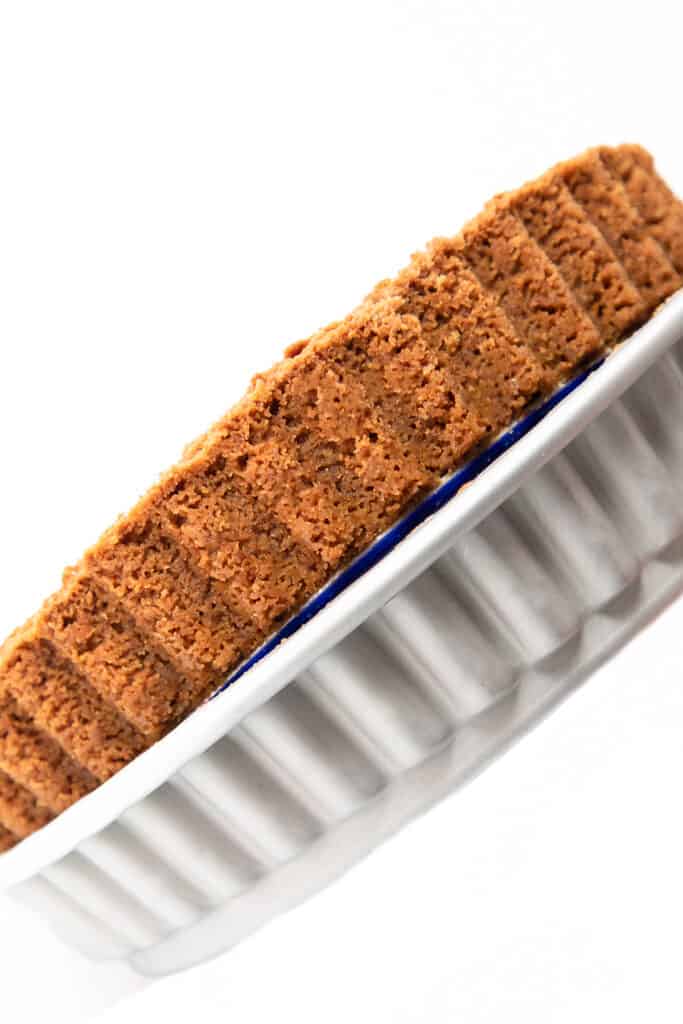
If you are unfamiliar with Graham cracker crust, it is a pie crust made of crushed Graham crackers and butter. The bottom and sides of a pie or tart pan are coated with butter and Graham crackers.
My crust is a well-tested recipe that perfectly matches baked or no-bake pie. I’ve used it for Key Lime Pie, Chocolate Pudding Pie, as well as my Banoffee Pie, and it’s always a crowd-pleaser.
Ingredient Notes
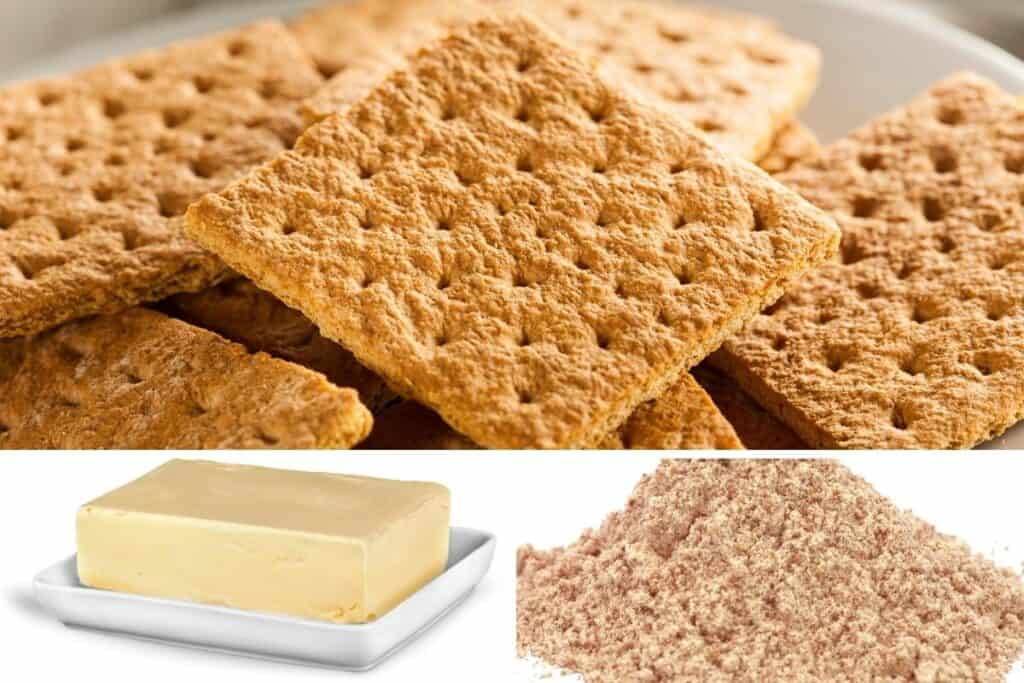
Graham Crackers: Any graham crackers can be used for this recipe. You can substitute them with other cookies, such as vanilla wafers, digestive biscuits, crispy ginger snaps, or animal crackers. I’ve even used crushed Oreos – the choices are endless!
Butter: I use salted butter as it seasons the crust. If you use unsalted, add a pinch of salt to the recipe. I find European butter works best as it has lower water content and helps prevent fogginess after filling.
For a non-dairy option, use vegan butter or neutral oil. I recommend adding oil in increments until the mixture is just moistened to prevent a greasy crust.
Sugar: The recipe calls for light brown sugar, but you can substitute it with granulated, caster, dark brown sugar, or Muscovado sugar. Or, for lower sugar content, you can omit the sugar altogether.
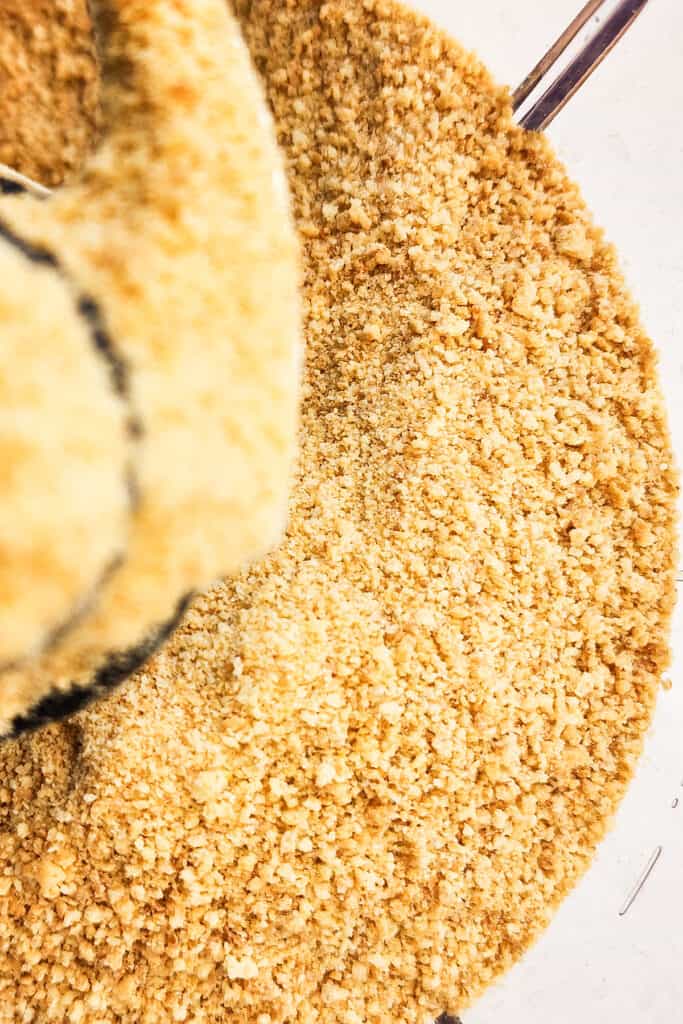
How To Crush Graham Crackers
To make a Graham cracker crust, you will need to crush the graham crackers. You can do this by placing them in a plastic bag, crushing them with a rolling pin, or placing them in a food processor and pulsing them until they are broken into a breadcrumb texture.
Baked Vs. Unbaked
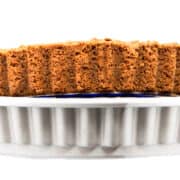
Although it’s not necessary, in my opinion, a graham cracker crust is best baked as it makes it firmer.
The butter and sugar will melt and solidify again, acting as glue to hold the crust together.
If you don’t bake it, you can chill it until it is firm enough to fill and cut. However, it will never be as solid as if you had baked it.
Step By Step Instructions
To Melt The Butter
Cut the butter into small pieces, put it in a microwave-safe bowl, cover it with a microwave-safe lid or plate, and heat it in the microwave on high for 30 seconds at a time until it’s melted.
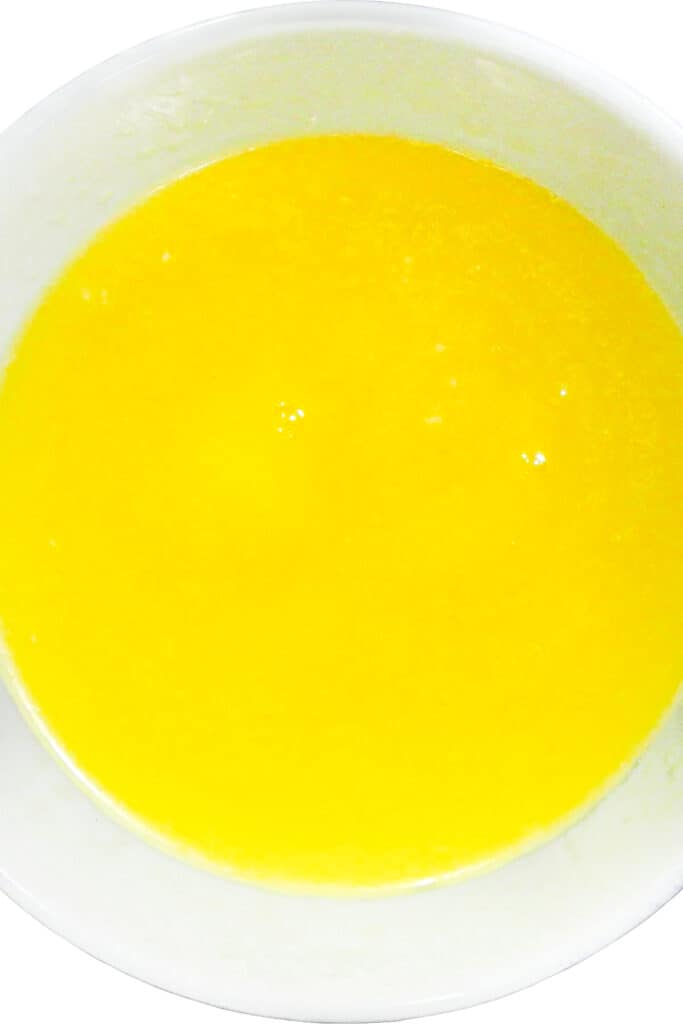
Or use a heavy saucepan or double boiler. Warm the butter over low heat, and stir occasionally until it is melted.
To prevent browning or burning, remove the pan from the heat and keep stirring until all the butter is melted.
To Make The Crust
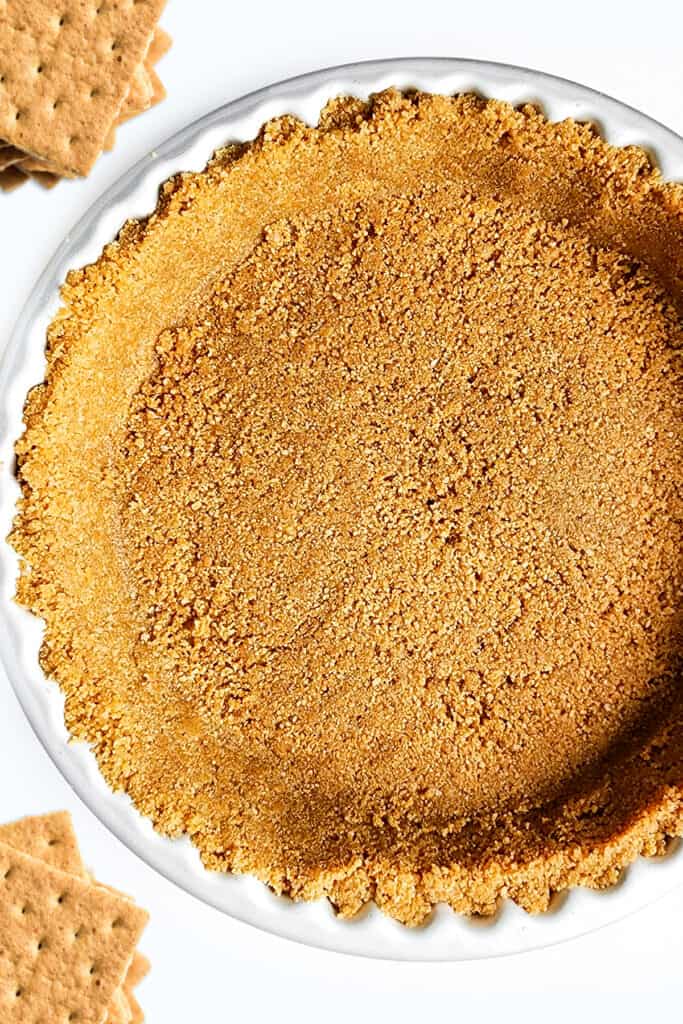
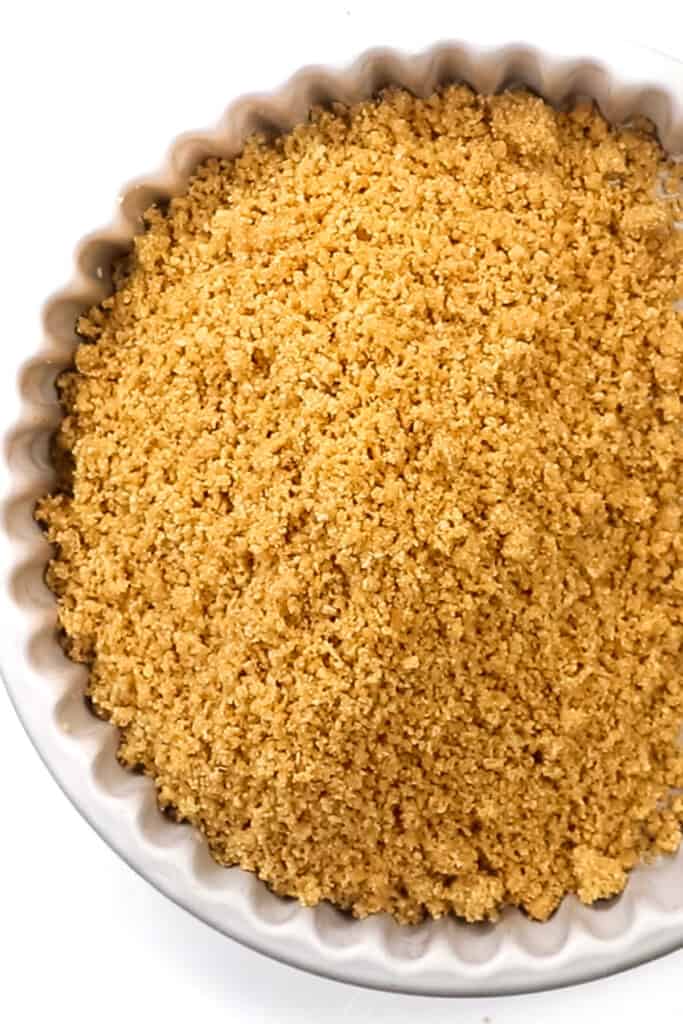
Mix the graham cracker crumbs and sugar in a medium bowl using a fork or whisk with wide-openings. Do this before adding the other ingredients to be sure it’s well combined.
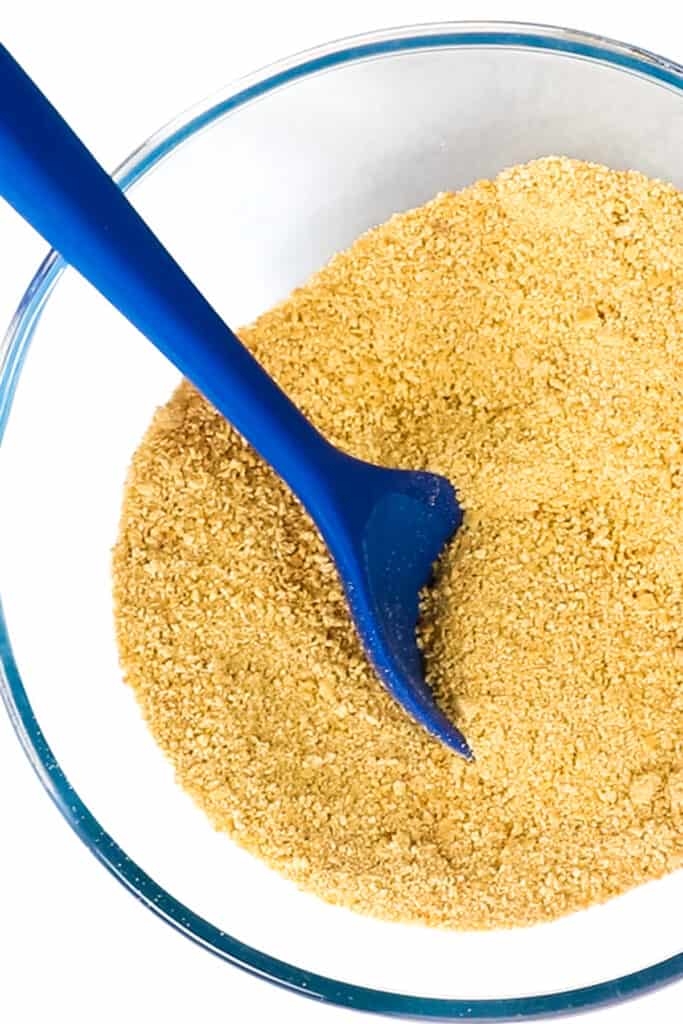
Then mix in the melted butter. The mixture will look slightly moist, coarse, and sandy. Try to break up any large chunks.
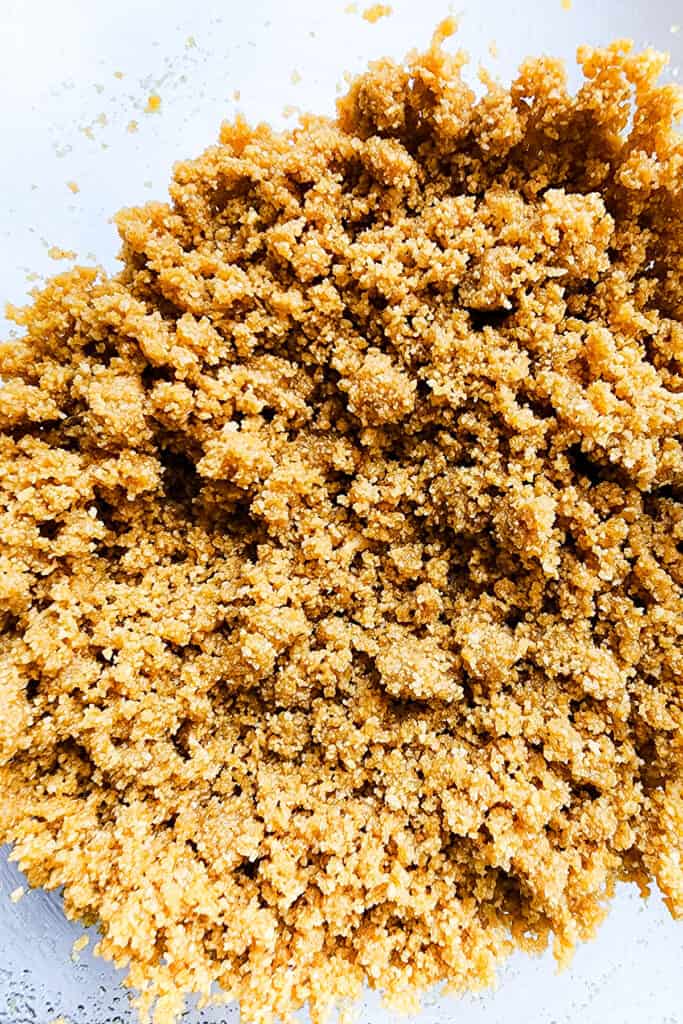
To make a graham cracker crust that doesn’t fall apart, add enough butter and bake it for 10 minutes. This will help it not fall apart when you take it out of the pan and cut it. If you’re unsure if it’s moist enough, always add butter until it resembles damp sand.
Add the mixture to an ungreased 8 or 9-inch tart pan or pie tin.
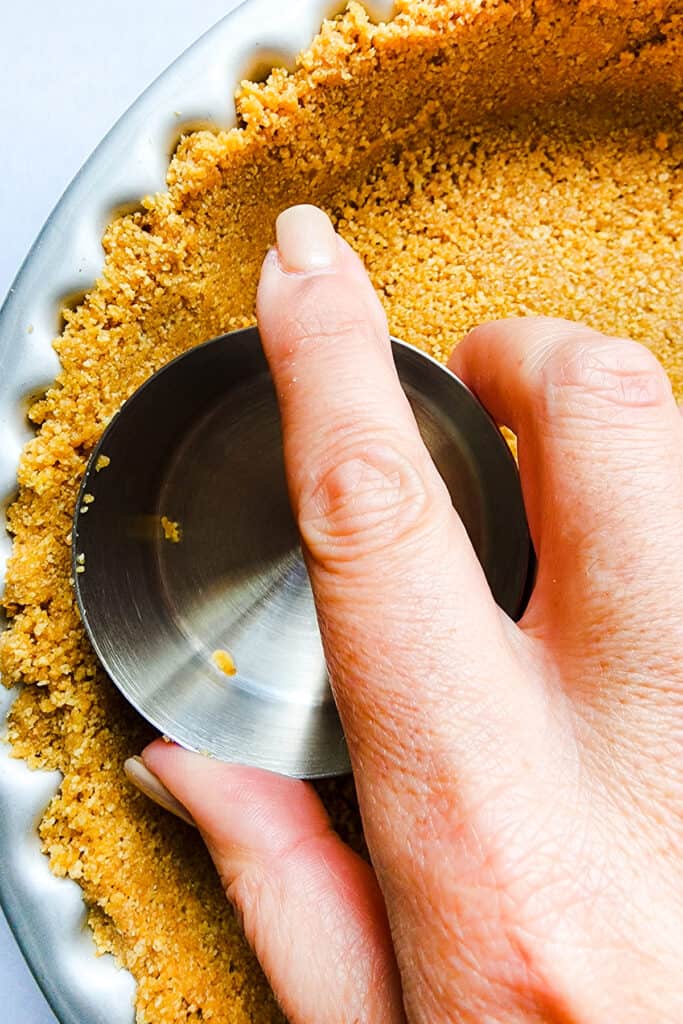
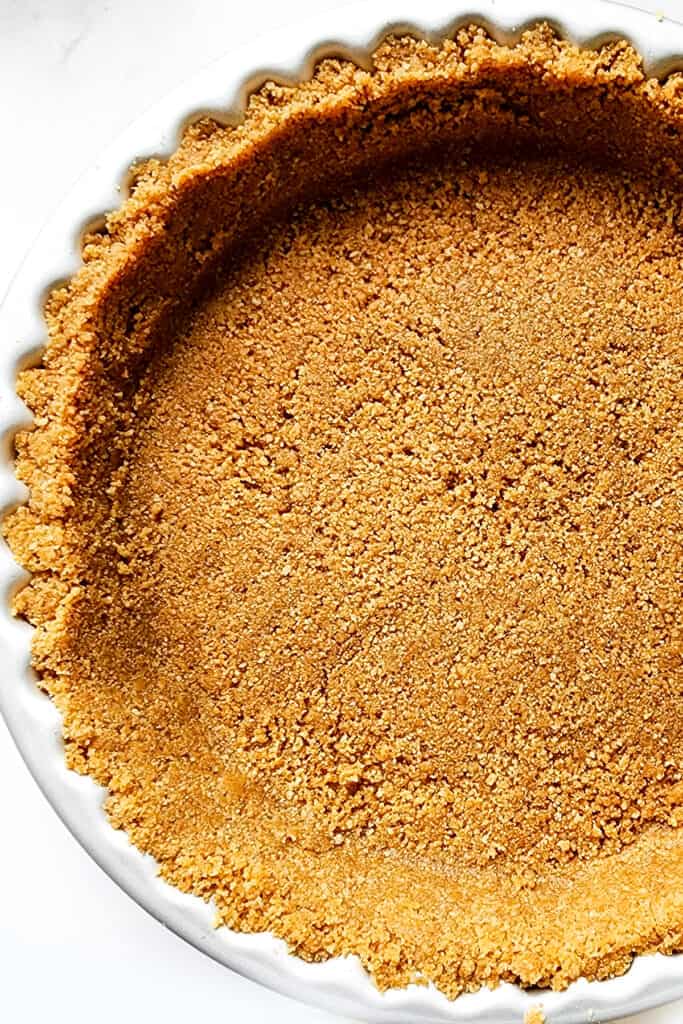
Using a small flat-bottomed measuring cup, glass, or your hands, press the crumbs into the bottom and sides to form a compact crust.
Try not to press too hard when pressing the mixture into the pan. Too much pressure can make the crust quite hard. Firmly press it into the pan until it’s an even, smooth cover.
If you are baking a dessert, pre-bake the crust according to the recipe’s instructions. I usually pre-bake for 8 minutes at 350°F/180°C.
If you are making a pie or dessert a day or so ahead, I recommend brushing the crust with an egg white eggwash before baking. This will create a barrier between the crust and the filling that will help prevent a soggy bottom.
If you are making a no-bake pie or dessert, cool the crust completely unless your recipe tells you to do otherwise.
For a No-Bake Graham Cracker Crust: If you don’t want to bake the crust, you could put it in the fridge for a few hours until the butter becomes hard.
Pans & Sizes
Pan Types: You can use this recipe with metal, glass, or ceramic pans.
Pan Sizes: This recipe makes enough to line an 8 or 9-inch pie or tart pan or to cover the base of a 9 or 10-inch springform pan.
For a Deep Dish Pie: I recommend increasing the recipe by an additional half.
For Mini Pies or Cheesecakes: Press the graham cracker mixture into small pie tins or muffin pans and bake for about 5 minutes.
Storage & Freezing Instructions
Graham cracker crust is an excellent recipe to make ahead of time. Prepare it unbaked 1 to 2 days before you use it, and store it in the refrigerator until ready.
If you are making a filled pie or dessert a day or so ahead, I recommend brushing the crust with an egg white eggwash before baking. The eggwash will create a barrier between the crust and the filling that will help prevent a soggy bottom.
To prepare the eggwash, mix two tablespoons of water with an egg white and beat to combine. Then brush an even layer over the crust before baking.
To freeze the crust, prepare it and do not bake it. Cover it well and freeze it for 2-3 months. Thaw completely before using. Then bake according to the instructions in the recipe.
Erren’s Top Tips & Variations
- To finely grind the graham crackers, you can use a food processor or place them in a plastic bag and roll them with a heavy rolling pin.
- If your graham cracker crumbs aren’t thoroughly moistened, add more butter until it holds together when pinched between your fingers.
- Use real butter for the best results. European butter works best as it has lower water content and helps prevent sogginess after filling. Some margarine can cause a greasy crust.
- Don’t press too hard when adding the crumbs to the pan. This will make the crust too hard and difficult to cut. Just pat it down firmly until it’s no longer crumbly with an even, smooth cover.
- Brush with an eggwash made from egg whites and water before baking to avoid a soggy bottom.
- Add extra flavor to complement your filling. Add shredded coconut for key lime pie, finely chopped nuts for pumpkin pie, a little spice for apple fillings, or citrus zest for cheesecakes.
- For Mini Pies or cheesecakes, press the graham cracker mixture into small pie tins or muffin pans and bake for about 5 minutes.
FAQs
Do you need to grease the pan for a graham cracker crust?
No, you don’t have to. The mixture has a lot of butter, so adding more to the pan is not recommended. But if your pan is old or doesn’t have a smooth finish, you might want to put some baking spray on it so it won’t stick.
Rate This Recipe
Recipe
Graham Cracker Crust
Ingredients
- 6 oz graham cracker crumbs (2 cups crushed (about 12 whole crackers))
- 2 tablespoons Brown sugar (or granulated sugar)
- 9 tablespoons butter melted
Instructions
- Preheat the oven to 350°F/180°C
- To melt the butter, cut it into four or five pieces, put it in a microwave-safe bowl, and heat it in the microwave on high for 30 seconds at a time until melted (stirring in between increments).
- Mix together the graham cracker crumbs and granulated sugar in a medium bowl, then mix in the melted butter. The mixture will look slightly moist, coarse, and sandy. Try to break up any large chunks.
- Add the mixture to an ungreased 9-inch tart pan or pie tin. Using a small flat-bottomed measuring cup or your hands, press the crumbs into the bottom and sides to form a compact crust. Try not to press too hard. Just pat it down until no longer crumbly.
- Bake for 8-10 minutes to set the crust. You’re looking for a light golden color not brown. Remove from oven and allow to cool before filling.
Tips
Top Tips
- If your graham cracker crumbs aren’t thoroughly moistened, add more butter until it holds together when pinched between your fingers.
- Use real butter for the best results. European butter works best as it has lower water content and helps prevent sogginess after filling. Some margarine can cause a greasy crust.
- Don’t press too hard when adding the crumbs to the pan. This will make the crust too hard and difficult to cut. Just pat it down firmly until it’s no longer crumbly with an even, smooth cover.
- Brush with an eggwash made from egg whites and water before baking to avoid a soggy bottom.


Leave a Reply