This site runs ads and generates income from affiliate links. Read my disclosure policy.
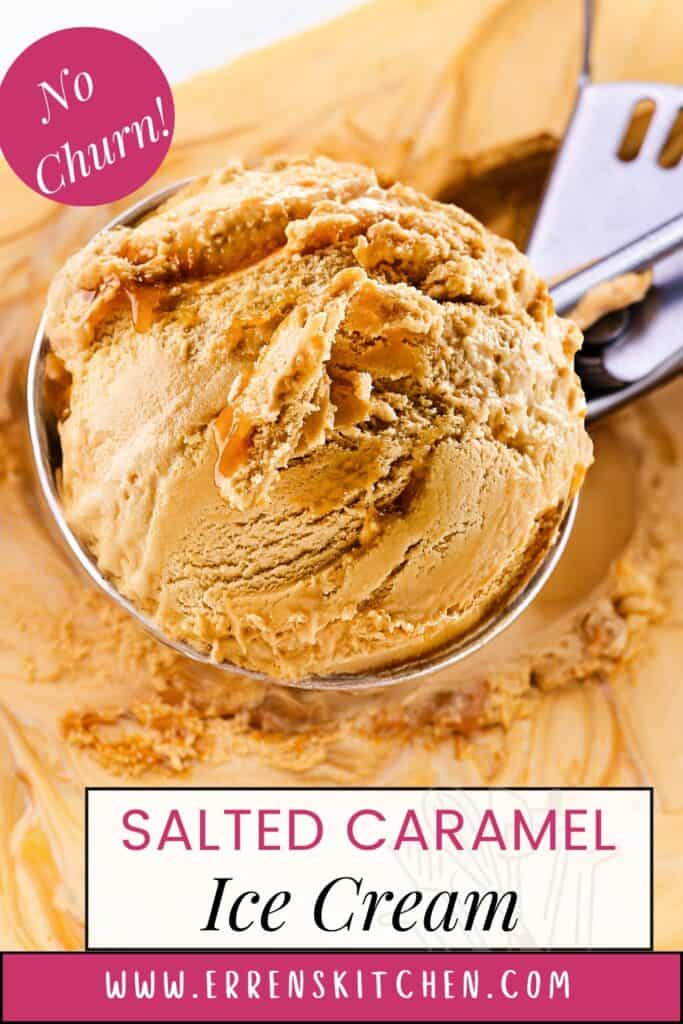
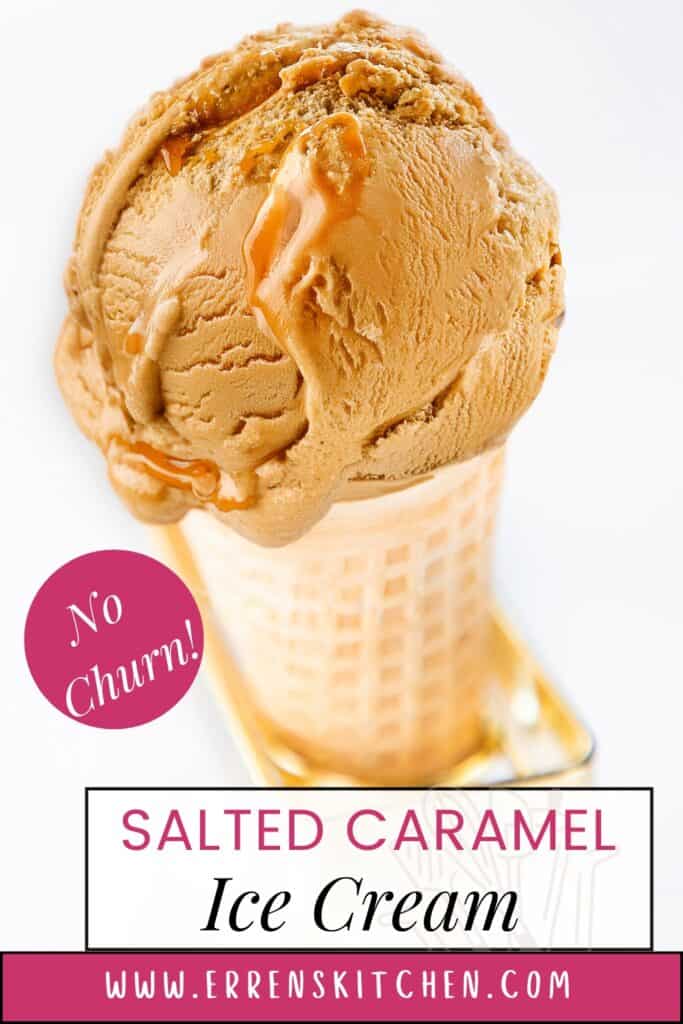
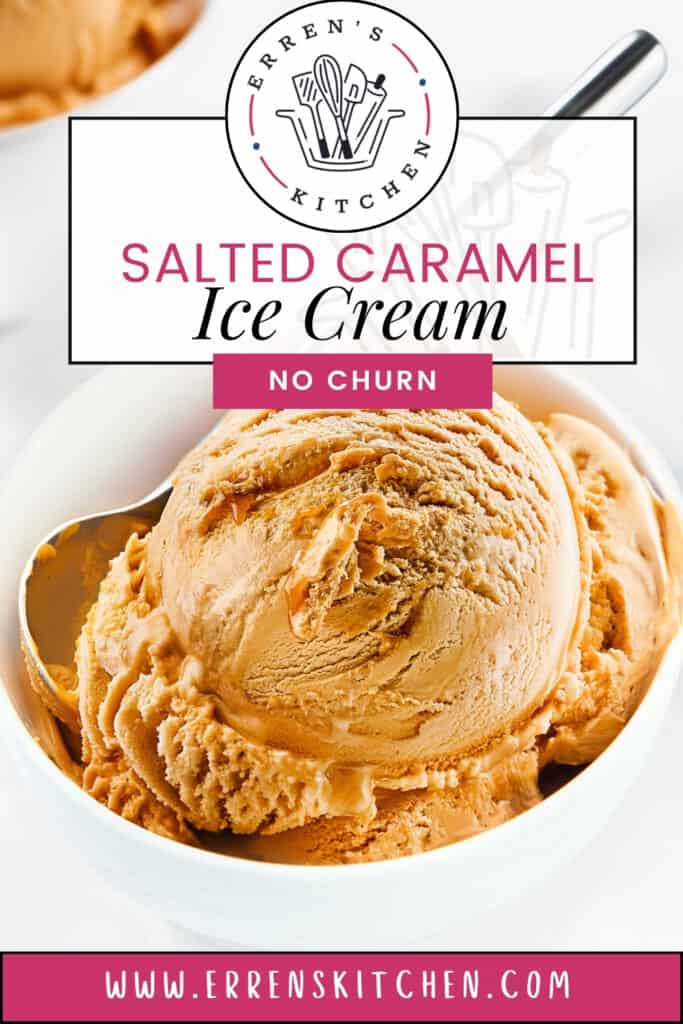
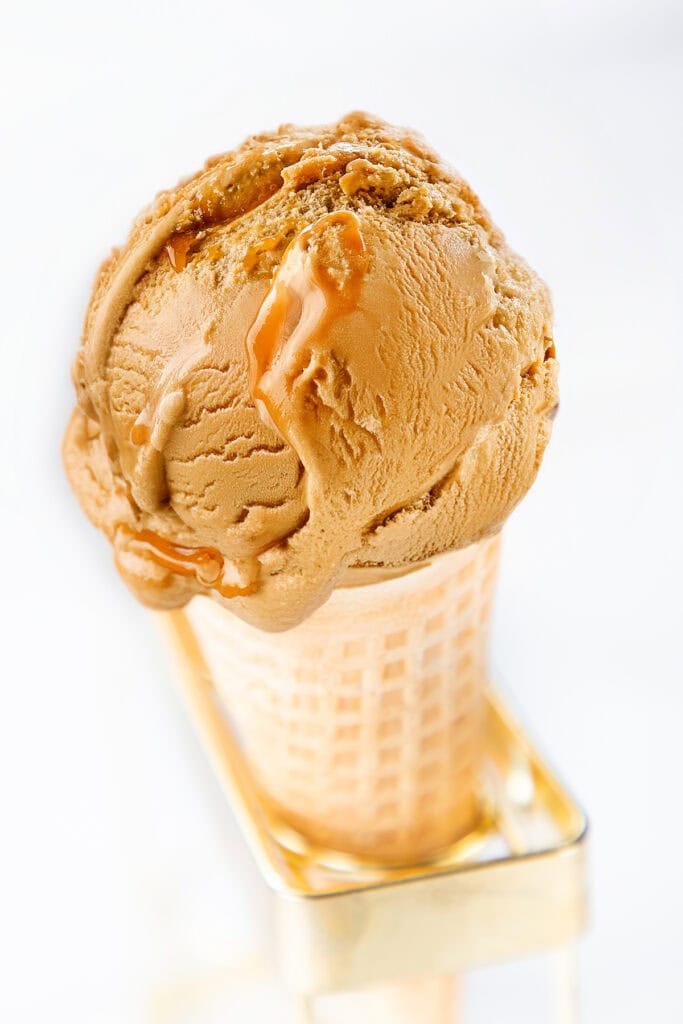
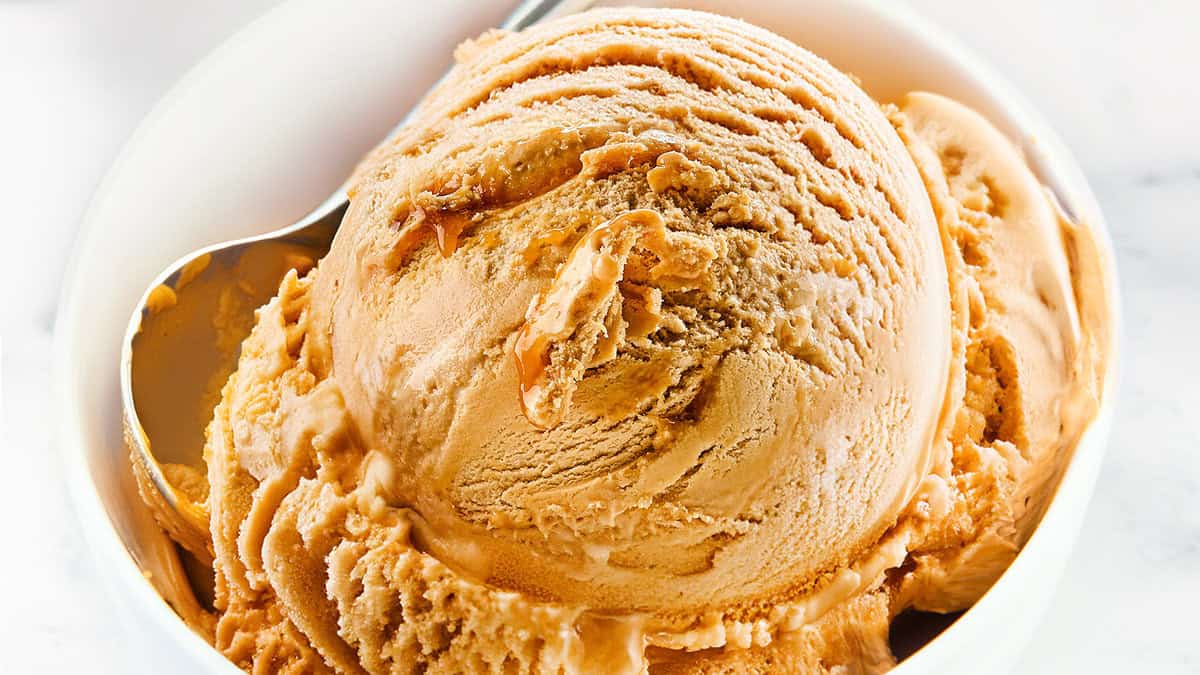
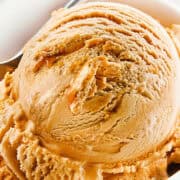
This simple and delicious salted caramel ice cream recipe satisfies your sweet tooth. It requires no fancy equipment or churning, making it the perfect treat for a hot summer day!
Hey there, ice cream lovers! If you’re anything like me, nothing beats the joy of a creamy, homemade ice cream treat, especially on a warm summer day. One of my absolute favorite flavors is salted caramel. There’s just something magical about that perfect blend of sweet and salty. I’m excited to share my no-churn salted caramel ice cream recipe with you today. It’s super easy and doesn’t require an ice cream maker—and all it takes is 3 ingredients!
I regularly whip up homemade ice cream for my son, with his top picks being Chocolate Marshmallow Ice Cream and Chocolate Chip Ice Cream —both are made using condensed milk. One day, struck by inspiration, I pondered: If condensed milk is used to make Dulce de Leche, why not swap it for caramel ice cream? Turns out, my hunch was spot on! Swirled with caramel, this ice salted caramel ice cream is really delicious, and you won’t believe how simple it is to make!
What You’ll Need
Making this salted caramel ice cream is incredibly easy, and you only need a few ingredients and basic kitchen tools. Here’s what you’ll need:
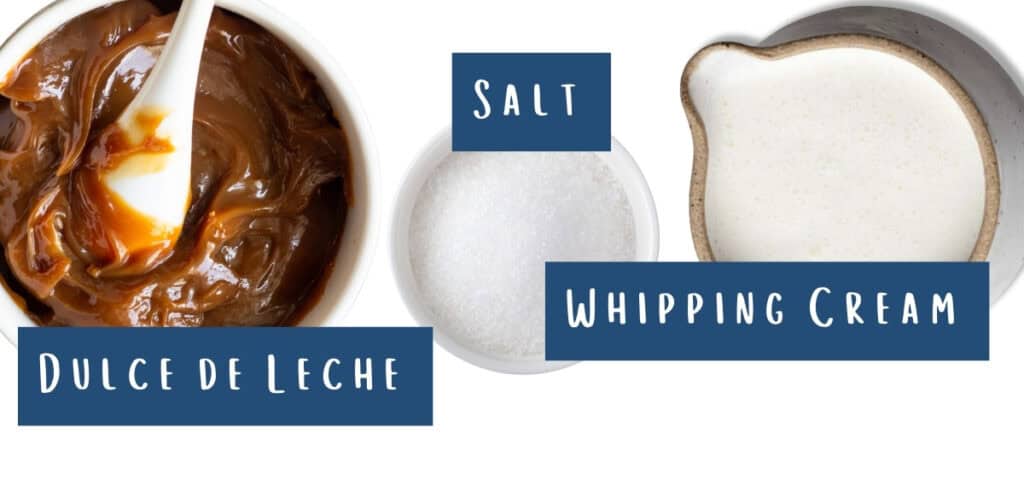
Ingredients
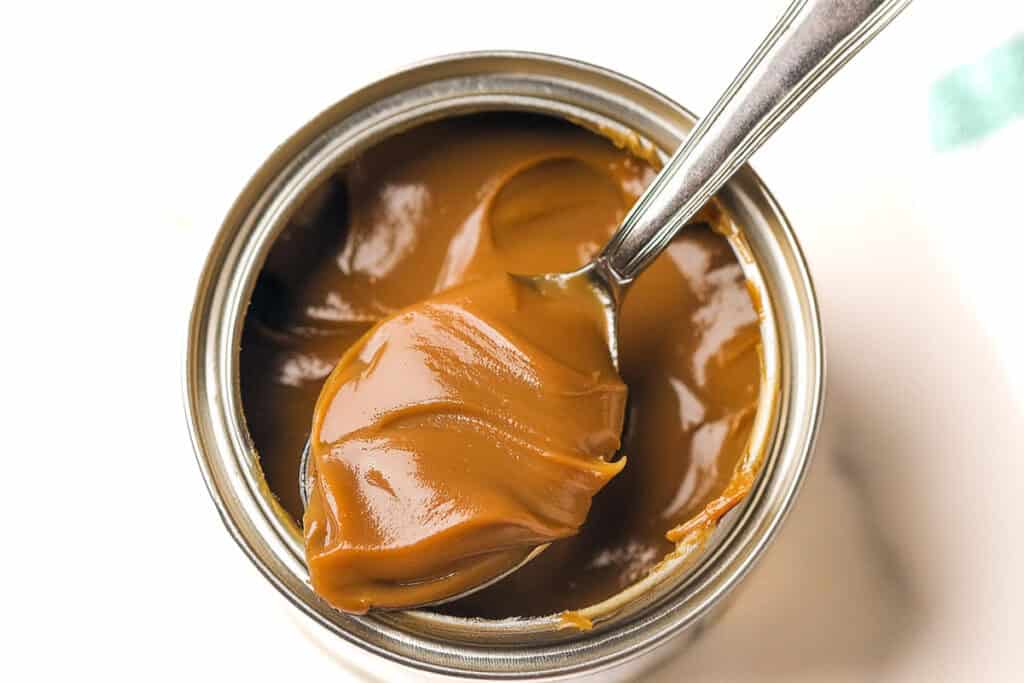
- 14 oz dulce de leche caramel
- 2 cups whipping cream (you can also use heavy cream or double cream)
- 1 pinch of salt
Equipment
- Food processor or electric mixer
- Freezer-safe container with a lid
- Spatula
- Spoon
Ingredient Spotlight
Dulce de leche is the star ingredient in this salted caramel ice cream recipe. It’s made by slowly heating sweetened condensed milk until it becomes thick and caramelized. For the best results, using canned or jarred dulce de leche caramel is highly recommended because it is convenient, consistent in quality, and has a rich caramel flavor. It also doesn’t freeze all the way, so it’s perfect for making silky-smooth ice cream without any ice crystals.
Step By Step Instructions
You can find the full, printable recipe at the bottom of this post (click the button above), but you can read a summary with step-by-step instructions and photos for each step below.
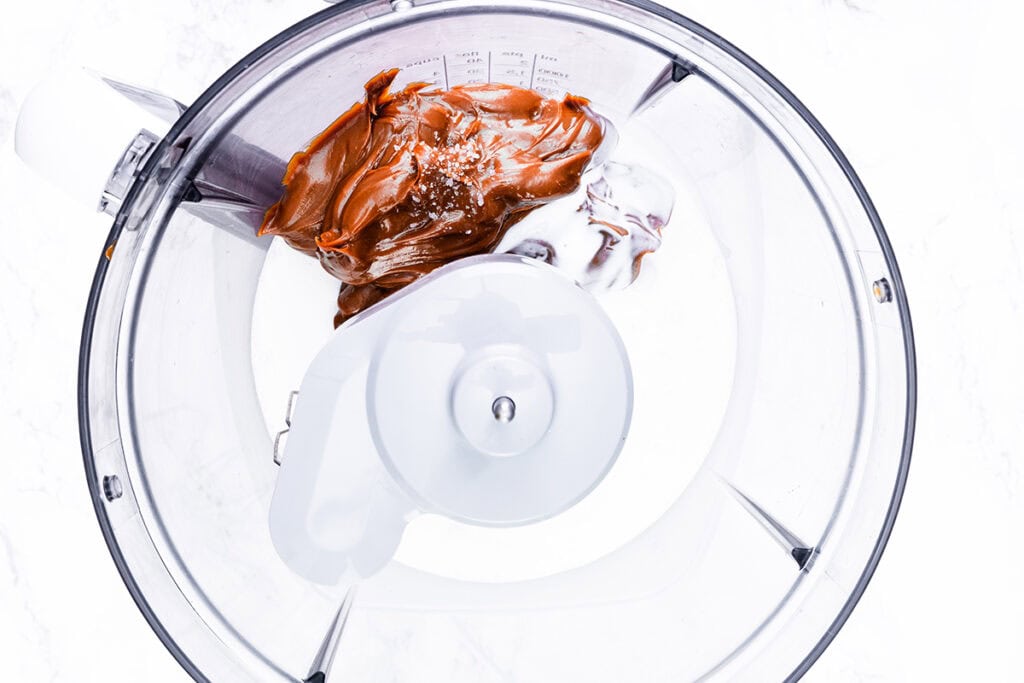
Creating the base for this salted caramel ice cream is simple. First, remove two tablespoons of the caramel from the can and set it aside for later. This small step will add an extra burst of caramel flavor to your ice cream.
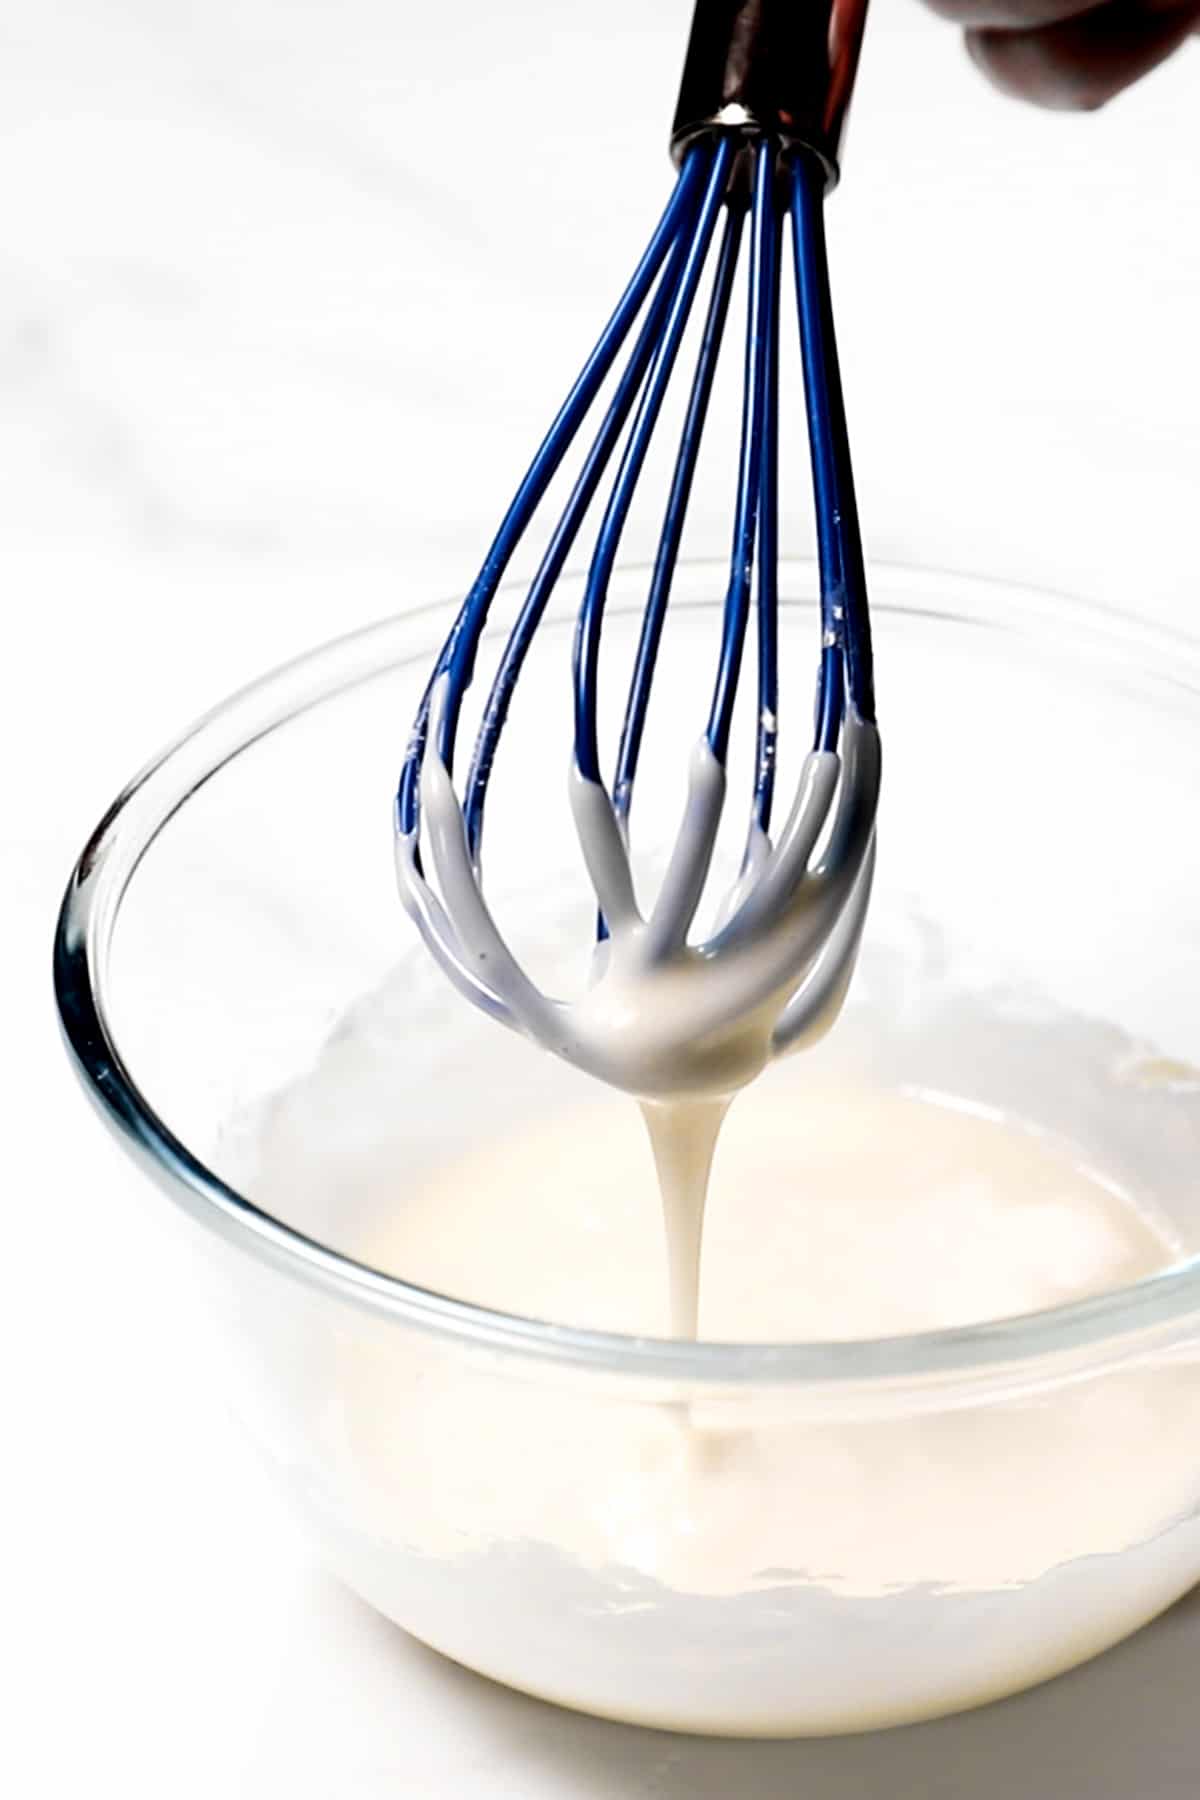
Next, place the remaining dulce de leche, whipping cream, and a pinch of salt into the bowl of your food processor. If you don’t have a food processor, you can use an electric mixer instead.
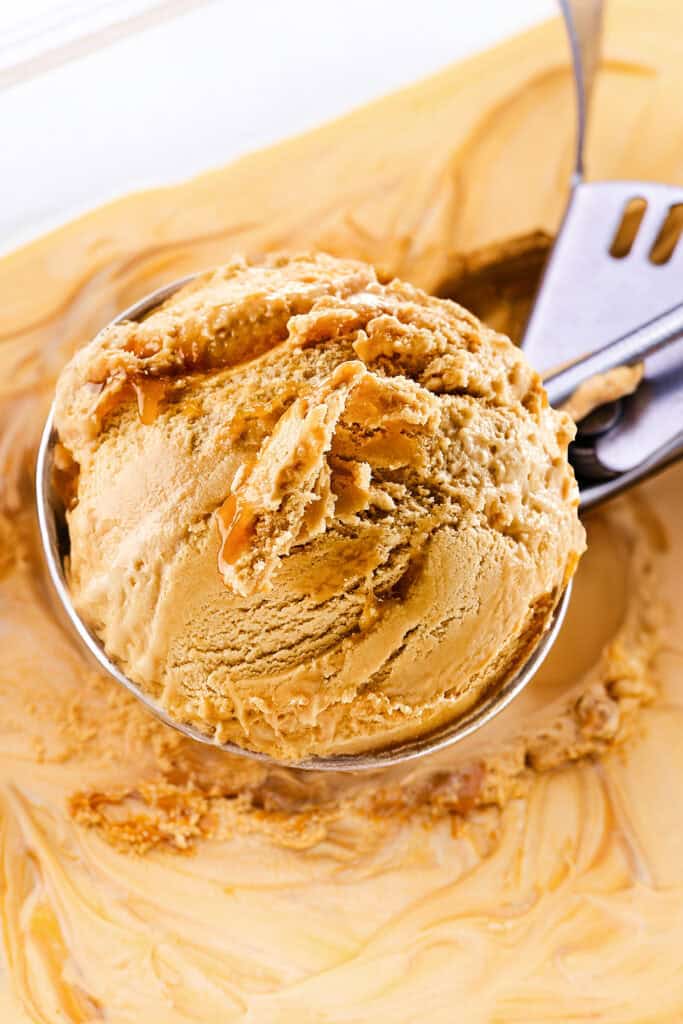
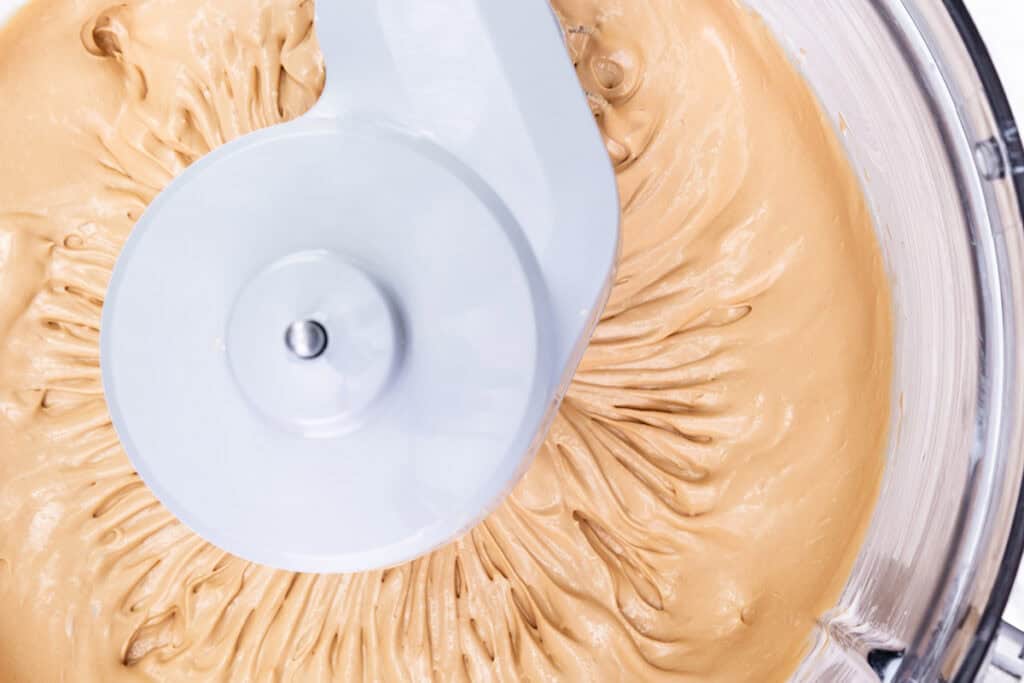
Once your ingredients are in the food processor, blend them until they reach a thick consistency. You’ll know it’s ready when you can run a spoon through the mixture and the path remains intact without the cream filling back in.
Transfer the ice cream mixture into a covered freezer-safe container. Spread it out evenly using a spatula.
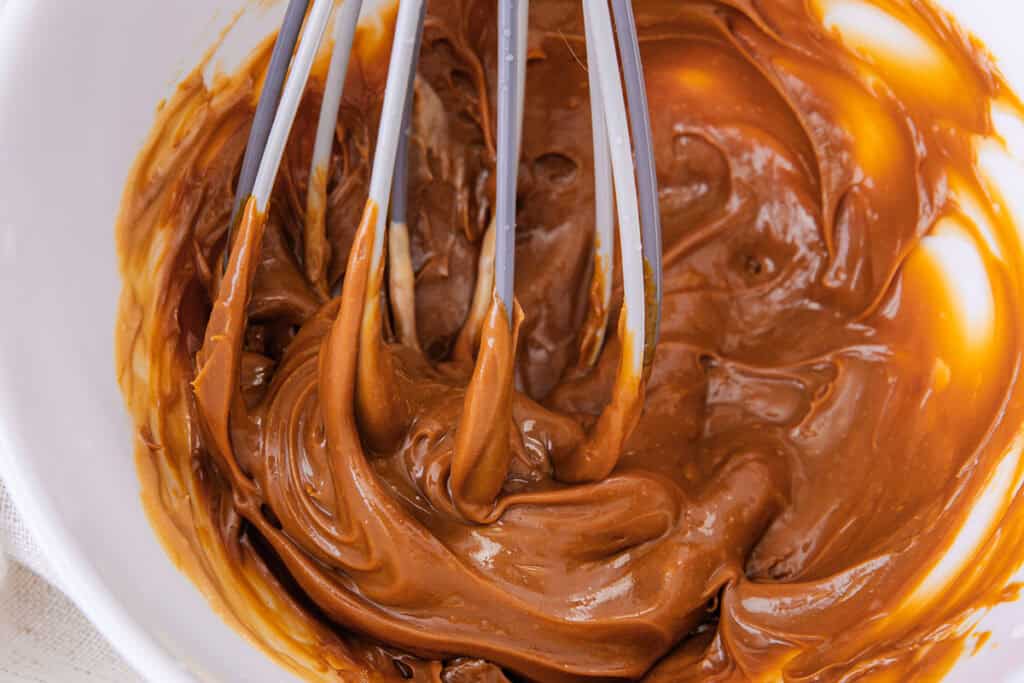
If your dulce de leche is very thick and not easily mixed, take two tablespoons of the ice cream base and whisk them together in a bowl to loosen the caramel. This will make it easier to swirl into the ice cream.
Using a spoon, place small dollops of the reserved caramel onto the surface of the whipped ice cream base. This ensures that the caramel is spread out and not concentrated in one area.
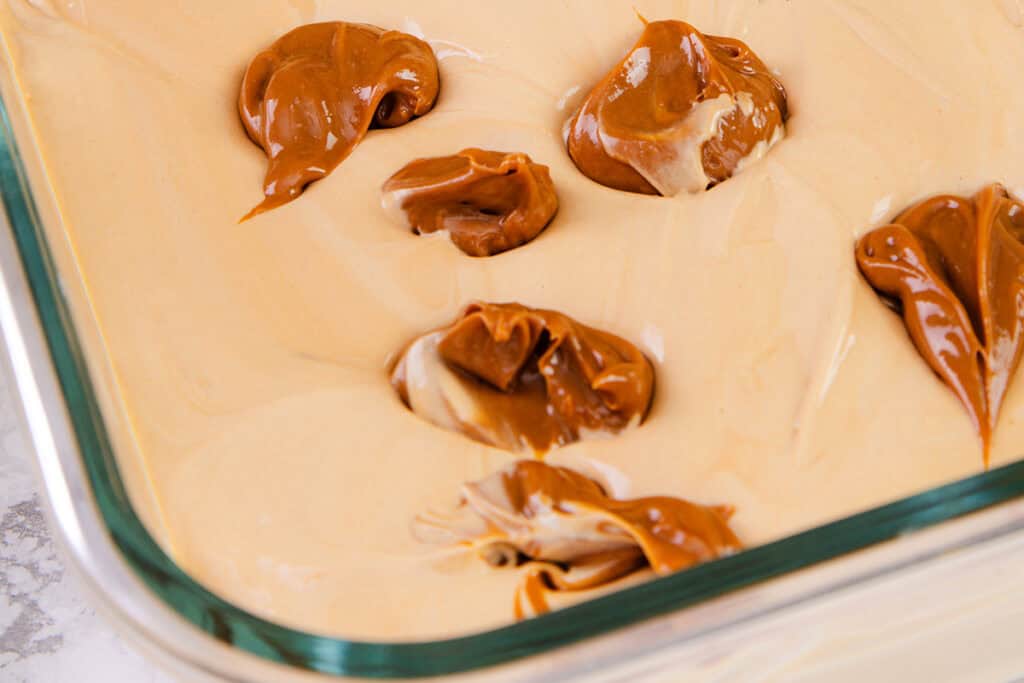
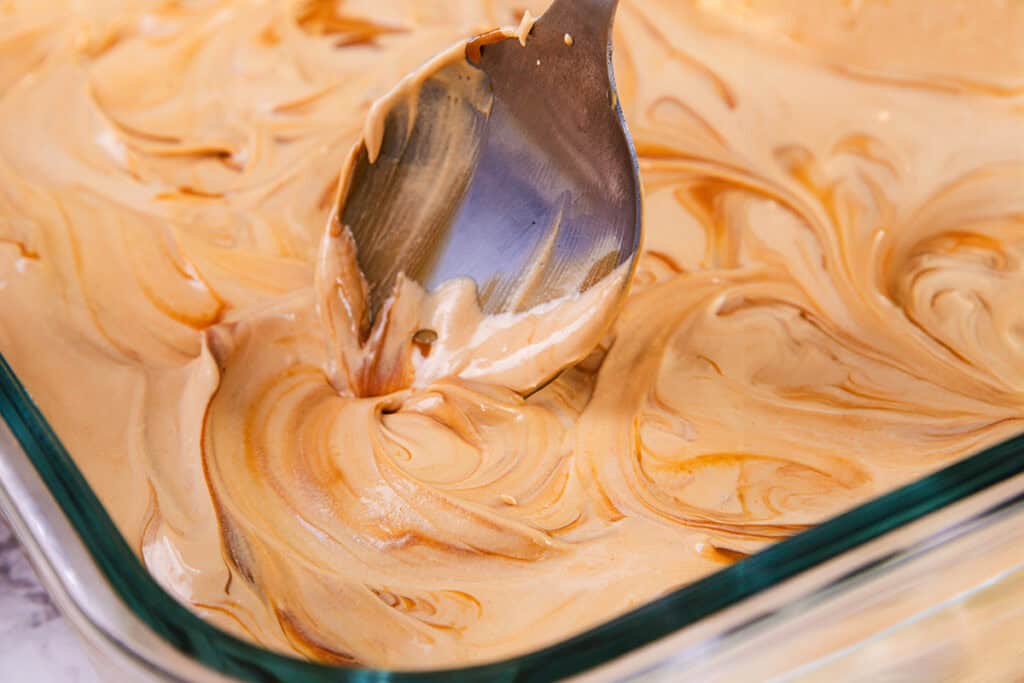
Take a clean spoon and gently swirl the caramel dollops into the ice cream base. Move the spoon in circular motions to create beautiful caramel streaks. Be careful not to overmix; you want distinct caramel swirls throughout the ice cream.
Cover the container and place it in the freezer until fully set, which usually takes about 4 to 5 hours. For best results, make sure the container is tightly sealed to prevent ice crystals from forming on the ice cream.
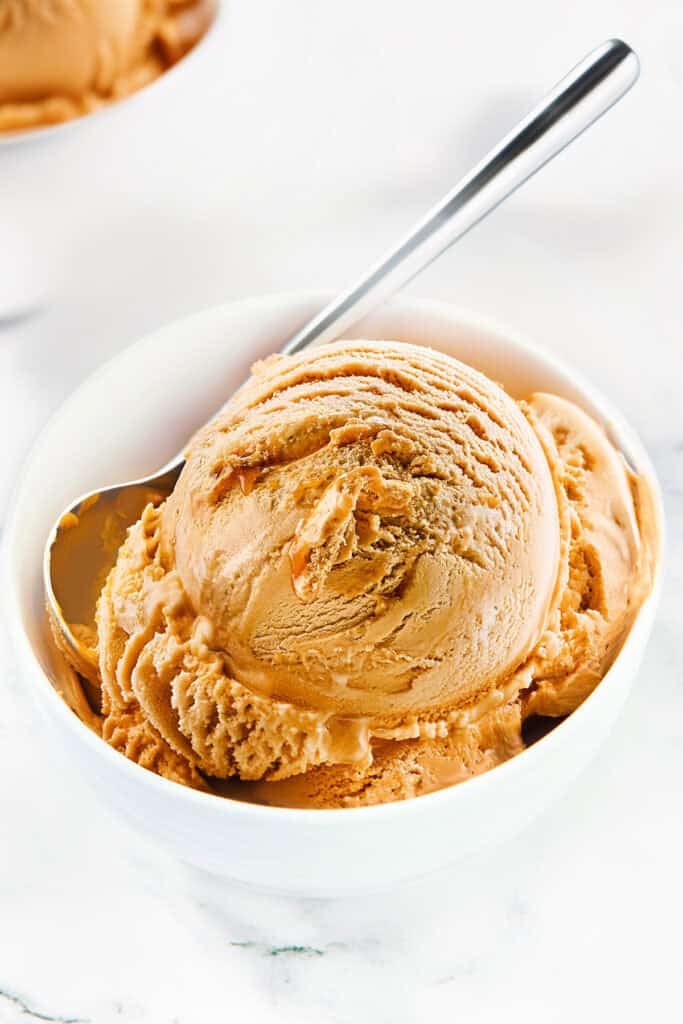
Serve and enjoy!

Make It Your Own
This salted caramel ice cream recipe is incredibly versatile and can be easily customized to suit your taste preferences.
- Try adding extra dulce de leche to the base mixture for a more intense caramel flavor.
- If you enjoy a bit of crunch, mix in some mini chocolate chips, crushed cookies, or toasted nuts before freezing.
Feel free to get creative and make this recipe truly your own!
Recipe Tips
- Pre-Chill the Mixing Bowl: Place your mixing bowl in the freezer for about 15 minutes before you start. A cold bowl helps the cream whip faster and attain a better consistency.
- Use Cold Ingredients: Ensure both the whipping cream and dulce de leche are well-chilled before you begin. This makes the mixture whip more effectively and prevents it from becoming too runny. But leave the reserved caramel at room temperature.
- Whipping to the Right Consistency: When whipping the cream and dulce de leche mixture, look for stiff peaks. This means the mixture should hold its shape when you lift the beaters or spoon, but still be soft enough to fold in the caramel swirls.
- If your dulce de leche for the swirls is very thick and not easily mixed, take two tablespoons of the ice cream base and mix them together in a bowl to loosen the caramel. This will make it easier to swirl into the ice cream.
- Swirling Technique: For even caramel swirls, dollop the reserved caramel over the top of the whipped mixture and use a knife or skewer to gently swirl it through. Avoid overmixing to maintain distinct caramel streaks.
- Quick Freeze: To speed up the freezing process, divide the mixture into smaller containers. This allows the ice cream to set faster and more evenly.
- Proper Storage: Use an airtight, freezer-safe container to store your ice cream. This prevents ice crystals from forming and keeps your ice cream smooth and creamy.
- Avoid Overchurning (if using a machine): If you opt to use an ice cream maker, be careful not to overchurn. Stop churning once the mixture reaches a soft-serve consistency. Overchurning can result in a grainy texture.
- Serving Tip: For easier scooping, let the ice cream sit at room temperature for a few minutes before serving. This softens it slightly and makes it easier to scoop out smooth, perfect servings.
Storage & Freezing Instructions ❄
This salted caramel ice cream can be stored in a freezer-safe container for up to 3 months.
The Perfect Pairings
Make our homemade Caramel Glaze to pour over your ice cream for an extra indulgence.
Rate This Recipe
Recipe
Salted Caramel Ice Cream
Ingredients
- 14 oz dulce de leche caramel
- 2 cups heavy cream (whipping cream or double cream)
- 1 pinch salt
Instructions
No Churn Method
- Begin by removing two tablespoons of the caramel from the can and set it aside. Then place the remaining dulce de leche, cream, and salt into the bowl of a food processor.
- Next, use the food processor to whip the ingredients together until they reach a thick consistency. You can determine it’s thick enough by running a spoon through the mixture, if the path created remains intact, rather than the cream filling it back in. This indicates that the mixture has thickened adequately.
- Transfer the mixture into a freezer-safe container. Spread it out evenly using a spatula.
- If your dulce de leche is very thick and not easily mixed, take two tablespoons of the ice cream base and whisk them together in a bowl to loosen the caramel. This will make it easier to swirl into the ice cream.
- Place small dollops of the reserved caramel on top of the mixture in the container and swirl them in using a spoon or knife.
- Place the covered container in the freezer until fully set, which usually takes about 5 hours.
Using An Ice Cream Maker
- Begin by removing two tablespoons of the caramel from the can and set it aside. Then place the remaining dulce de leche, cream, and salt into to a bowl and whisk to combine.
- Chill the mixture in the refrigerator for 15 to 30 minutes.
- Add the mixture to the frozen tub of your ice cream maker and churn the ice cream until it thickens.
- Using the caramel set aside, add it gradually into the whipped mixture to create swirls of caramel throughout.
- Transfer to a covered freezer-safe container and freeze until ready to use.
Tips
- Pre-Chill the Mixing Bowl: Place your mixing bowl in the freezer for about 15 minutes before you start. A cold bowl helps the cream whip faster and attain a better consistency.
- Use Cold Ingredients: Ensure both the whipping cream and dulce de leche are well-chilled before you begin. This makes the mixture whip more effectively and prevents it from becoming too runny. But leave the reserved caramel at room temperature.
- Whipping to the Right Consistency: Look for stiff peaks when whipping the cream and dulce de leche mixture. This means the mixture should hold its shape when you lift the beaters or spoon but still be soft enough to fold in the caramel swirls.
- If your dulce de leche for the swirls is very thick and not easily mixed, take two tablespoons of the ice cream base and mix them together in a bowl to loosen the caramel. This will make it easier to swirl into the ice cream.
- Swirling Technique: For even caramel swirls, dollop the reserved caramel over the top of the whipped mixture and use a knife or skewer to gently swirl it through. Avoid overmixing to maintain distinct caramel streaks.
- Quick Freeze: To speed up the freezing process, divide the mixture into smaller containers. This allows the ice cream to set faster and more evenly.


Leave a Reply