




This site runs ads and generates income from affiliate links. Read my disclosure policy.
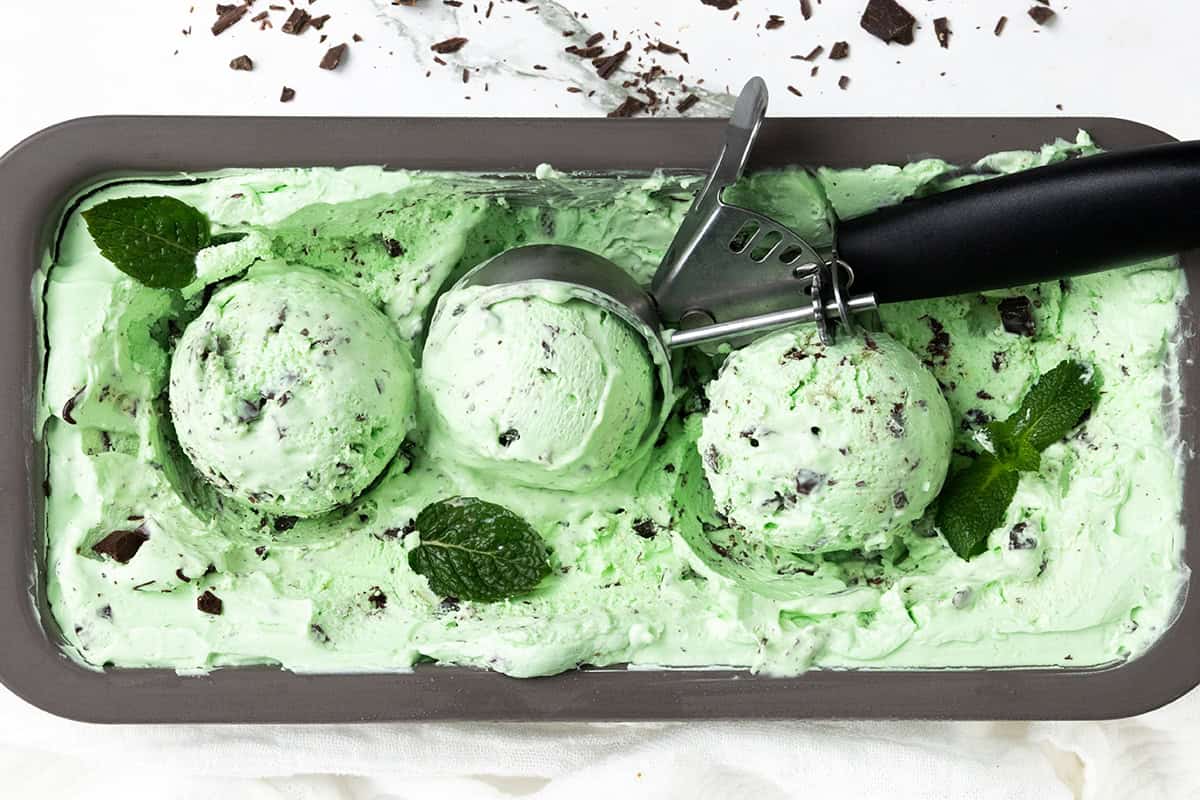
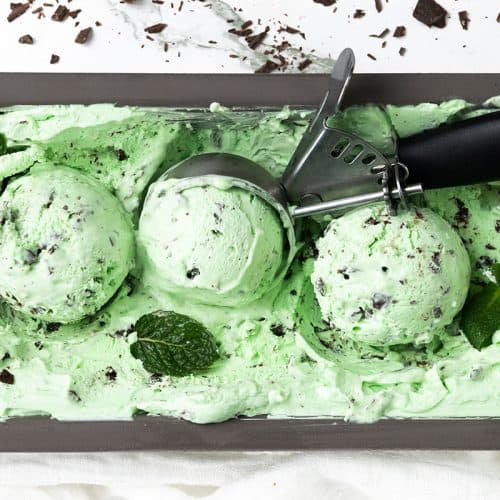
Creamy no-churn mint chocolate chip ice cream made with fresh mint instead of extract, with chocolate chips and thin, crisp chocolate shards throughout.
Know Before You Scroll

What You’ll Need
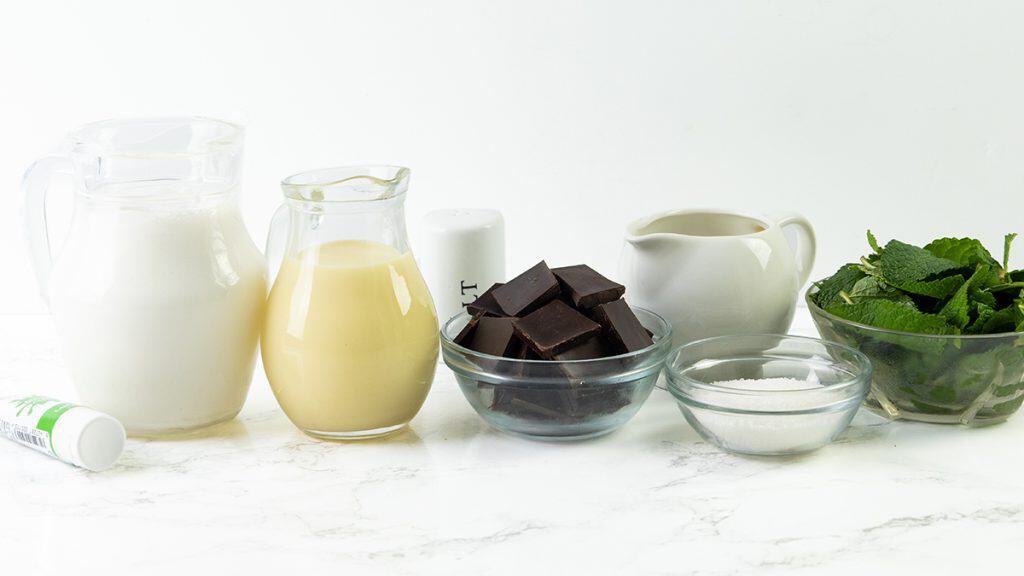
Fresh mint, heavy cream, sweetened condensed milk, sugar, dark chocolate, and a little coconut oil.
Flavor Profile
Creamy and refreshing with a clean, natural mint flavor, dark chocolate chips, and crisp chocolate shards.
Difficulty Level
Easy. The only real trick is knowing when to stop whipping.
Equipment Needed
Small saucepan, fine-mesh sieve, electric mixer, mixing bowl, spatula, and loaf pan or freezer-safe container.
Top Tip
Don’t rely entirely on the clock when steeping the mint. Start tasting the syrup after about 20 minutes and strain it once the mint flavor is strong enough for you.
Time-Saving Tips
Chill the mint syrup in the freezer instead of the refrigerator if you’re in a hurry. Just make sure it’s completely cold—not frozen—before adding it to the cream.
Ingredient Swaps
Use mini chocolate chips or finely chopped chocolate. You can also leave out the green food coloring—the fresh mint provides flavor, not that classic bright-green color.
Why This Recipe Works
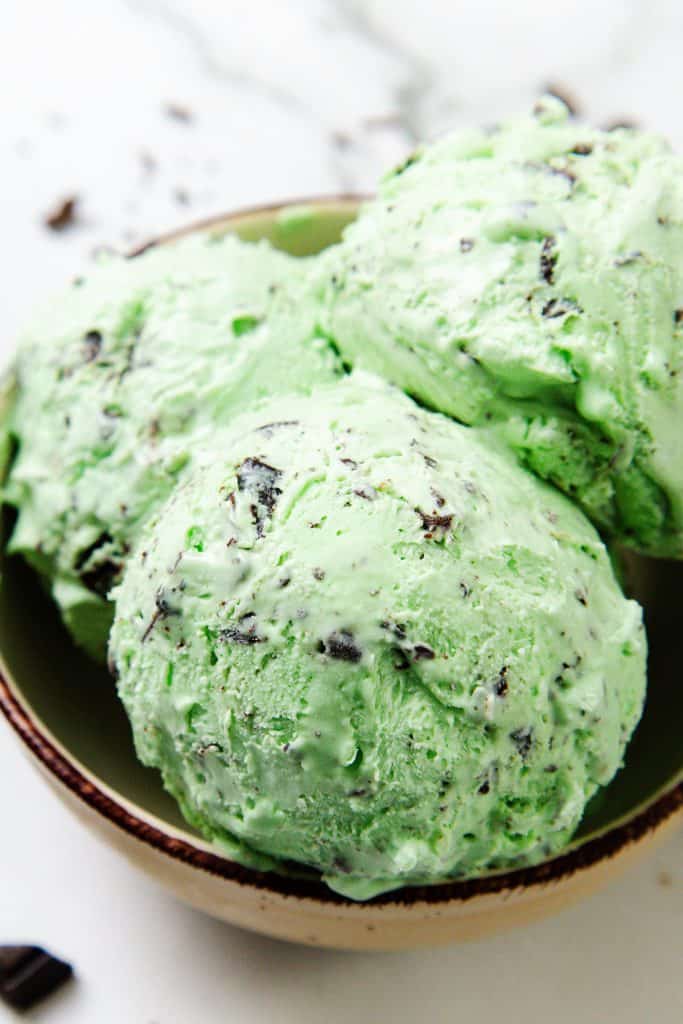
What makes this ice cream different is the mint. Instead of reaching for mint extract, I use fresh mint leaves to make a quick syrup. The flavor is cleaner and more natural without that artificial edge mint extract can sometimes have.
Making a syrup also solves a practical problem. No-churn ice cream relies on cold cream whipping up properly, so I didn’t want to heat the cream to infuse the mint and then wait for it to chill again. The syrup gives me the fresh mint flavor I want while the cream stays cold.
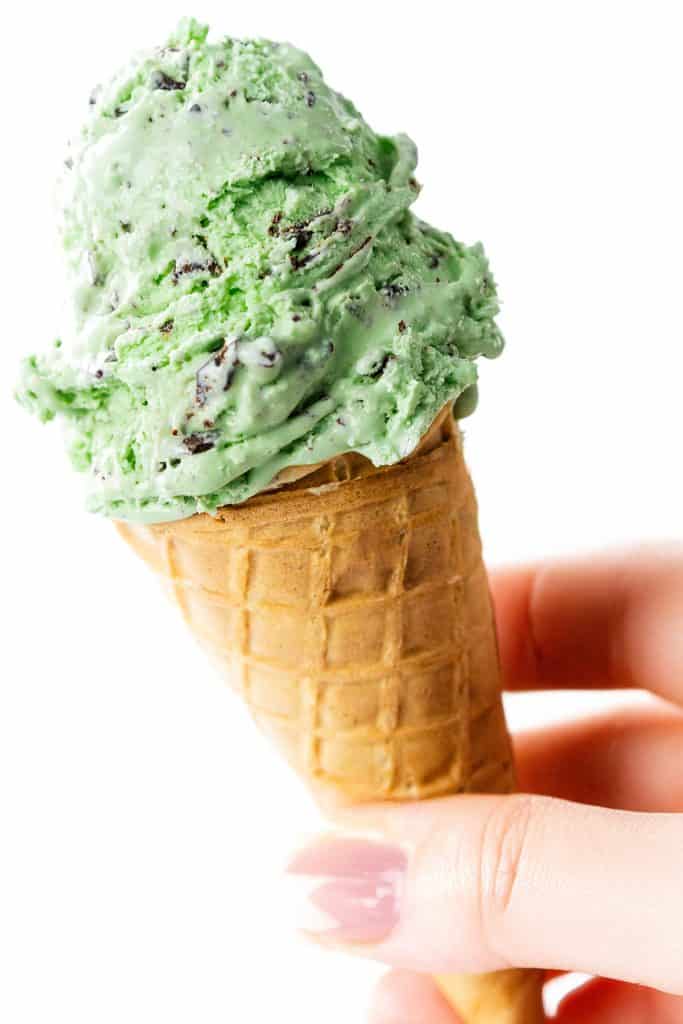
And I use chocolate two ways. I fold chocolate chips through the base, then drizzle melted chocolate between the layers. Once frozen, those thin ribbons become crisp chocolate shards that crack as you scoop through them.
The result is creamy and surprisingly scoopable straight from the freezer. That’s one reason sweetened condensed milk works so well in no-churn ice cream—it does more than sweeten the base; it helps keep the frozen texture soft.
Ingredient Notes
Fresh Mint
Best Choice
Fresh spearmint gives you that familiar mint flavor but with a cleaner, more natural taste than extract. Use mostly leaves, but don’t waste time picking off every tiny stem. Tender stems are fine; just remove any thick or woody ones.
Substitutions
Peppermint can be used, but expect a stronger, sharper mint flavor.
Heavy Cream
Best Choice
Keep it properly cold until you’re ready to whip. Cold cream lets us create the light, aerated base without an ice cream maker.
Substitutions
Don’t replace it with milk or half-and-half. Neither has enough fat to whip properly for this method. You can use whipping cream or double cream if heavy cream isn’t available where you are.
Sweetened Condensed Milk
Best Choice
Use a standard 14-ounce can of full-fat sweetened condensed milk. Besides adding sweetness, it helps give no-churn ice cream its creamy, scoopable frozen texture.
Substitutions
Evaporated milk won’t work as a straight substitute. It doesn’t contain the sugar this recipe needs.
Where to Find
Usually in the baking aisle alongside canned and evaporated milk.
Dark Chocolate
Best Choice
I like dark chocolate here because its slight bitterness balances the sweet ice cream. We’re using it two ways: chips or chopped chocolate for little bites throughout and melted chocolate for those thin, crisp shards.
Substitutions
Semisweet chocolate works well if you prefer things a little sweeter.
Where to Find
Check the baking aisle for chocolate bars, baking chocolate, and chocolate chips.
You can find the full, printable recipe at the top of this post, or read the detailed instructions with photos for each step below.
How To Make Fresh Mint Chocolate Chip Ice Cream
1
Make the Fresh Mint Syrup
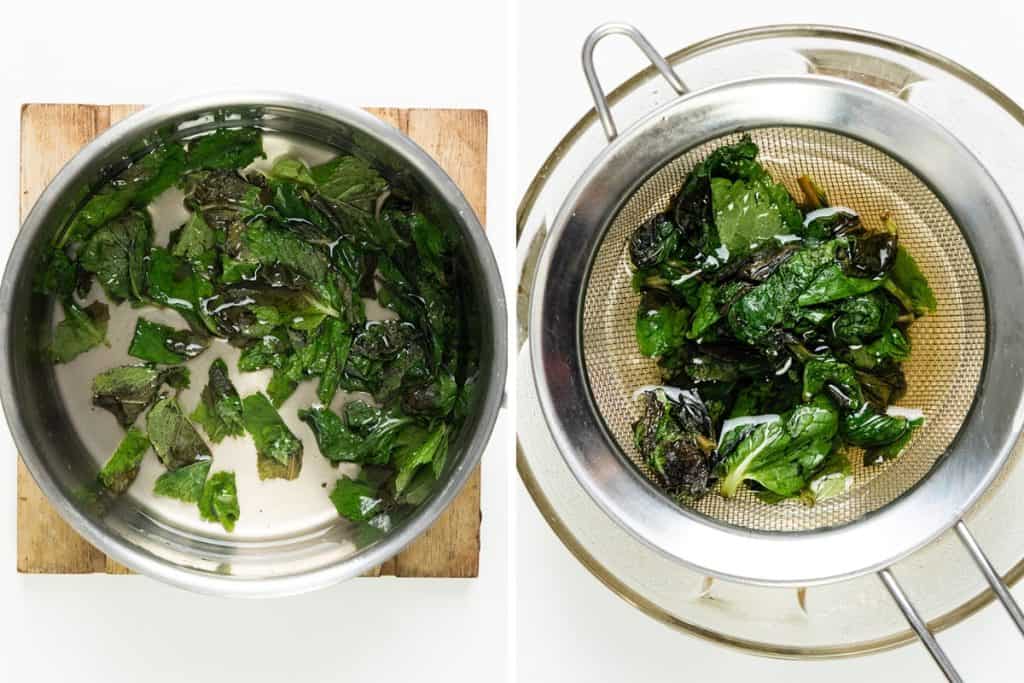
Warm the water and sugar in a small saucepan, stirring just until the sugar dissolves. Remove from the heat, add the mint, cover, and let steep for 20 to 30 minutes.
Start tasting the syrup after about 20 minutes. If the mint flavor is strong enough for you, it’s ready; if not, let it steep a little longer. Keep it off the heat so the mint stays fresh-tasting rather than becoming cooked or bitter.
Strain through a fine-mesh sieve, firmly pressing the leaves with the back of a spoon to extract as much flavorful syrup as possible.
Measure ¼ cup of syrup, then chill it completely in the refrigerator or freezer before making the ice cream base.
2
Make the Chocolate Ripple
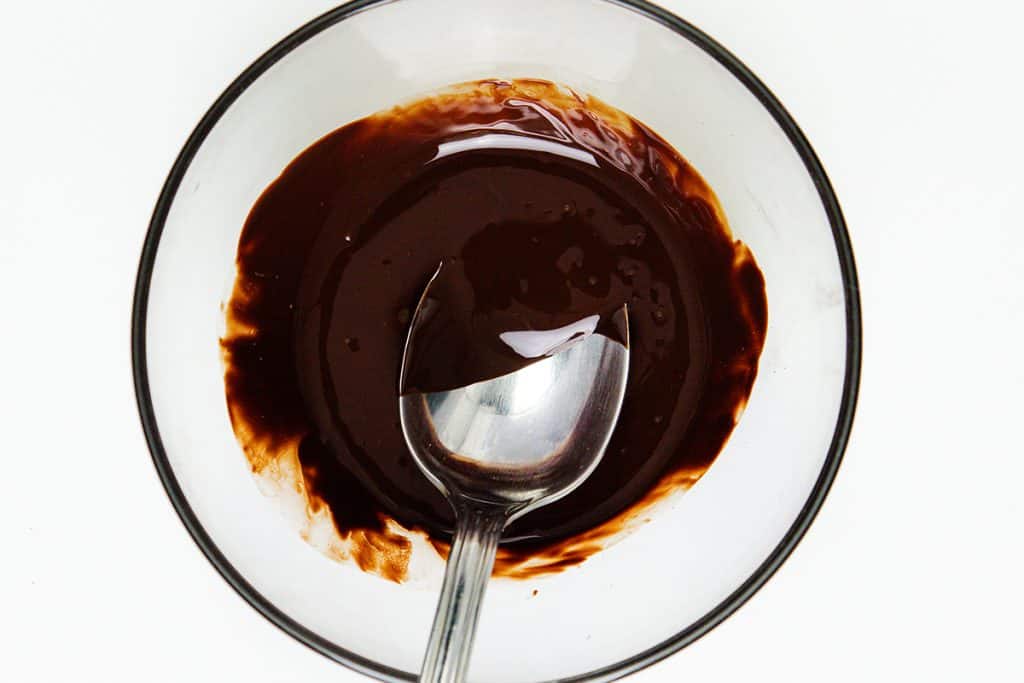
If you’re adding the ripple, melt the ¼ cup dark chocolate chips with the coconut oil until completely smooth.
Set it aside to cool while you make the ice cream. It should still be fluid enough to drizzle but shouldn’t be warm when it hits the whipped cream mixture.
3
Whip the Ice Cream Base
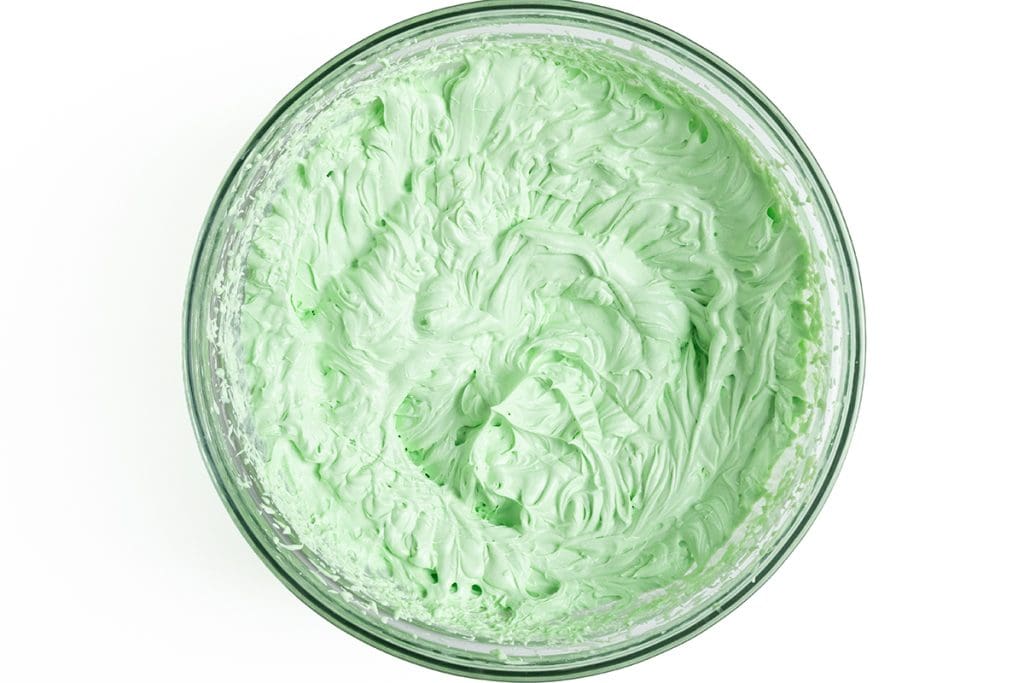
Beat the mixture until it’s thick, light, and fluffy. With an electric mixer, this takes me a good 3 minutes, sometimes longer depending on the equipment.
The best test isn’t the clock—it’s the texture.
Run a spoon through the mixture. You should leave a distinct trail that stays there rather than collapsing back into itself.
Once you reach that point, stop whipping. Over-whipping can make the cream grainy and eventually buttery.
4
Fold In The Chocolate
Fold the chocolate chips or chopped chocolate gently through the finished base by hand.
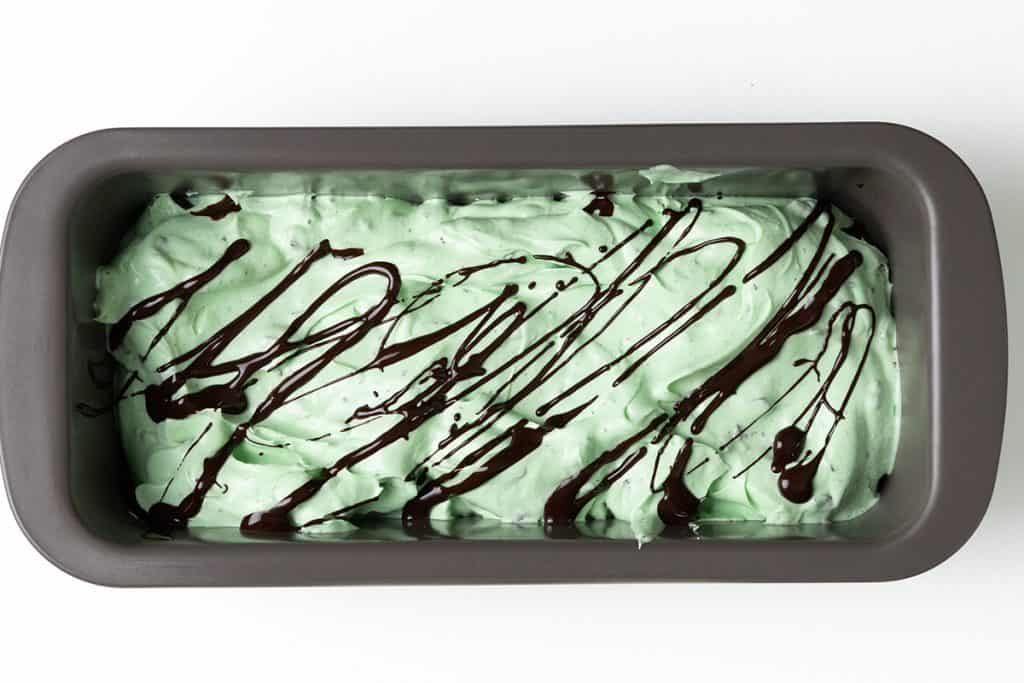
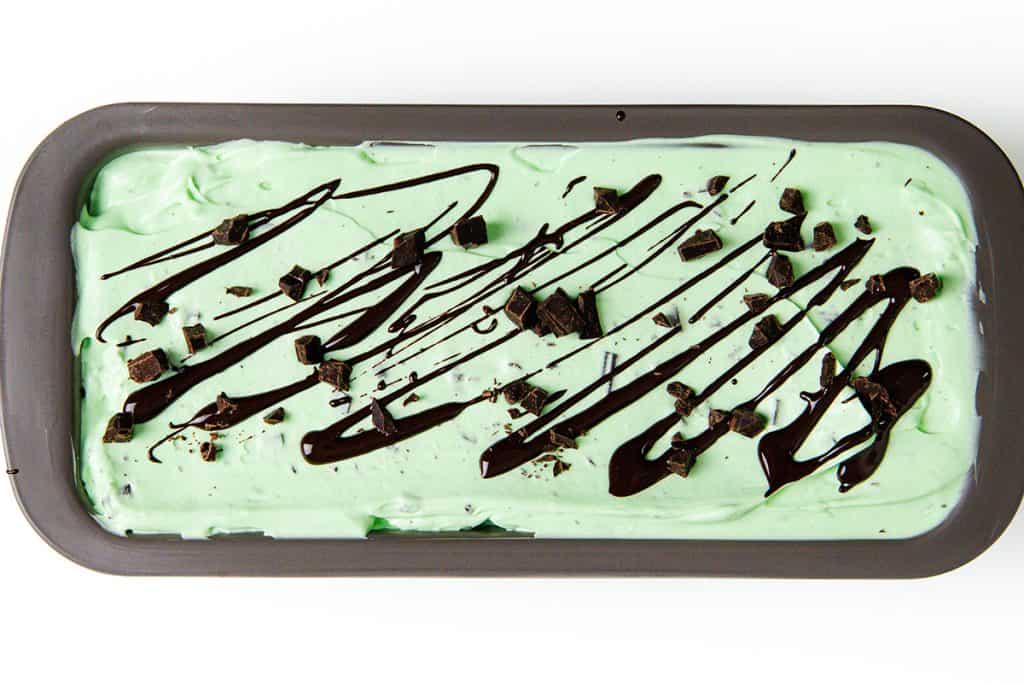
Spoon about a quarter of the ice cream into your pan, then drizzle the melted chocolate back and forth over it in thin ribbons.
Don’t spread it and don’t swirl it into the cream.
5
Layer, Ripple & Freeze
Spoon about one-quarter of the ice cream mixture into a loaf pan or freezer-safe container.
Drizzle over some of the cooled melted chocolate mixture, then continue layering ice cream and chocolate until you use it all.
There’s no need to swirl it aggressively. Leaving the chocolate in thin layers allows it to freeze into delicate, crisp pieces that break apart as you scoop.
6
Scoop
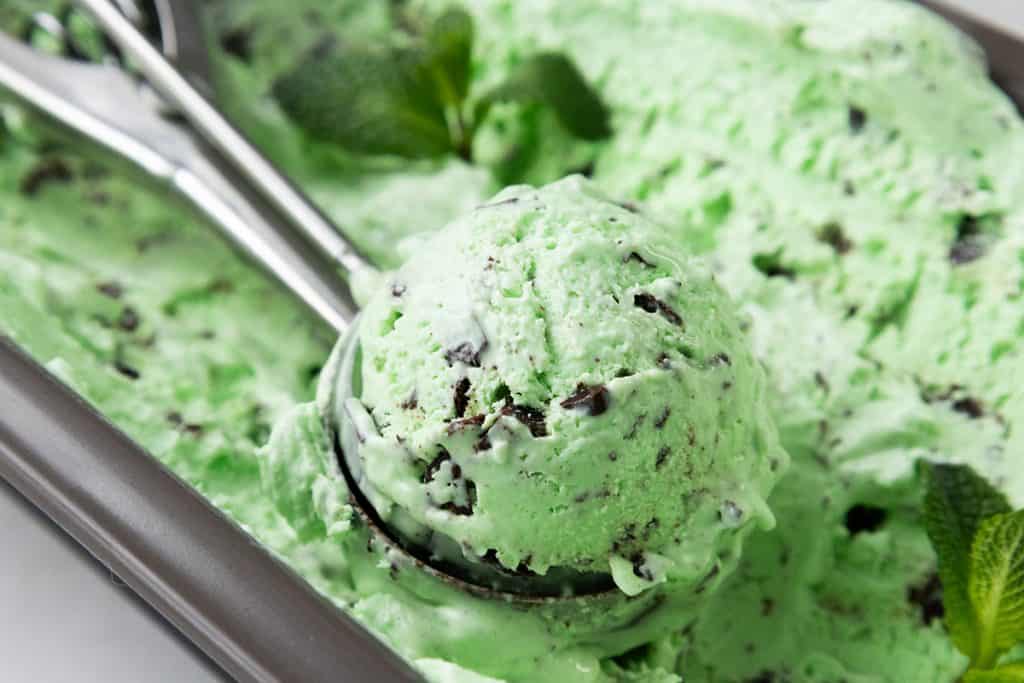
Cover tightly and freeze for at least 6 hours, preferably overnight, until firm.
Let the ice cream stand at room temperature for about 5 to 10 minutes before scooping if it’s very firm.
Ice Cream Recipes

Recipe
Fresh Mint Chocolate Chip Ice Cream
Ingredients
- 2 cups heavy whipping cream (cold)
- 14 oz sweetened condensed milk (one 14-ounce can)
- Pinch of salt
- ¾ cup finely chopped dark chocolate ( or mini chocolate chips)
- ¼ cup dark chocolate chips
- 1 teaspoon coconut oil (optional, for chocolate ripple)
- green gel food coloring (optional, for color)
Mint Syrup (yields about ¼ cup syrup)
- 1 cup packed fresh mint leaves
- ⅓ cup water
- ¼ cup sugar
Instructions
- Make the mint syrup: Add the water and sugar to a small saucepan and heat over medium heat, stirring until the sugar dissolves. Remove from the heat and add the mint immediately. Cover and steep for 20 to 30 minutes, tasting after 20 minutes and continuing until the mint flavor is as strong as you’d like.
- Strain and chill: Strain through a fine-mesh sieve, firmly pressing the mint with the back of a spoon to extract the syrup. Measure ¼ cup and chill completely in the refrigerator or freezer.
- Prepare the chocolate: Melt ¼ cup dark chocolate chips with the coconut oil until smooth. Set aside to cool.
- Make the ice cream base: Combine the cold heavy cream, condensed milk, ¼ cup cold mint syrup, salt, and green gel coloring, if using. Adjust the color now, while the mixture is still liquid.
- Beat with an electric mixer until very thick and fluffy, about 3 minutes or longer, depending on your equipment. When you drag a spoon through the mixture, the trail should hold its shape without collapsing. Don’t over-whip.
Tips
Notes
The mint syrup must be completely cold before adding it to the cream. Don’t boil the mint leaves; steeping them off the heat gives you a fresher mint flavor. If using food coloring, add it before whipping. Once the mixture is thick, stop beating it. The chocolate-and-coconut-oil mixture isn’t meant to stay as a soft ripple. It freezes into thin, crisp chocolate shards.
Erren’s Top Tips
Keep everything cold. Thoroughly chill the cream and mint syrup before whipping.
Don’t boil the mint. Add it after removing the sugar syrup from the heat. You’re infusing the syrup, not cooking the leaves.
Measure the syrup after steeping. Use ¼ cup in the ice cream regardless of how much your batch produces. Too much additional liquid can make the finished ice cream icier.
Go easy on the food coloring. Gel coloring is concentrated. Start with the smallest amount you can get onto the tip of a toothpick and build from there.
Chop the chocolate finely. Large chunks become extremely hard when frozen. Smaller pieces give you chocolate in every bite without fighting your spoon.
Watch the cream, not the clock. Stop whipping once the mixture is thick and holds medium peaks. Over-whipping can make the finished ice cream heavier or slightly buttery.
Give it enough freezer time. Six hours is the minimum, but overnight gives you the most consistent scooping texture.
Variations & Add-Ins
Mint Oreo: Fold roughly chopped chocolate sandwich cookies into the base along with or instead of the chocolate chips. Mint Brownie: Add small cubes of fudgy brownie just before transferring the mixture to the pan. Chocolate Mint: Whisk a few tablespoons of sifted cocoa powder into the condensed milk before adding the remaining ingredients. Extra Stracciatella: Skip the chocolate chips and increase the thin chocolate ripple for lots of delicate chocolate shards throughout the ice cream. White Chocolate Mint: Swap the dark chocolate for finely chopped white chocolate for a sweeter version. Natural Color: Skip the food coloring altogether. Fresh mint doesn’t naturally turn cream bright green, and the pale cream-colored version makes it obvious that the flavor comes from real mint leaves.Storage & Freezing
Store the ice cream tightly covered in a freezer-safe container. For extra protection against ice crystals, press plastic wrap or parchment directly against the surface before covering the container. For the best texture, I like it within about 2 weeks, although properly covered no-churn ice cream can be kept longer. If it becomes very firm after extended freezing, leave it at room temperature for 5 to 10 minutes before scooping. Don’t thaw and refreeze the entire container repeatedly. Scoop what you need and return the rest to the freezer. Save to favoritesYour saved recipes will be right here waiting for you every time you visit, so you can easily find and make the meals you love.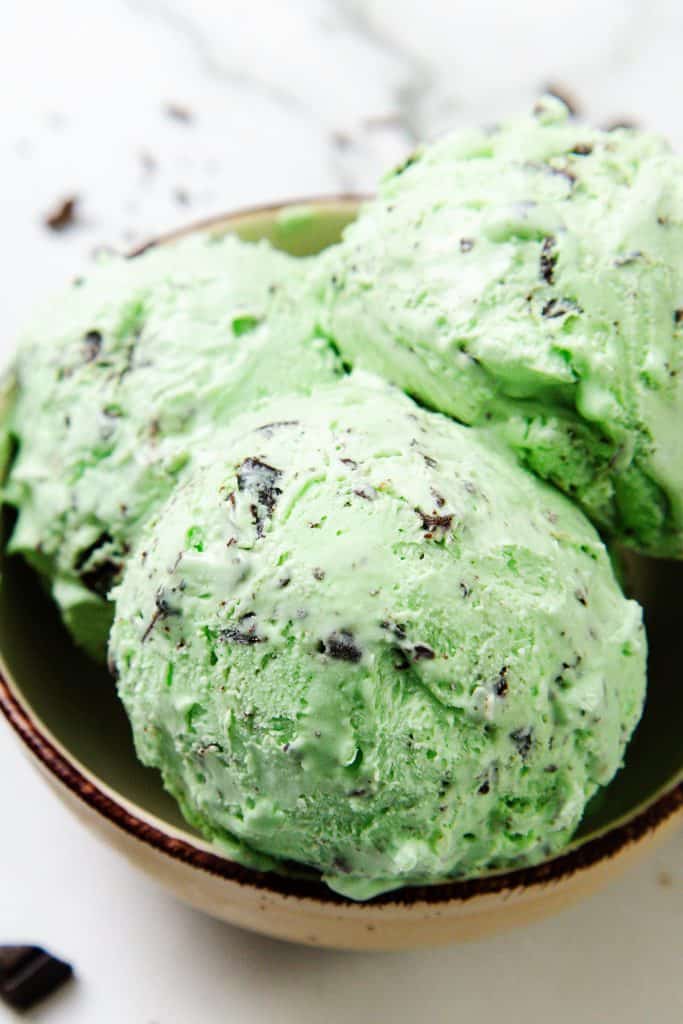
FAQs
Why use fresh mint instead of mint extract?
For me, it’s the flavor. Fresh mint gives this ice cream a cleaner, more natural mint taste rather than the artificial edge you can sometimes get from extract.
Why make mint syrup instead of infusing the cream?
You can infuse cream with mint, but you’d have to heat it and then chill it thoroughly before whipping. Using mint syrup lets me keep the heavy cream cold from the start, which makes more sense for an easy no-churn recipe.
How do I know when the mint has steeped long enough?
Taste it. Start checking after about 20 minutes. Mint varies in strength, so the syrup itself will tell you more than the clock will.
Why won’t my no-churn ice cream whip?
Temperature is one of the first things I’d check. Your heavy cream and mint syrup should both be thoroughly cold. Also, make sure you’re using heavy cream, not a lower-fat substitute.
Do I need green food coloring?
Not at all. It’s purely for that familiar mint chocolate chip appearance. Fresh mint provides the flavor, but it won’t naturally make the finished ice cream bright green.




















Leave a Reply