This Easy Chocolate Dessert recipe looks professionally made and it’s super simple to make. This is a rich, luscious dessert that’s sure to impress.
Serve with homemade Stabilized Whipped Cream for a wonderful homemade creation.
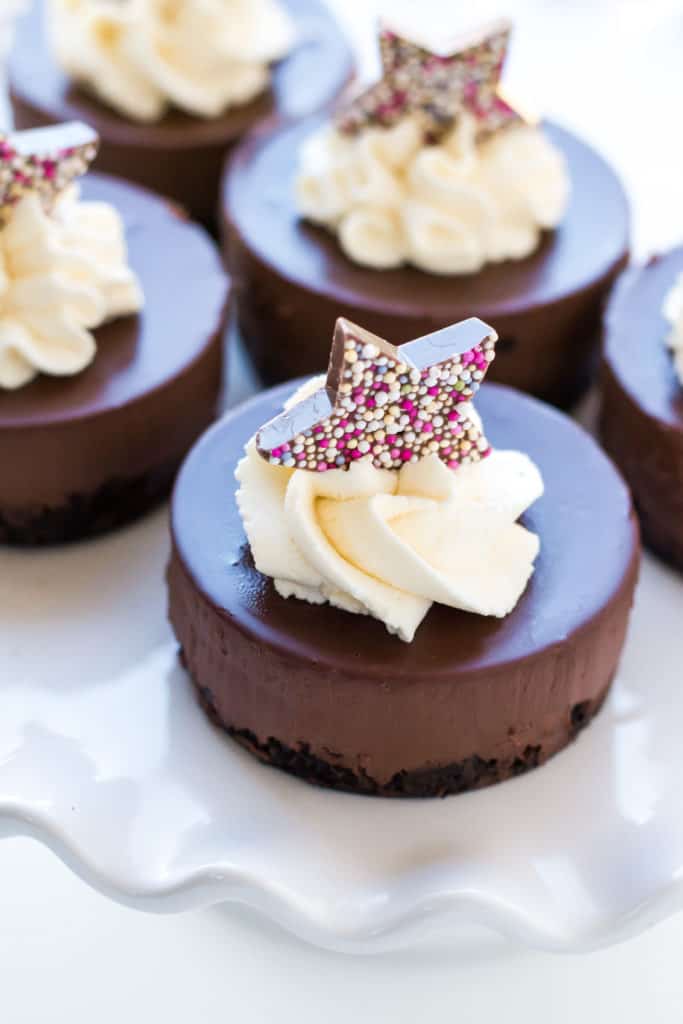
An Easy Dessert Recipe Anyone Can Make
This delectable dessert has an oreo cookie base that’s topped with rich chocolate ganache and a swirl of whipped cream.
Sounds complicated right? Wait until you see how easy it is to create!
Why This Recipe Works
- The buttery oreo cookie base adds a crunchy texture that goes perfectly with the rich chocolate ganache.
- Using dark chocolate instead of milk chocolate cuts sweetness keeping it smooth and creamy.
Which Chocolate is Best
I recommend Dark Chocolate that’s around 54.5% Cacao as it tastes great without being too sweet and also melts easily.
You can get the chocolate I use on Amazon by clicking here. (#paidlink).
Here’s How To Make It
Put the Oreos into a food processor (or you can crush them yourself – see the tips section)
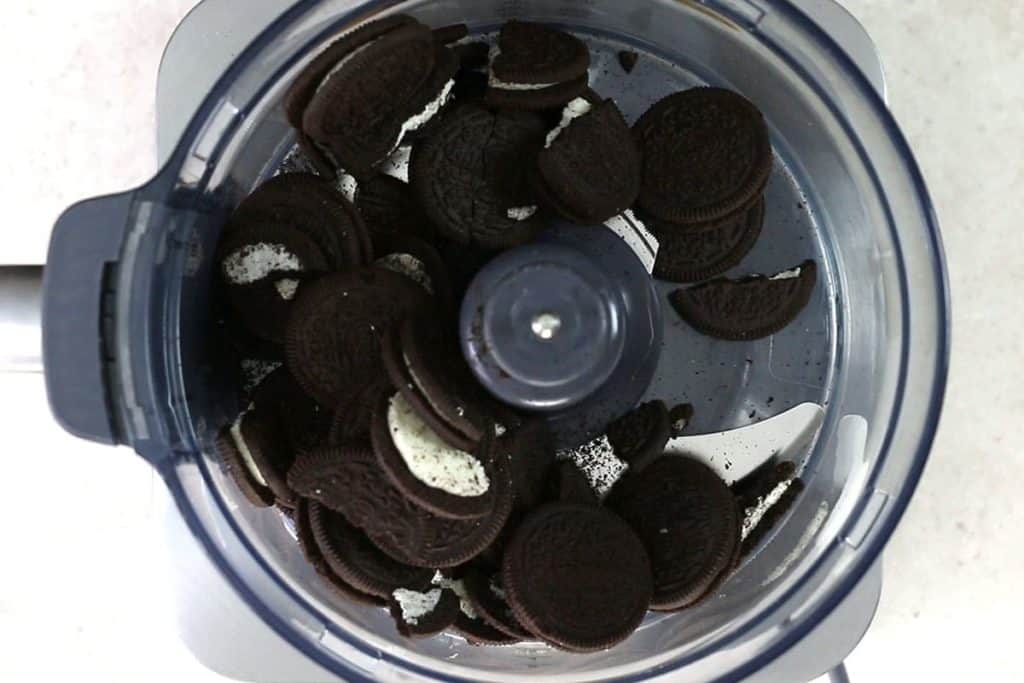
Chop the Oreos into a crumb and add the melted butter.
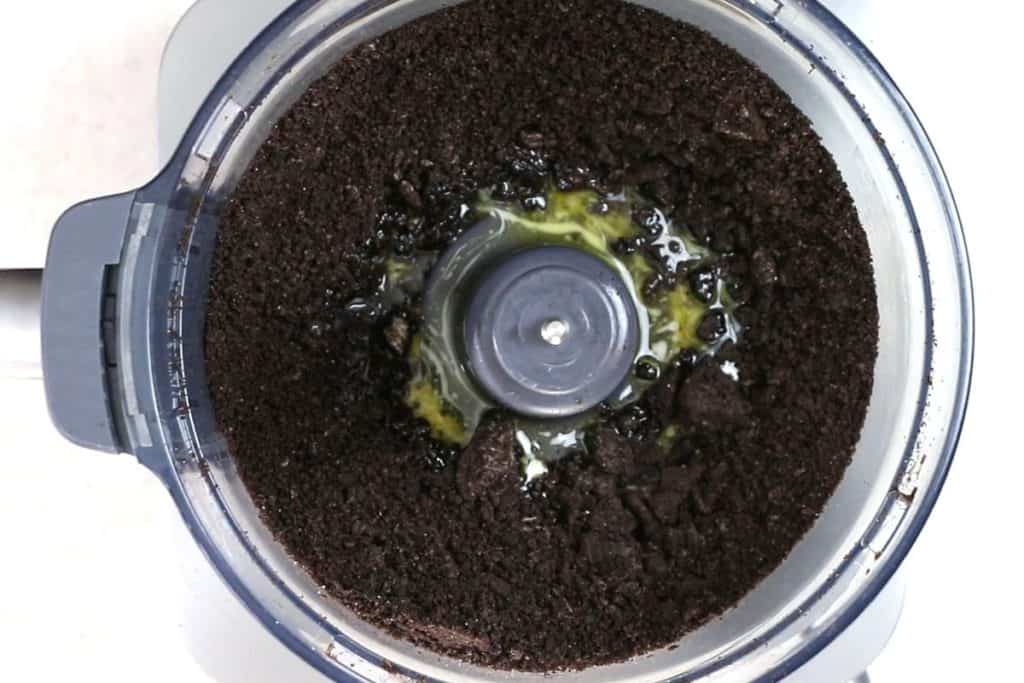
Mix until fully combined.
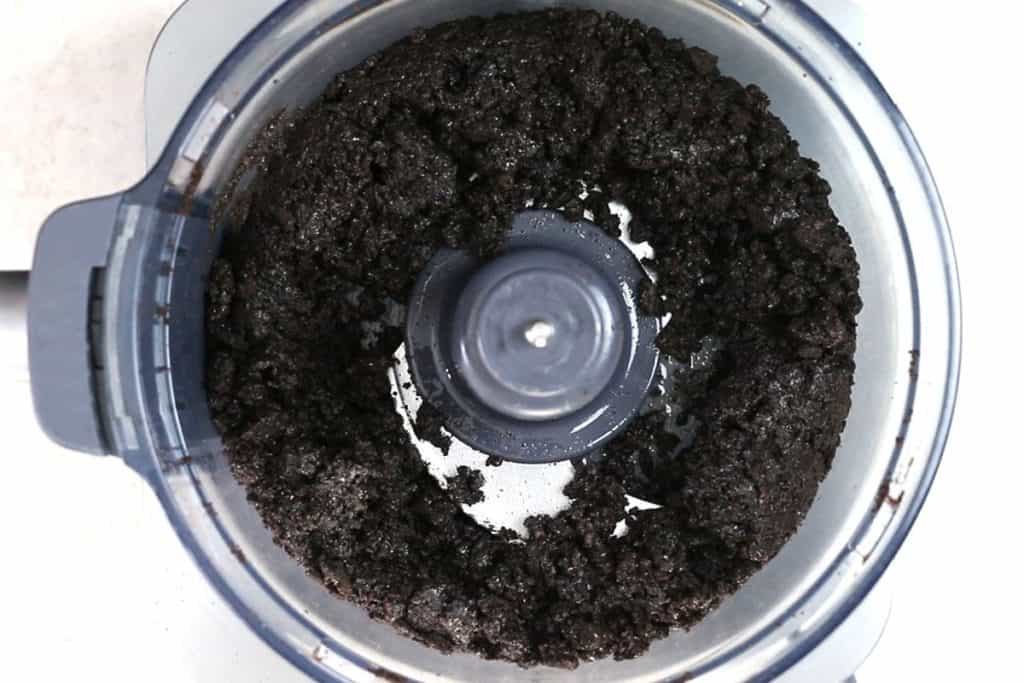
Press the crumbs into a mini cheesecake pan and set aside.
I made them using this pan (#paidlink) but you can use one big springform pan.
Don’t have a Mini Cheese Cake Pan/Loose Base Pan? Spoon the base into dessert glasses and pour over the ganache – Easy!
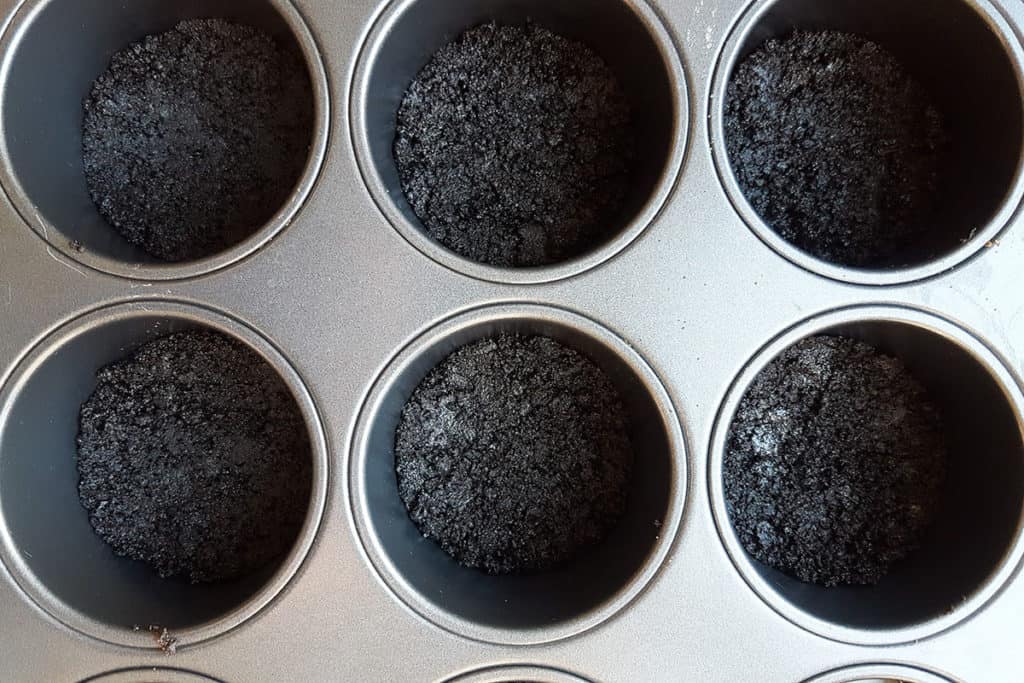
To make the ganache, start with heating the cream just until hot (don’t boil).
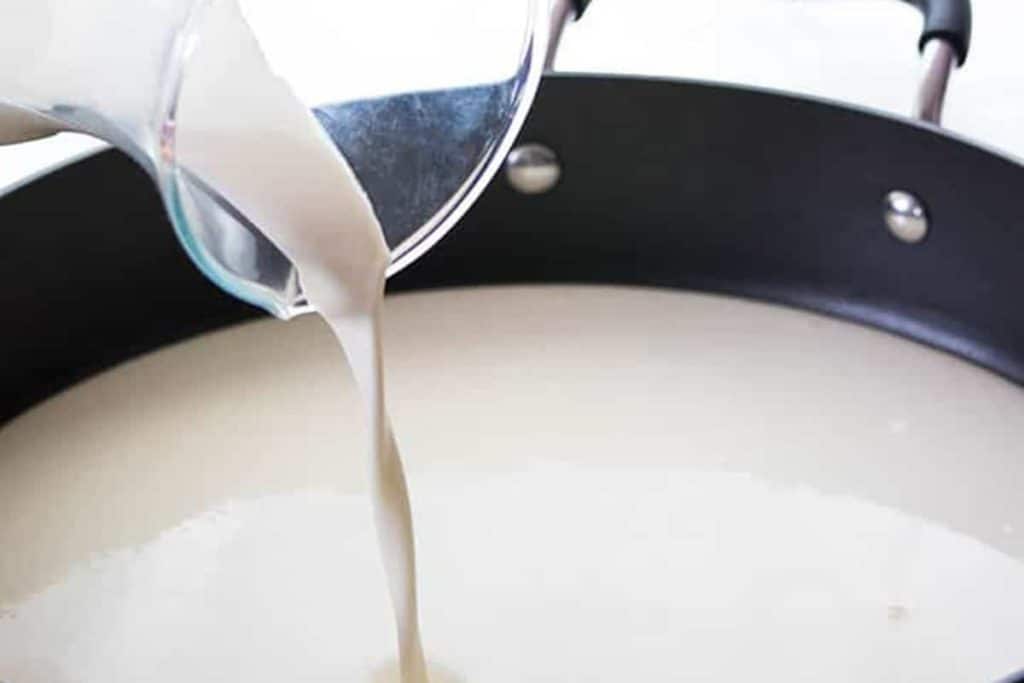
Place the chocolate into a large bowl and pour the cream over the chocolate.
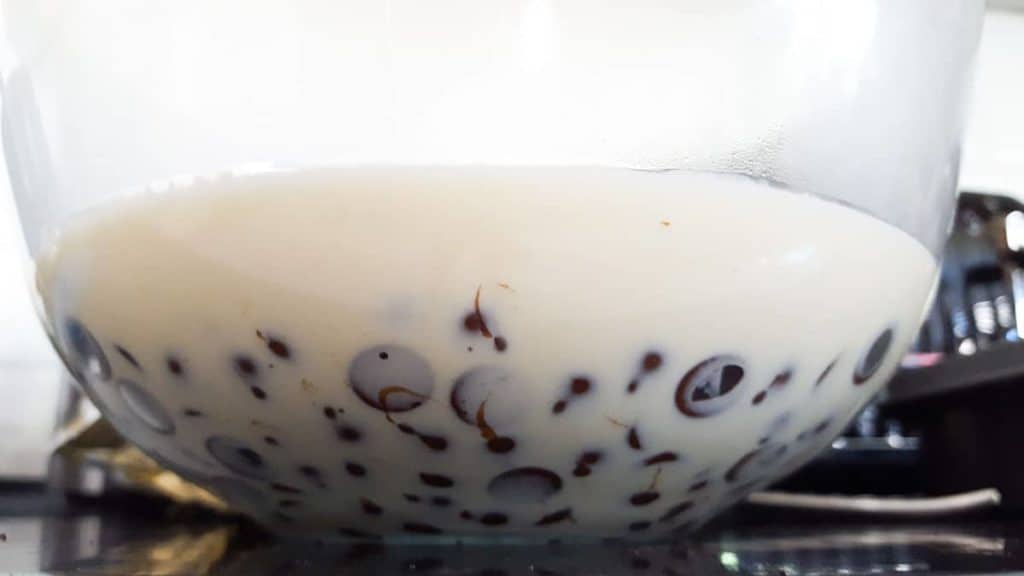
Allow the chocolate to melt into the cream and whisk until smooth.
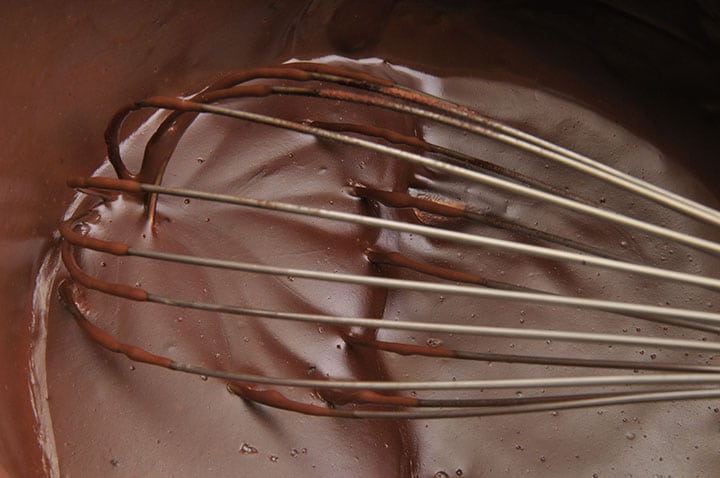
Cover the pan with plastic wrap and pop it in the fridge for at least an hour, or until the dessert is set. For mini desserts, it usually takes 1 to 3 hours, but if you’re using an 8 to 9-inch pan, plan for about 6 to 8 hours.
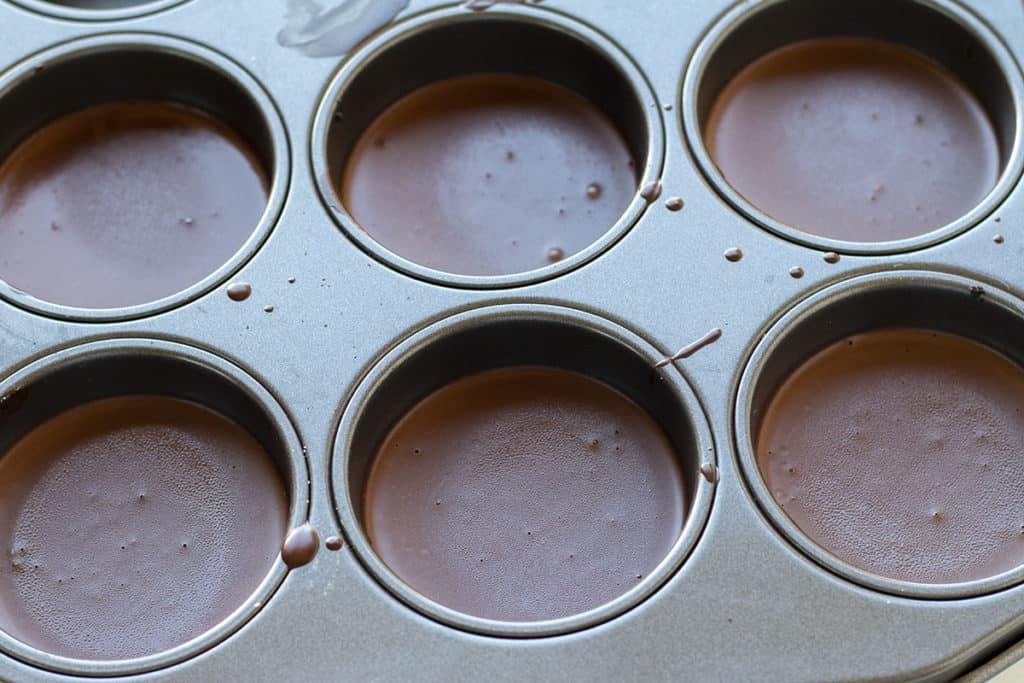
Remove from the pan and serve topped with whipped cream.
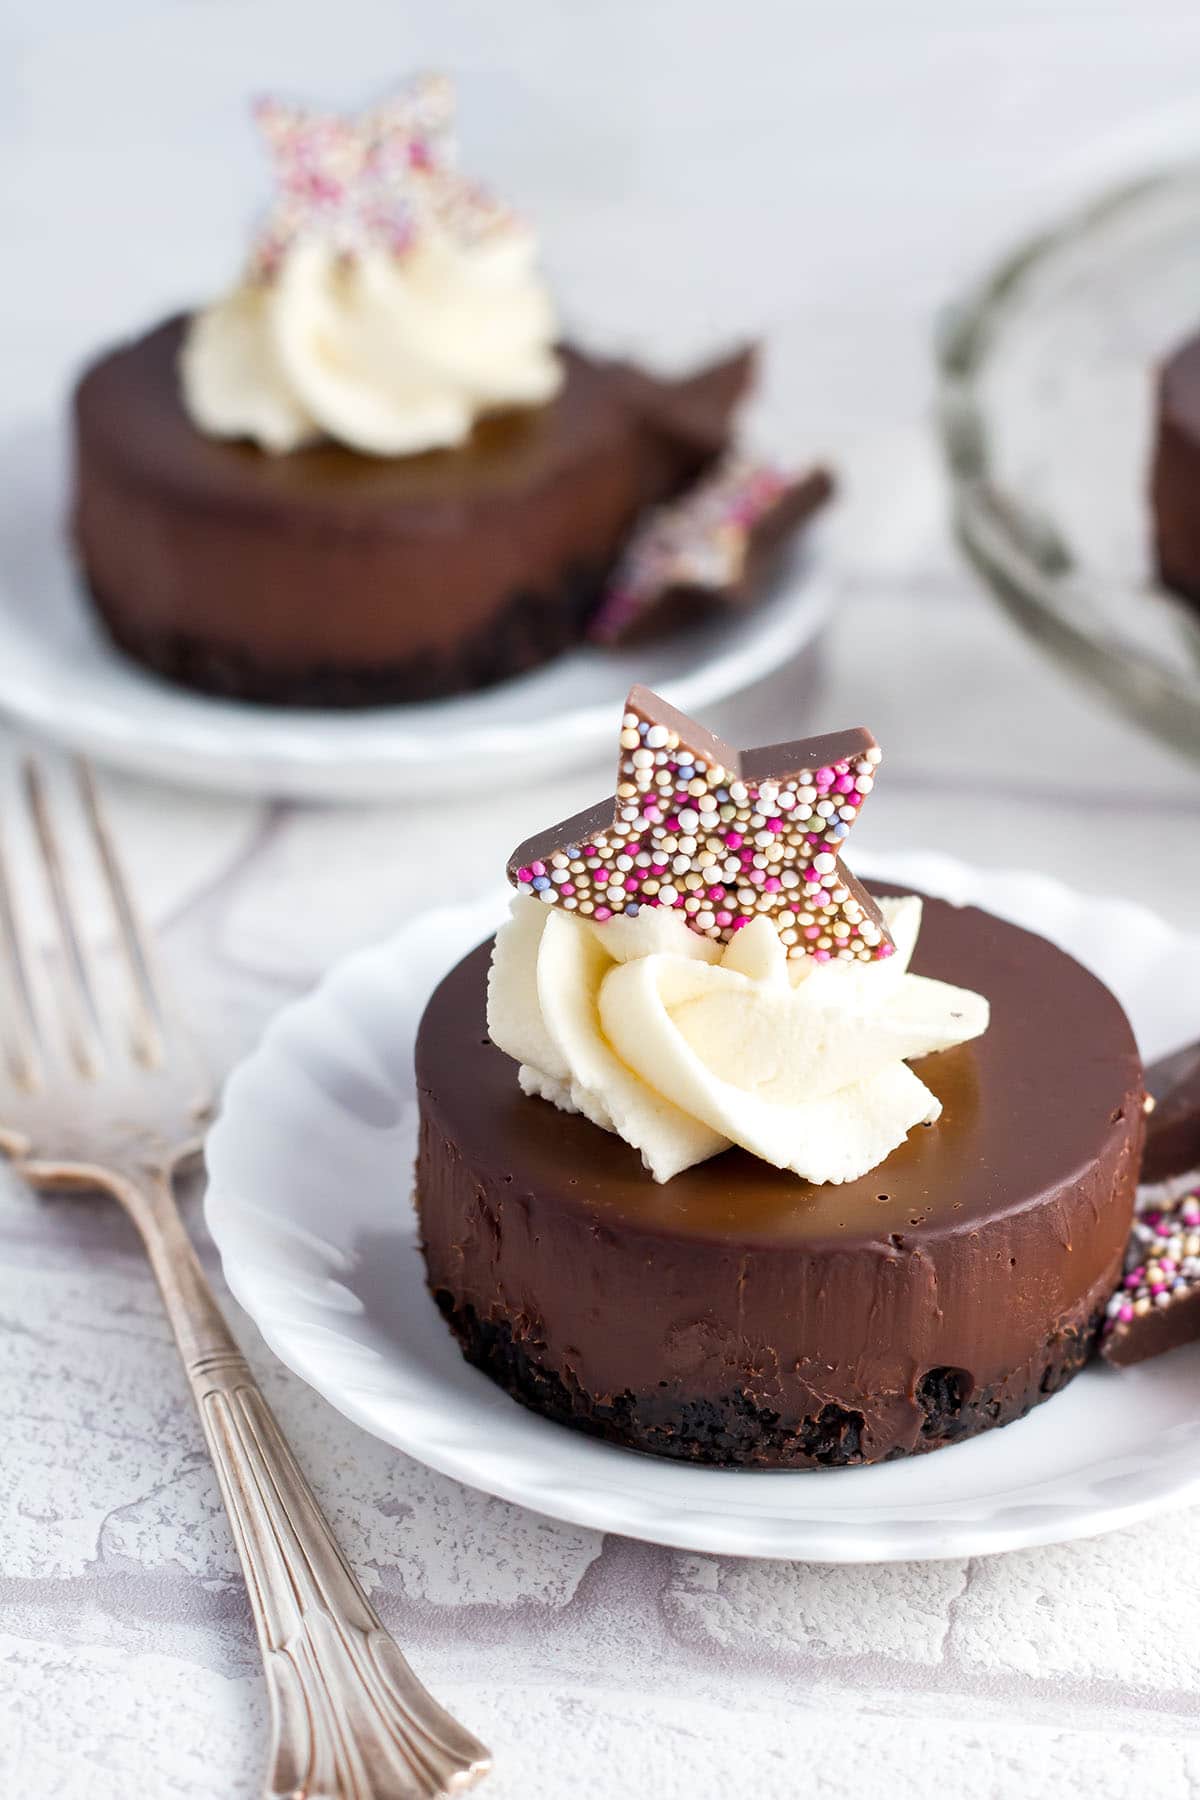
For The Perfect Chocolate Dessert
- To crush your own cookies for the base, just place them in a sealed zip lock bag and crush with a rolling pin or mallet.
- I recommend Dark Chocolate that’s around 54.5% Cacao as it tastes great without being too sweet and also melts easily.
- When heating the cream, be careful not to allow it to boil. This can cause your dessert to separate.
- Don’t have a loose base pan? Spoon the base into dessert glasses and pour over the ganache – Easy!
- I topped my desserts with my homemade whipped cream as it’s stabilized and holds its shape for days without flattening. If you use store-bought whipped cream I recommend adding it just before serving.
- I got my chocolate stars at a specialty candy store, but I found similar chocolates here on Amazon (#paidlink).
FAQs
How do you store this dessert? Store covered in the refrigerator for up to 4 days.
The Perfect Pairing
Serve with homemade Stabilized Whipped Cream for a wonderful homemade creation.
Did you make this?
Stay Updated
Receive new recipes & dinner ideas straight to your inbox!

Let’s Make Easy Chocolate Dessert
Ingredients
For the base:
- 20 Oreo Cookies (about 1½ cups crushed)
- 6 tablespoons butter melted
For the ganache:
- 12 oz Semi-Sweet Chocolate [I use 54% cocoa]or dark chocolate
- 12 oz heavy cream
Instructions
For the base:
- Blend the cookies in a food processor until cookie crumbs are formed (or crush them yourself). Add the melted butter and mix until combined.
- Add the cookie mixture to a 12 section Mini Cheesecake Pan or 8 to 9-inch spring-form pan. Press the crumbs into the bottom of the pan to make an even base, and set aside.
For the ganache:
- In a small saucepan, heat the cream just until hot (or you can use a microwave in a microwave-safe bowl).
- Place the chocolate into a medium mixing bowl.
- When the cream is just hot (but not boiling), pour it over the chocolate and whisk until smooth.
- Pour the chocolate cream into evenly over the cookie base.
- Cover the pan with plastic wrap and refrigerate for at least until the dessert is set. Depending on the size of the pan, this may take anywhere from 1 to 3 hours for mini desserts, or 6 to 8 hours for an 8 to 9-inch pan.
- Top with whipped cream before serving.
Tips + Notes
- Don’t have a loose base pan? Spoon the base into dessert glasses and pour over the ganache – Easy!
- To crush your own cookies for the base, just place them in a sealed zip lock bag and crush them with a rolling pin or mallet.
- I recommend Dark Chocolate that’s around 54.5% Cacao as it tastes great without being too sweet and also melts easily.
- When heating the cream, be careful not to allow it to boil. This can cause your dessert to separate.
- I topped my desserts with my homemade whipped cream as it’s stabilized and holds its shape for days without flattening. If you use store-bought whipped cream I recommend adding it just before serving.
- I got my chocolate stars at a specialty candy store, but I found similar chocolates here on Amazon (#paidlink).








Amber Garcia says
I made mine in an 8″ springform tin and it didn’t set. I even added an extra 30g of chocolate to the ganache. I put the whole lot in the freezer to firm up to cut, but it very quickly melted as I was dishing up.
Everyone still loved it served with vanilla ice cream and strawberries so I gave the recipe 3 stars.
Erren Hart says
Thank you so much for trying the recipe and for sharing your feedback! I’m sorry to hear that it didn’t set as expected in your 8″ springform pan, even with the extra chocolate in the ganache. The thickness of the dessert in a smaller pan can sometimes require a longer chilling time to firm up completely. I recommend refrigerating for at least 6 hours, or ideally overnight, to ensure the layers fully set. For a firmer texture, especially if you need to serve quickly, a short stint in the freezer (around 30-45 minutes before serving) can help stabilize the dessert, but avoid letting it sit out for too long once plated.
That being said, I’m so glad to hear your guests enjoyed it with ice cream and strawberries—it’s a lovely pairing! I’ll update the recipe with more specific guidance to help prevent similar issues in the future. Thank you for your review and for helping me improve! 😊
Wendy Pi says
Made these for a party. In addition to being delicious, they looked so professional. Guests were sure I purchased them from a specialty shop.
I used a little less cream than called for after reading comments (just a T or 2). Great recipe.
Thanks for letting me look like a star.
Erren's Kitchen says
Wendy, this is amazing!! You ARE a star!! ⭐️ I am so happy they turned out great for you! Thank you so much for taking the time to share how it went!
Diane says
Recipe tasted good. But the ganache never set and was runny despite sitting in my fridge for 24 hours. There was no way this dessert was popping out of any mold.
Erren's Kitchen says
I’m sorry to hear that you had issues with the ganache setting properly. Achieving the right consistency for ganache can sometimes be tricky, and I understand the frustration. Here are a few suggestions and explanations that might help:
Chocolate-to-Cream Ratio: The ratio of chocolate to cream can affect the setting of ganache. You may want to ensure that you are using the correct proportions. In this recipe, using 12 oz of chocolate with 12 oz of heavy cream is a 1:1 ratio, which should typically set well. If you prefer a firmer ganache, you can increase the chocolate amount.
Chocolate Quality: The quality of chocolate can impact the ganache’s setting ability. Ensure you’re using good-quality chocolate, and if you’re using a different cocoa percentage than the suggested 54%, it might affect the outcome.
Temperature: When making ganache, it’s crucial not to overheat the cream. Overheating can cause the fat in the chocolate to separate, leading to a runny consistency. Make sure to heat the cream just until hot, not boiling.
Chilling Time: The chilling time is crucial for the ganache to set. It’s possible that even after 24 hours, the dessert may need more time in the fridge. You might want to consider leaving it for a longer period or until the ganache has a firmer consistency.
Whipping the Ganache: Before pouring the ganache onto the cookie base, you could try letting it cool a bit and whisking it occasionally as it sets. This can help achieve a smoother and more stable consistency.
If you encounter the same issue in the future, adjusting these factors might help improve the ganache’s setting. I appreciate your feedback, and I hope these suggestions help you achieve a better result next time. If you have any more questions or concerns, feel free to ask.
Patricia Knight says
Can I freeze it for later use?
Erren's Kitchen says
Yes, you can freeze this easy chocolate dessert for later use! Make sure to follow these steps:
Wrap Well: Once the dessert is set in the refrigerator, wrap it tightly with plastic wrap or aluminum foil. Ensure that it’s well-covered to prevent freezer burn.
Freeze: Place the wrapped dessert in the freezer. It can be stored for up to 1-2 months.
Thawing: When you’re ready to enjoy it, transfer the dessert to the refrigerator and let it thaw overnight. This gradual thawing process helps maintain the texture.
Whipped Cream: If you’re using homemade whipped cream, it’s best to add it just before serving. For store-bought whipped cream, you can follow the package instructions.
I hope you enjoy your delicious chocolate dessert whenever you decide to indulge!