This site runs ads and generates income from affiliate links. Read my disclosure policy.
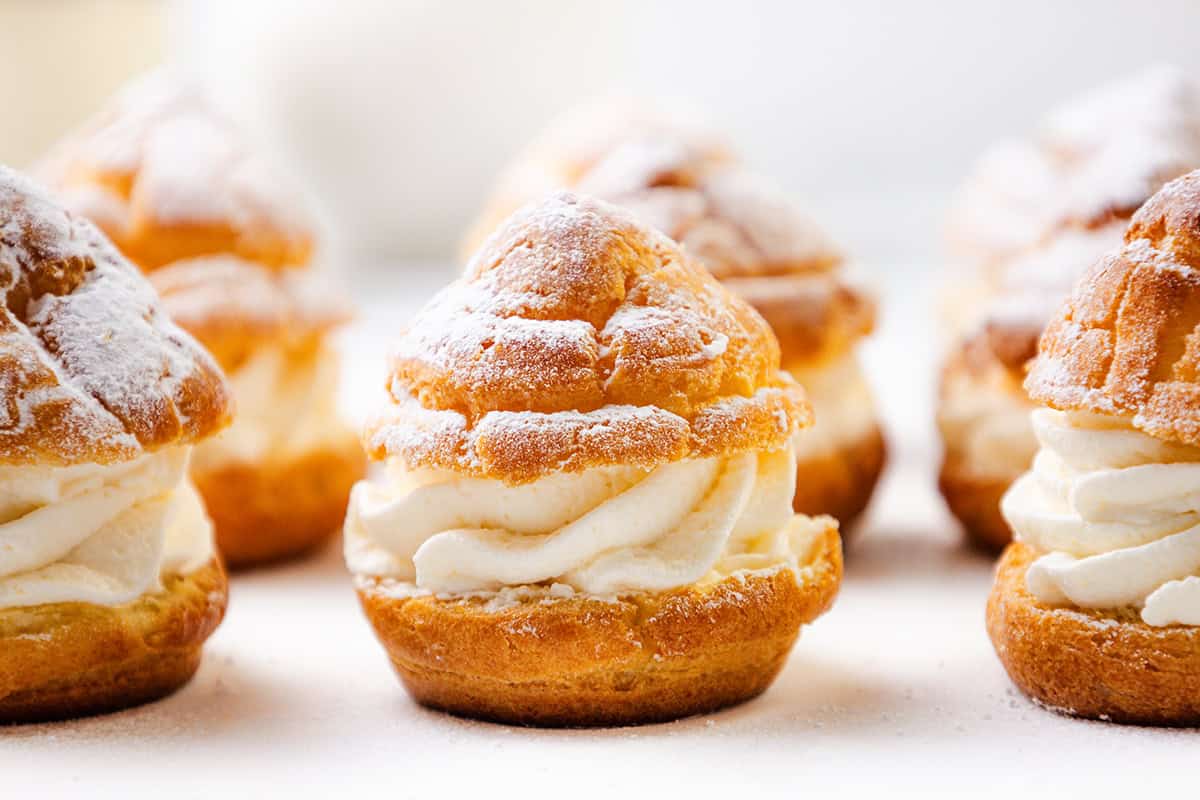
Light, crisp cream puffs made easy for beginners. Learn foolproof tips to bake airy shells, whip filling, and assemble bakery-style treats at home.
Know Before You Scroll
What You’ll Need
Whole milk, water, unsalted butter, sugar, salt, all-purpose flour, large eggs, heavy cream, powdered sugar, vanilla extract, skimmed milk powder, confectioners’ sugar.
Flavor Profile
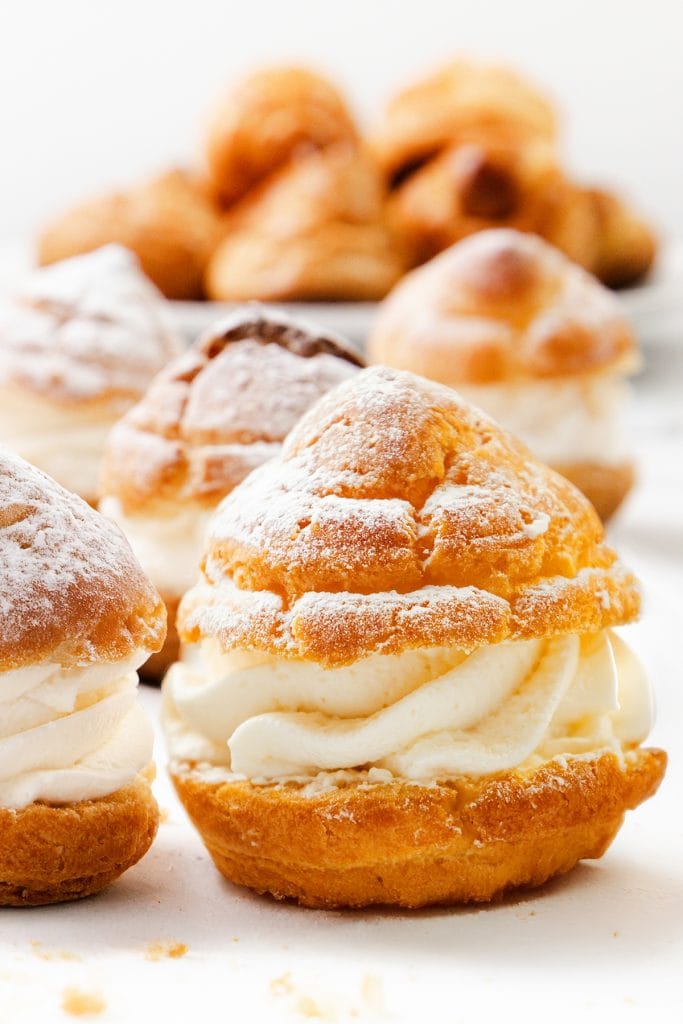
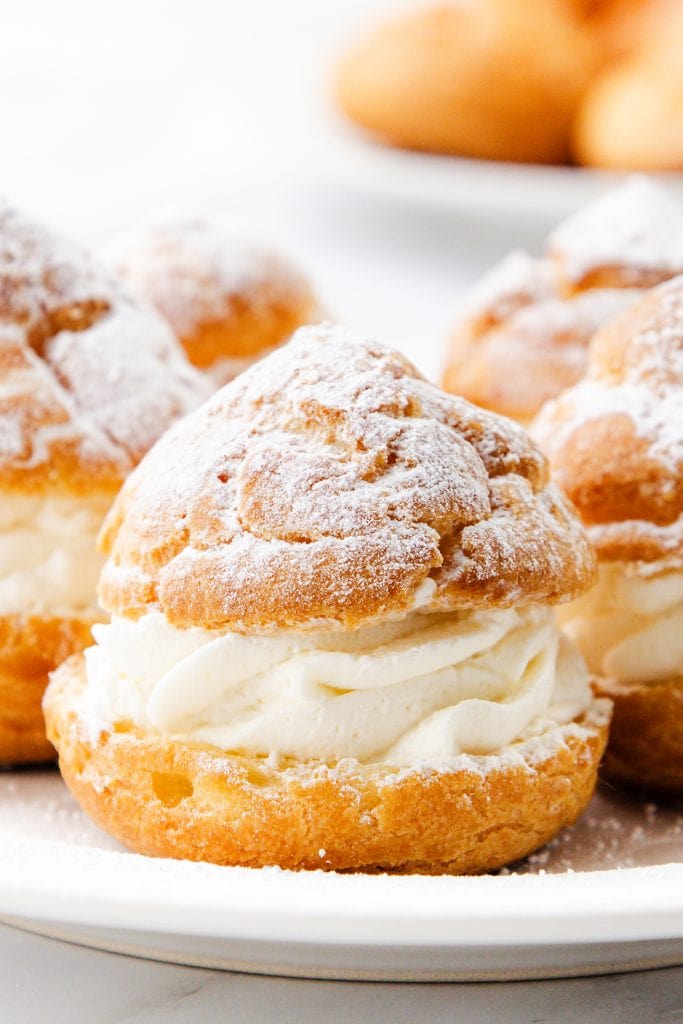
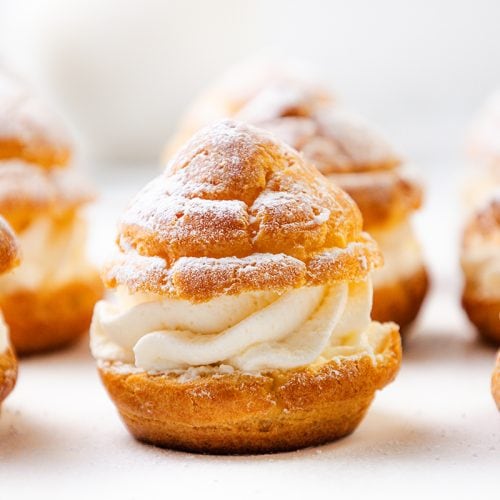
Crisp, golden shells with a light, custardy bite filled with sweet, cloudlike whipped cream. Bakery vibes in every bite.
Difficulty Level
Intermediate. Totally doable for first-timers if you follow the steps and trust the dough cues.
Equipment Needed
mixing bowl, hand or stand mixer, pastry bag (or zip-top bag), baking sheet, parchment paper, serrated knife, wire rack.
Top Tip
Don’t open the oven while baking—steam is what makes these puff! Crack the door only after baking to dry them out.
Time-Saving Tips
Skip the piping bag and use a large spoon to drop dough mounds onto the baking sheet. They won’t be perfect spheres, but they’ll still puff.
Ingredient Swaps
No skimmed milk powder? Just leave it out—the cream will still whip beautifully.
In the Test Kitchen
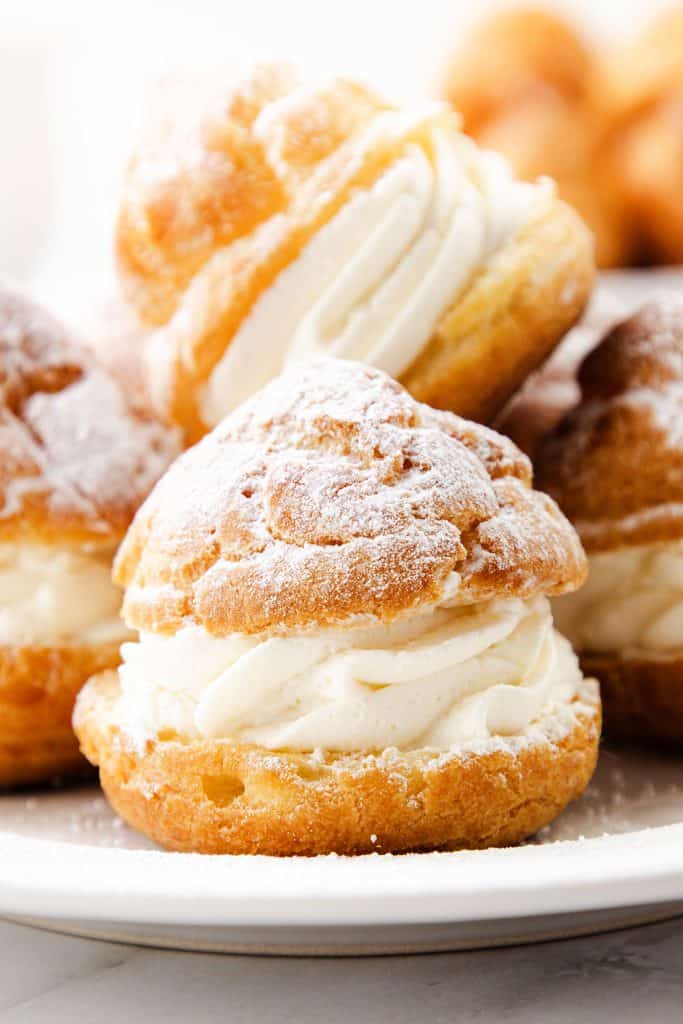
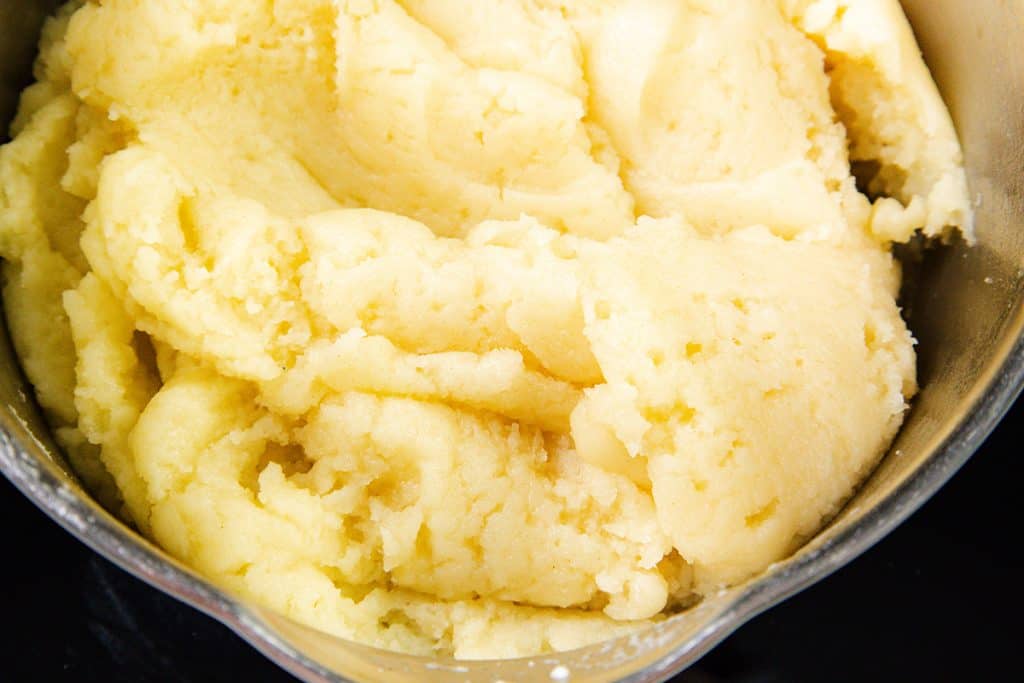
I did a lot of research for these cream puffs — and made more test batches than I care to admit — because I wanted shells that baked up tall, stayed crisp, and held their shape long after they were filled. The breakthrough came from dialing in the choux dough. Bringing the milk, water, butter, and sugar to a true rolling boil gave the pastry the steam power it needs, and cooking the flour mixture until it pulled cleanly from the pan created a sturdy base.
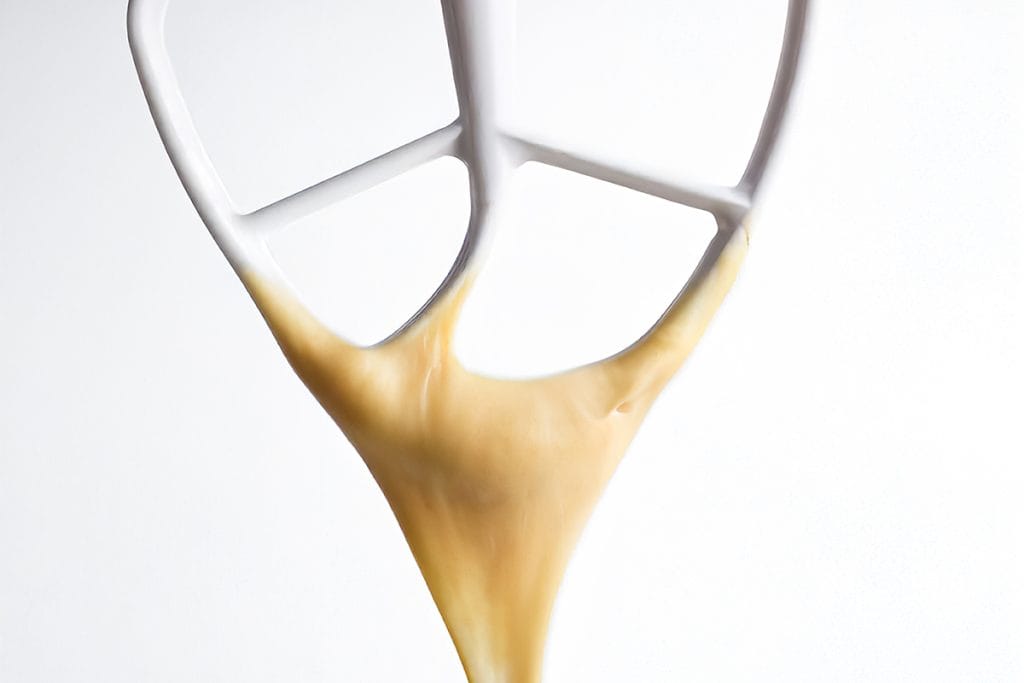
From there, the most important step was adding the eggs slowly and watching the dough instead of the measurement. After enough testing, I learned to stop the moment the dough turned glossy and fell from the spatula in a slow ribbon that drooped into a soft V shape. That one cue made the difference between flat puffs and reliably tall, beautifully rounded shells.
A deep golden bake plus a quick pierce-and-dry in the warm oven locked in the crisp texture I’d been chasing. And after trying classic whipped cream and pastry cream, the filling that won was a stabilized whipped cream made with skimmed milk powder — light, fluffy, and able to hold its shape for days.
The final result: tall, crisp, picture-perfect cream puffs with a cloud-soft filling and the reliability I wanted from the very beginning.
Ingredient Notes
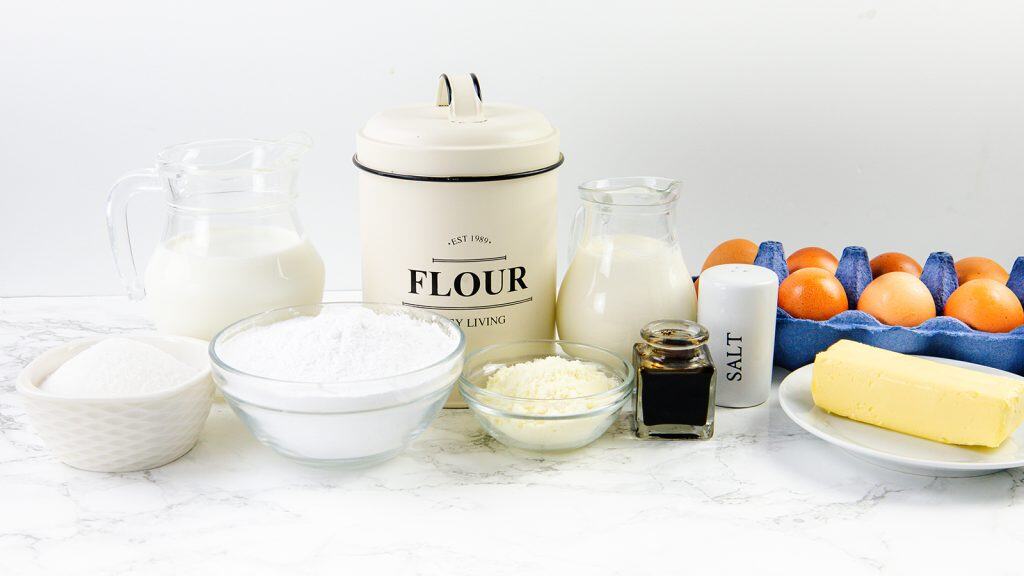
Pastry Wet Ingredients
Best Choice
Whole milk mixed with water gives richness and the steam needed for lift. Large eggs at room temperature so they blend smoothly into the dough.
Substitutions
2% milk works, but skip skim—it won’t give the same structure.
Butter, Sugar & Salt
Best Choice
Unsalted butter lets you control salt, with just enough sugar for balance.
Substitutions
Salted butter works—reduce the added salt slightly.
Flour
Best Choice
All-purpose flour sifted for light, airy dough.
Substitutions
Bread flour works but will make the shells chewier.
Filling Ingredients
Best Choice
Cold heavy cream whipped with powdered sugar, real vanilla extract, and skimmed milk powder for stability. The milk powder keeps the cream fluffy for days.
Substitutions
Leave out the milk powder if you don’t have it—the cream will still whip nicely. Use vanilla paste instead of extract for a stronger flavor.
Where to Find
Heavy cream in the dairy case; powdered sugar and vanilla in the baking aisle; milk powder often near canned milk or hot cocoa mixes.
You can find the full, printable recipe at the top of this post, but you can read the detailed instructions with photos for each step below.
Step By Step Instructions
1
Make the Dough
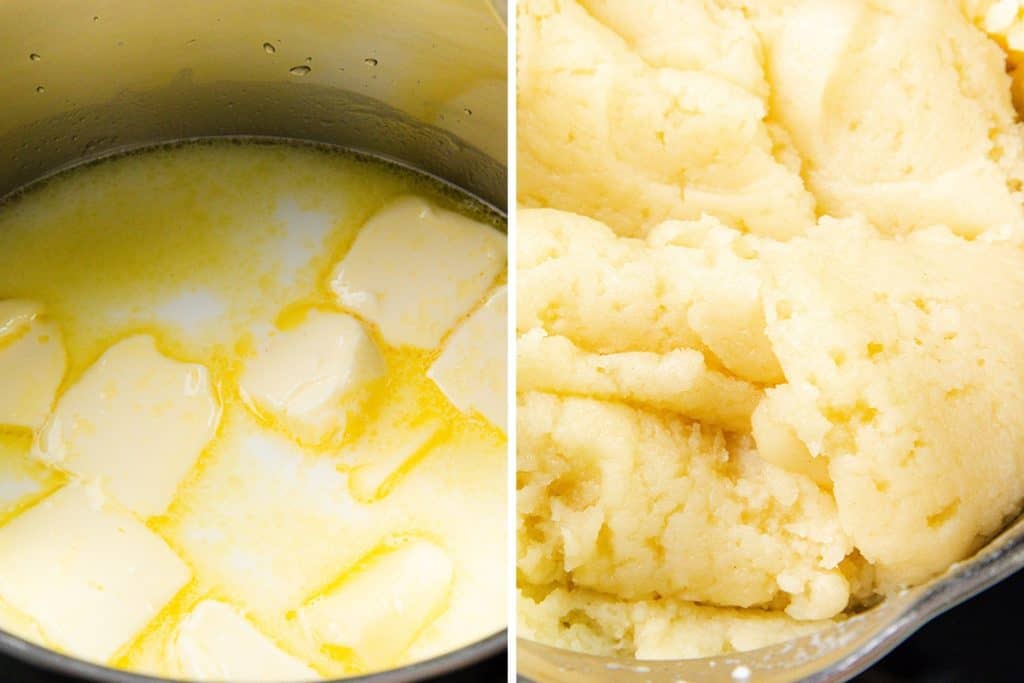
Start by adding ½ cup whole milk, 1 cup water, 9 tablespoons unsalted butter, 1 tablespoon sugar, and ½ teaspoon salt to a saucepan. Bring it to a full rolling boil until the butter melts completely.
Now add in 1⅔ cups sifted flour all at once. Stir it hard and fast over low heat until it forms a smooth ball that pulls away from the pan—about 1 to 2 minutes.
2
Add the Eggs
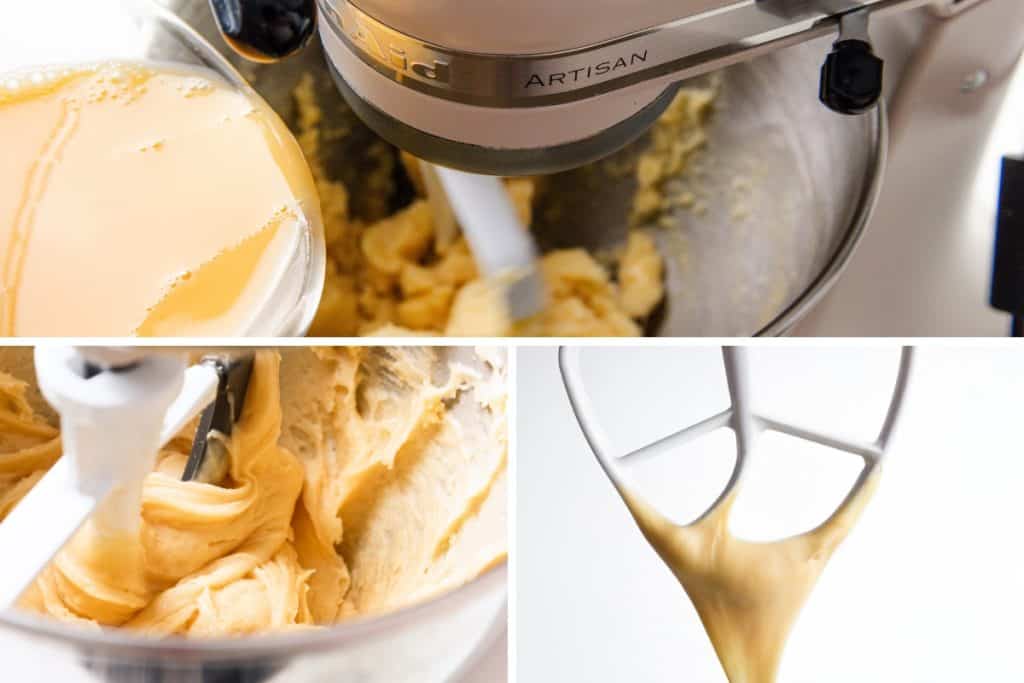
Using a mixer with a paddle attachment, mix the dough on medium speed and add the beaten eggs a little at a time. Stop often and check the texture. You’re looking for dough that turns glossy and falls into a soft V shape. If it breaks off in clumps, it needs more egg. If it starts to look loose or runny, stop adding egg — you may not need all five.
3
Pipe the Puffs
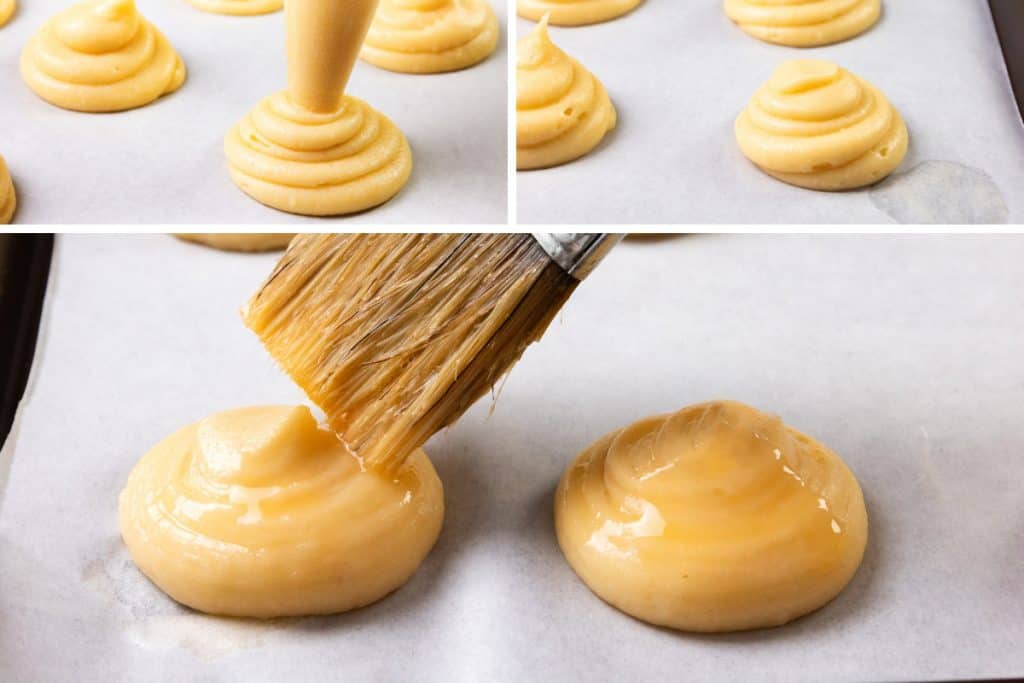
Spoon the dough into a piping bag with a round tip. Pipe mounds about 2 inches wide and 1 inch tall onto a parchment-lined baking sheet. Smooth any peaks with a damp finger.
4
Bake and Dry
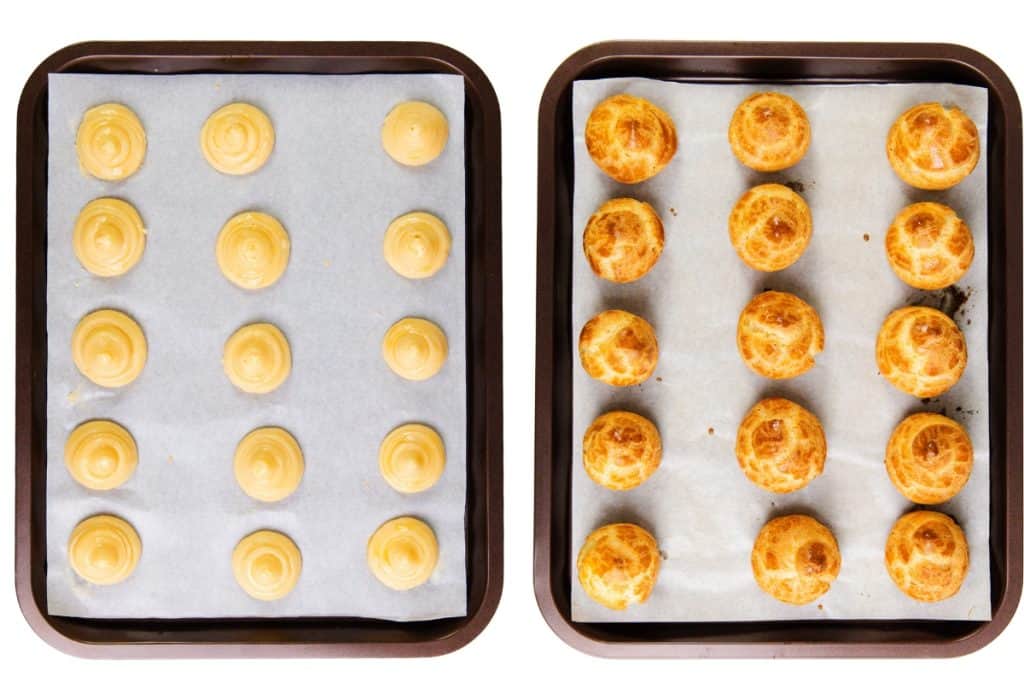
Bake at 400°F (200°C) for 20–25 minutes. Don’t open the oven. The puffs should be deep golden brown and feel firm. Pale puffs collapse as they cool. Pierce the side of each puff with a knife, then return them to the oven with the door cracked for 10 minutes to dry out.
5
Make the Whipped Cream
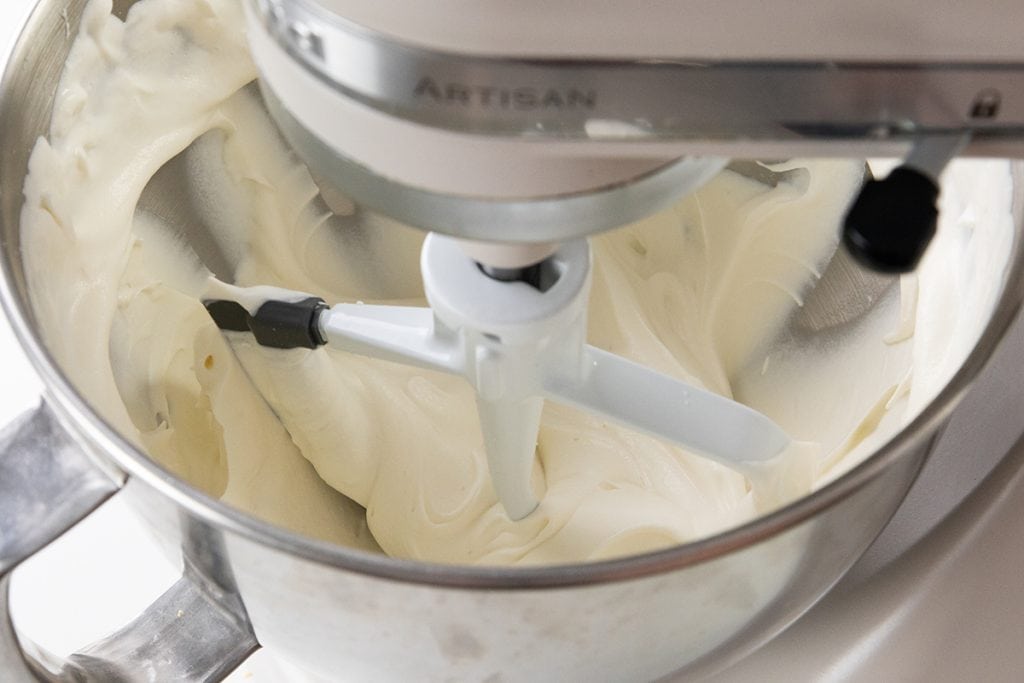
Whip together 1 cup chilled heavy cream, 3 tablespoons powdered sugar, ½ teaspoon vanilla, and 1 tablespoon skimmed milk powder until it holds soft peaks. Light, fluffy, and ready to go.
6
Assemble and Finish
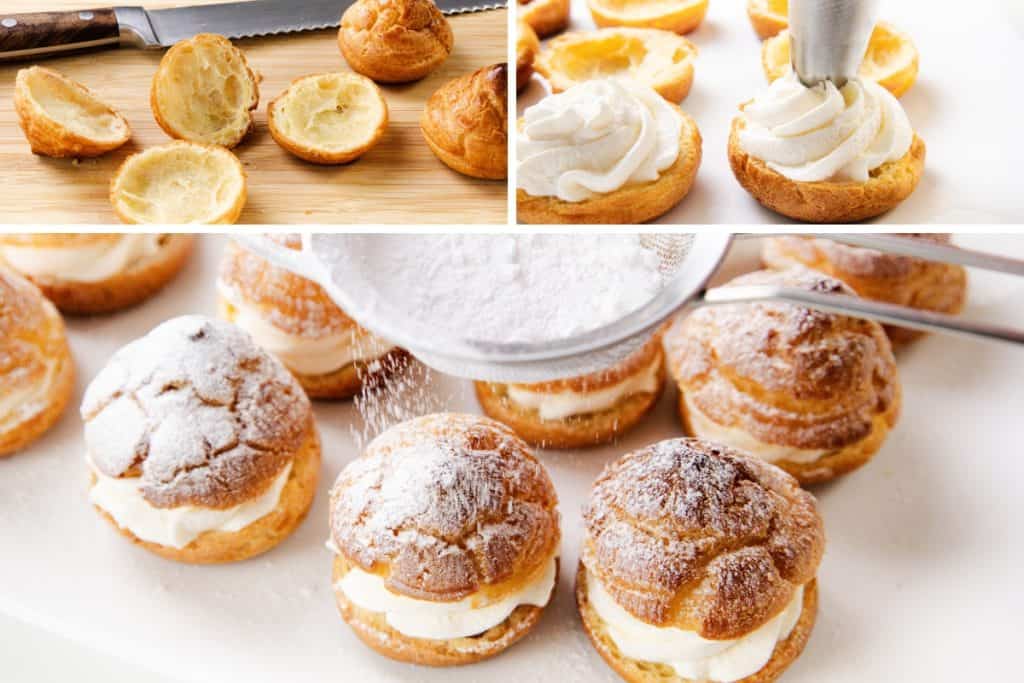
Slice the cooled puffs in half, scoop out any soft centers, and fill with whipped cream. Pop the tops back on and finish with a dusting of confectioners’ sugar.
7
Serve and Enjoy
Serve the cream puffs fresh for the best texture—light, crisp shells with fluffy cream inside. If you have leftovers, store them in an airtight container in the fridge for up to 2 days. The shells will soften a little, but they’ll still taste amazing.
Recipe
Cream Puffs
Ingredients
Choux Pastry
- ½ cup whole milk
- 1 cup water
- 9 tablespoons unsalted butter
- 1 tablespoon sugar
- ½ tsp salt
- 1⅔ cup all-purpose flour (sifted, plus more as needed outside the US)
- 5 large eggs (at room temperature, beaten)
Whipped Cream Filling:
- 1 cup heavy cream (or whipping cream, chilled)
- 3 tablespoons powdered sugar
- ½ teaspoons vanilla extract
- 1 tablespoon skimmed milk powder (AKA Non-Fat Milk Powder, nonfat powdered milk, or Nonfat Instant Dry Milk – on Amazon See the link in the notes below))
Topping:
- confectioner’s sugar (for dusting)
Instructions
For The Choux Pastry
- Preheat the oven to 425°F/218°C
- Combine the milk, water, salt, butter, and sugar in a medium saucepan or a microwave-safe glass measuring cup. Heat until the mixture reaches a rolling boil and the butter is fully melted. If you’re using the stovetop, watch closely—if the mixture boils too long, some of it will evaporate, which can throw off your dough. If that happens, simply add a splash of hot water to bring it back up to the correct 1½ cup measurement.
- Once the liquid reaches a full boil, remove it from the heat and immediately stir in the flour all at once. Return the pan to low heat and stir vigorously for about one to two minutes. The dough should quickly come together into a smooth, firm ball that pulls away from the sides of the pan. As you stir, you should see a thin film form on the bottom of the pot—this is a good sign that enough moisture has cooked out. The dough should look slightly shiny and thick, almost like Play-Doh.
- Note for outside the US: Because flour and butter is very different outside of the US, if the dough still appears soft, overly shiny, or sticky after stirring for a minute or two, you can add a little more flour—just one tablespoon at a time—and continue cooking. Only add more flour if the dough clearly isn’t firming up, since too much flour can make the puffs dense. Getting the dough to the right consistency before adding the eggs is one of the most important steps for cream puffs that rise and hold their shape.
- Transfer the dough to a large mixing bowl and let it cool for 5 to 10 minutes. It should be warm, not hot—you want to avoid cooking the eggs when they’re added. A quick test: you should be able to press the back of your hand to the dough without discomfort.
- Once cooled, attach dough hooks to your hand mixer (or use a stand mixer with the paddle attachment). Beat the dough on medium speed while slowly adding the whisked eggs. It’s important not to add them all at once. Pour in a little at a time and pause often to check the texture. After three eggs, stop and evaluate. You’re aiming for a dough that’s thick but smooth and glossy. When you lift a spatula or the mixer beater, the dough should slowly fall off and form a soft “V” or ribbon. If the dough already looks right before you’ve used all four eggs, stop there. Choux dough is sensitive, and humidity, flour brand, or egg size can slightly change what it needs. If your dough becomes too loose or runny, you can still bake it—just pipe smaller rounds and increase the bake time a little. If it’s extremely thin, adding a spoonful of flour might help tighten it up, but this can affect texture, so use it as a last resort.
- Spoon the dough into a pastry bag with a large round tip (or you can use a large zip-top bag and snip off one corner to use as a makeshift piping bag). Pipe mounds about 2 inches wide and 1 inch tall about 2 inches apart. If the piped mounds have little peaks on top, wet your finger and gently smooth down the peak on top. (For a richer color when baking, you can lightly brush the tops with an egg wash).
- Bake the puffs at 400°F (200°C) for 20 to 25 minutes. Do not open the oven while they’re baking—this is crucial. You’re looking for golden brown, not just lightly golden. If you remove them too early, they won’t have enough structure and will collapse as they cool. When they’re fully baked, they’ll feel firm and sound slightly hollow when tapped. Once baked, turn off the oven, Take the baking sheet out of the oven and gently pierce the side of each puff with the tip of a small knife, inserting it about halfway. Place the puffs back in the oven and crack the door slightly, and let them sit inside for another 10 minutes. This slow drying period helps remove excess moisture from the inside, ensuring they stay crisp and don’t deflate.
- Transfer to a wire rack. Allow to cool completely before filling with the cream.
For The Whipped Cream:
- Add the cream to a medium-sized mixing bowl or food processor then add the powdered sugar (to taste), skimmed milk powder, and vanilla to the cream.
- Using a food processor or mixer, whip the cream until it thickens (this doesn’t take long at all, so check often).
- When you run a spoon through it, and it holds its shape without falling back into the gap, it’s ready to use.
Assembling The Cream Puffs:
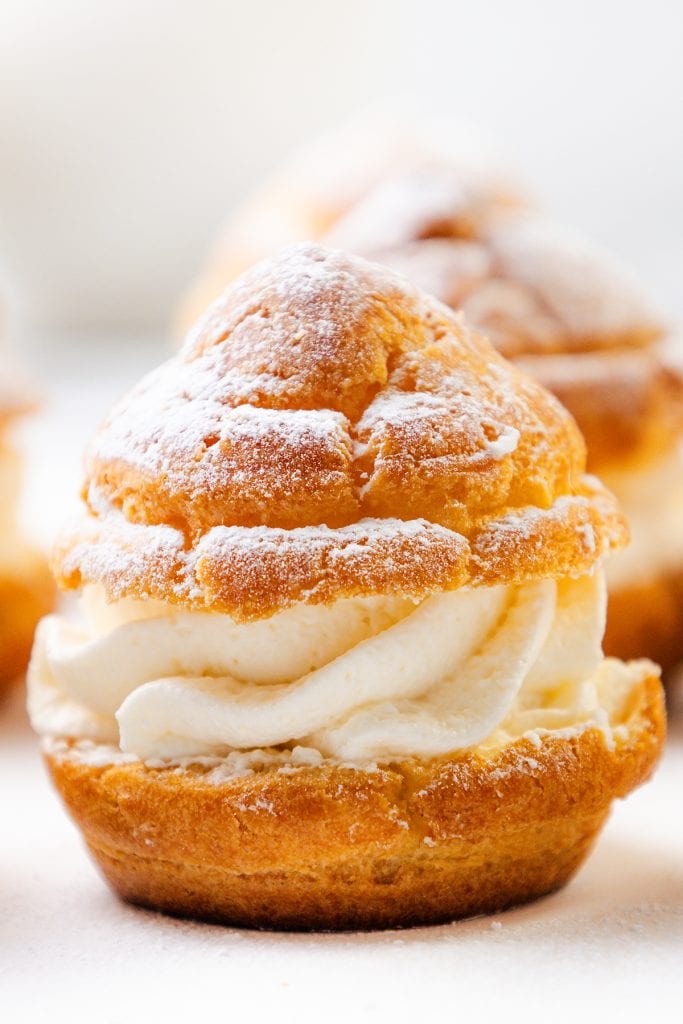
- Use a serrated knife to cut off the tops of the cooled puffs. If you want, scoop out some of the soft insides. Fill each puff with cream using a piping bag, then place the top back on and dust lightly with confectioners’ sugar. For the best results, enjoy cream puffs within a few hours of assembling.
Tips
Erren’s Top Tips
- Don’t Skip the Drying Step: Piercing and returning the puffs to the turned-off oven helps keep them crisp instead of soggy.
- Egg Checkpoint: After adding three eggs, check the dough. Stop if it’s already glossy and falls in a ribbon; not all eggs may be needed.
- Smooth the Peaks: Wet your finger and flatten any little spikes of dough before baking. This keeps them round and even.
- Use Cold Cream: Chill both the cream and the mixing bowl for the fluffiest whipped cream filling.
- Line Your Sheets: Parchment paper or silicone mats help puffs bake evenly and lift off easily.
Variations & Add-Ins
- Chocolate Cream Puffs: Fill with chocolate whipped cream or pastry cream.
- Savory Option: Skip the sugar in the dough and fill with herbed cream cheese for an appetizer.
- Fruit Twist: Add fresh berries or a spoonful of jam inside the puffs before topping.
- Glaze Finish: Drizzle with melted chocolate or caramel instead of powdered sugar.
Storage & Freezing
- Storage: Filled cream puffs are best enjoyed within 2–3 hours but will keep in the fridge, covered, for up to 2 days. The shells may soften over time.
- Freezing Shells: Bake and cool the empty shells, then freeze in an airtight bag for up to 2 months. To serve, re-crisp in a 350°F oven for 5–7 minutes before cooling and filling.
- Do Not Freeze Filled Puffs: The cream filling does not thaw well and will lose its fluffy texture.
FAQs
Why did my cream puffs deflate?
Usually from underbaking or opening the oven too early. Bake until golden and firm, then dry them out in the oven with the door cracked.
Why is my choux dough runny?
Too many eggs or not cooking the flour mixture long enough. Add eggs one at a time and stop when the dough is glossy and forms a soft ribbon.
Can I make cream puffs ahead of time?
Yes! Bake the shells a day in advance, store them airtight, and fill them right before serving for the best texture.
Do I have to use milk powder in the whipped cream?
No, it’s optional. It helps stabilize the cream, but you can skip it if you don’t have it on hand.
Can I fill cream puffs with something besides whipped cream?
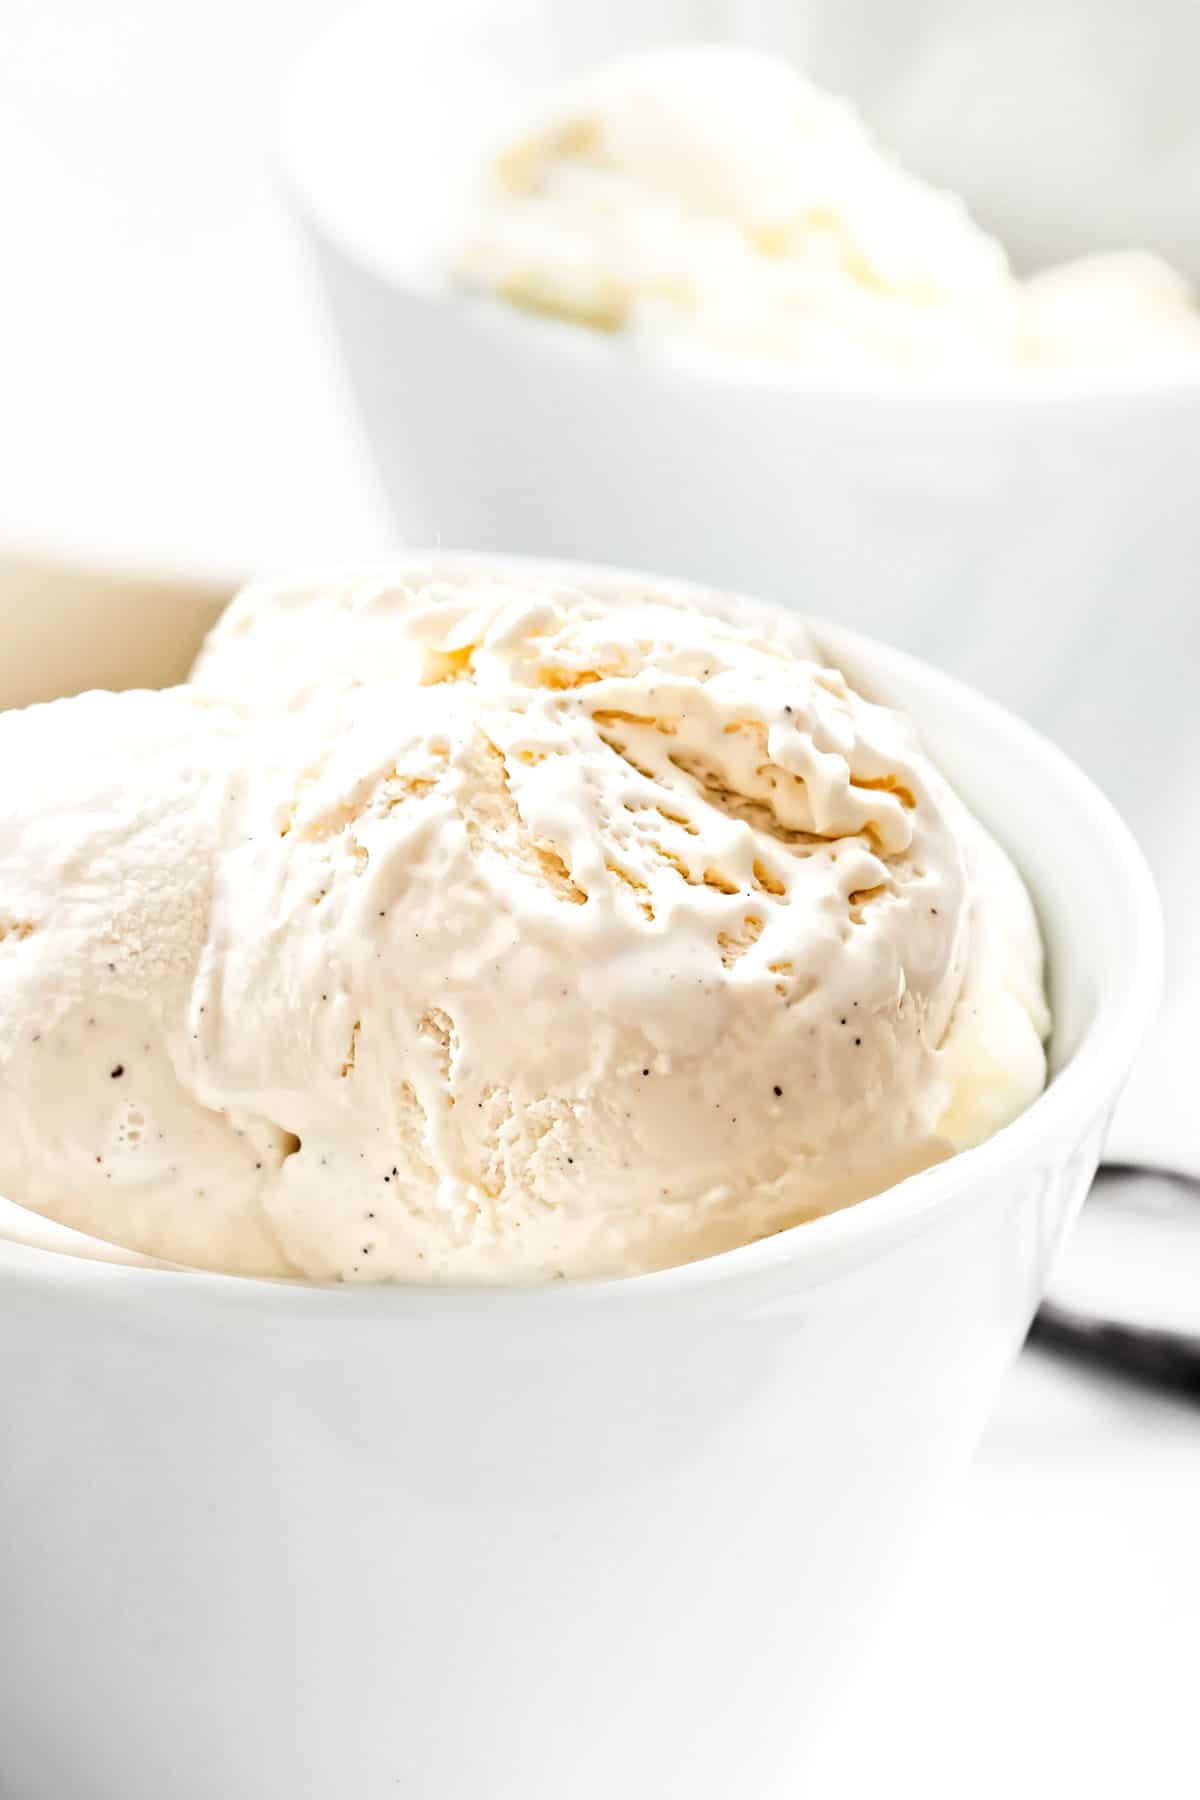
Absolutely—pastry cream, custard, ice cream, or even savory fillings like tuna or chicken salad all work.











Leave a Reply